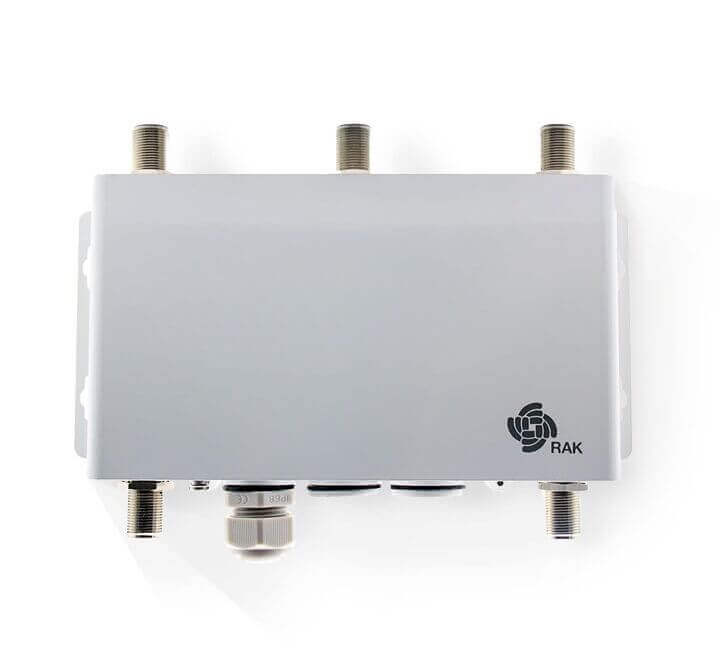
The RAK7240 (WisGate Edge Prime) is a macro outdoor LoRaWAN® gateway, ideal for large scale deployments. It is highly reliable, customizable, and offers a WiFi, LTE and Ethernet backhaul.
This guide will help you set up the RAK7240 gateway to communicate over The Things Stack. Configuring and connecting RAK7249, RAK7268 and RAK7258 gateways to The Things Stack should be identical as for the RAK7240.
Read more about technical specifications in RAK7240 WisGate Edge Prime Datasheet document.
Prerequisites
- User account on The Things Stack with rights to create Gateways.
- RAK7240 LoRaWAN gateway connected to the Internet or your local network.
- A PC, tablet or mobile phone connected to the network (to configure the gateway).
Setting Up the Gateway
Detailed instructions on how to mount and protect your gateway, power it on, access it and connect it to the Internet are available in the Quick Start Guide provided by RAK.
We have included a few short steps to help you get started. For setting up the gateway we will be using the Web Management Platform.
Access the Gateway
You can access the RAK7240 gateway’s Web Management Platform in two ways - using gateway’s WiFi Access Point Mode or through gateway’s Ethernet port.
WiFi Access Point Mode
The gateway exposes a WiFi network with SSID format RAK7240_XXXX, where XXXX represents the last two bytes of the gateway’s MAC address. You will need no password to connect to this WiFi network.
To access the Web Management Platform, connect your PC/tablet/phone to this network and enter the default gateway IP address 192.168.230.1 in your browser.
Ethernet Port
Connect the Ethernet port of the gateway to the PoE port of the PoE injector with an Ethernet cable. Connect the LAN port of the PoE injector to your PC.
The default IP address used for accessing the Web Management Platform has a format 169.254.X.X, where X.X segment is mapped from the last four bits of the gateway’s MAC address. For example, if the last four bits of the MAC address are 0F:01, the IP address is 169.254.15.1.
Now manually configure the IP address of your PC/tablet/phone to be in the same network (e.g. 169.254.15.2) and access the Web Management Platform through your browser.
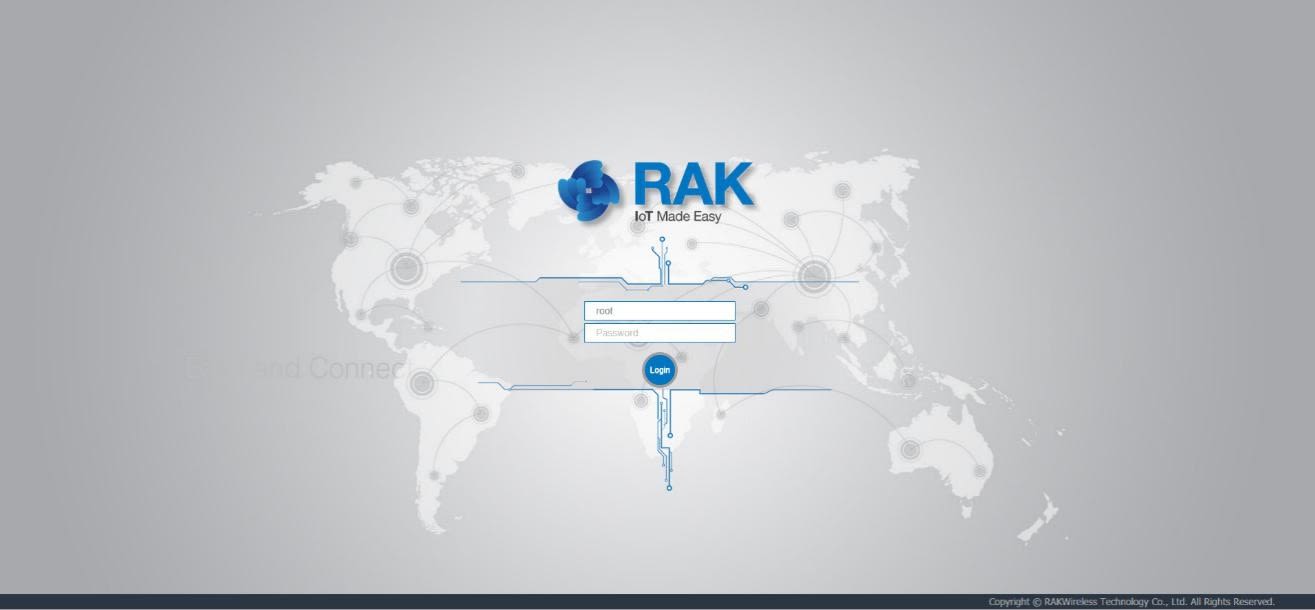
In both ways, after succesfully accessing the Web Management Platform, you will be presented with the log in screen as shown in the image below. To log in, use the username root and password root.
Access the Internet
Providing your gateway with the Internet access can be done in three ways - through WiFi or Ethernet/PoE connection to your router, or via cellular network.
WiFi Wireless Client
In the Web Management Platform, navigate to Network → Wi-Fi and enable the Wireless Client.
Click the Scan button to scan for available WiFi networks. Choose your router’s WiFi network, enter the Encryption method it is using and the Key.
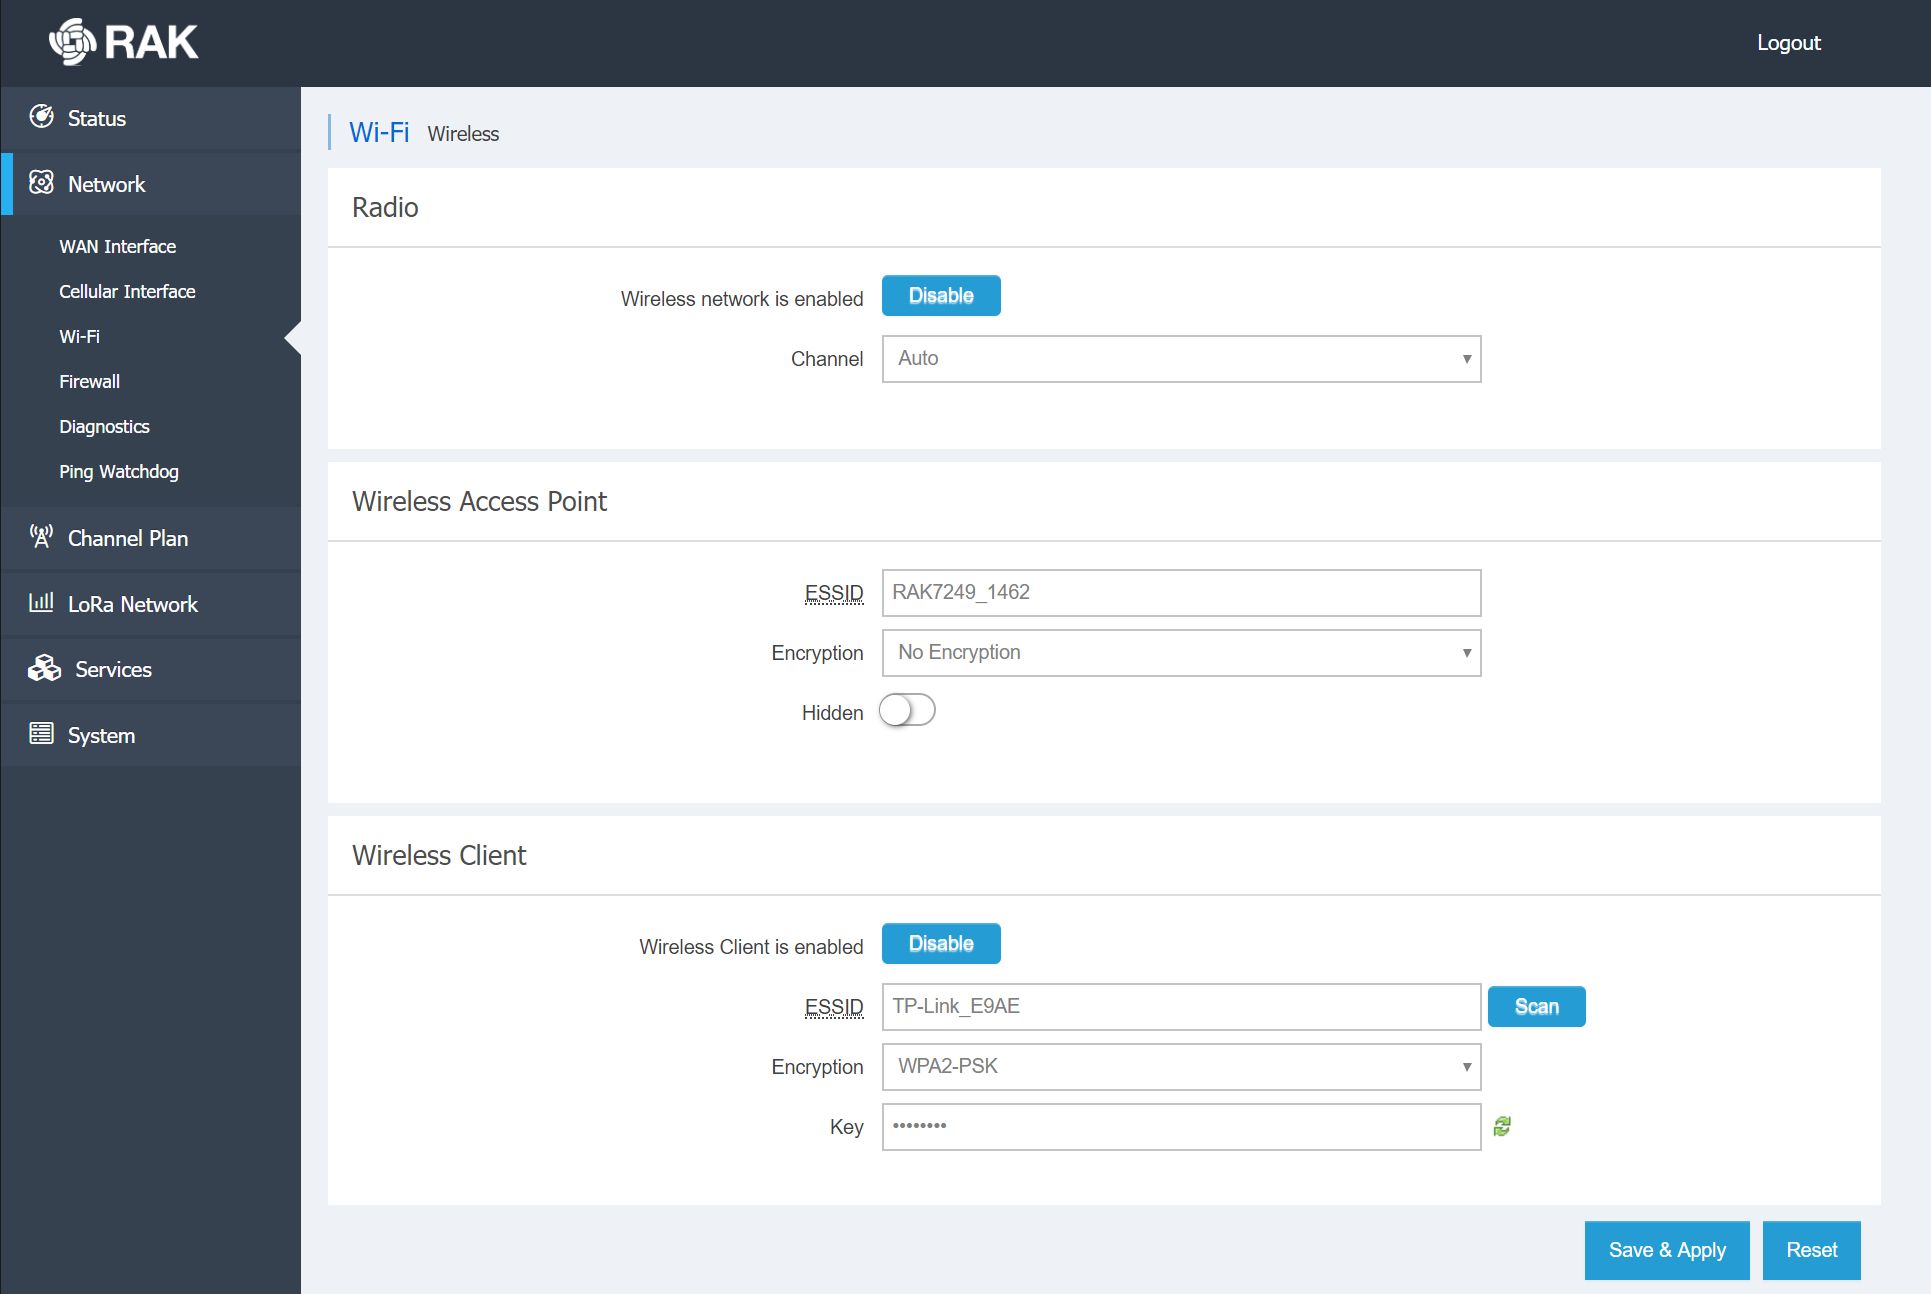
After successfully connecting, your gateway’s WiFi interface will be assigned with an IP address by the DHCP server running on your WiFi router.
WAN Interface
Connect your gateway’s Ethernet port to the PoE port of the PoE injector with an Ethernet cable. Connect the LAN port of the PoE injector to your router.
The DHCP server running on the router will assign an IP address to your gateway’s WAN interface. You can find out this IP address by navigating to Network → WAN Interface.
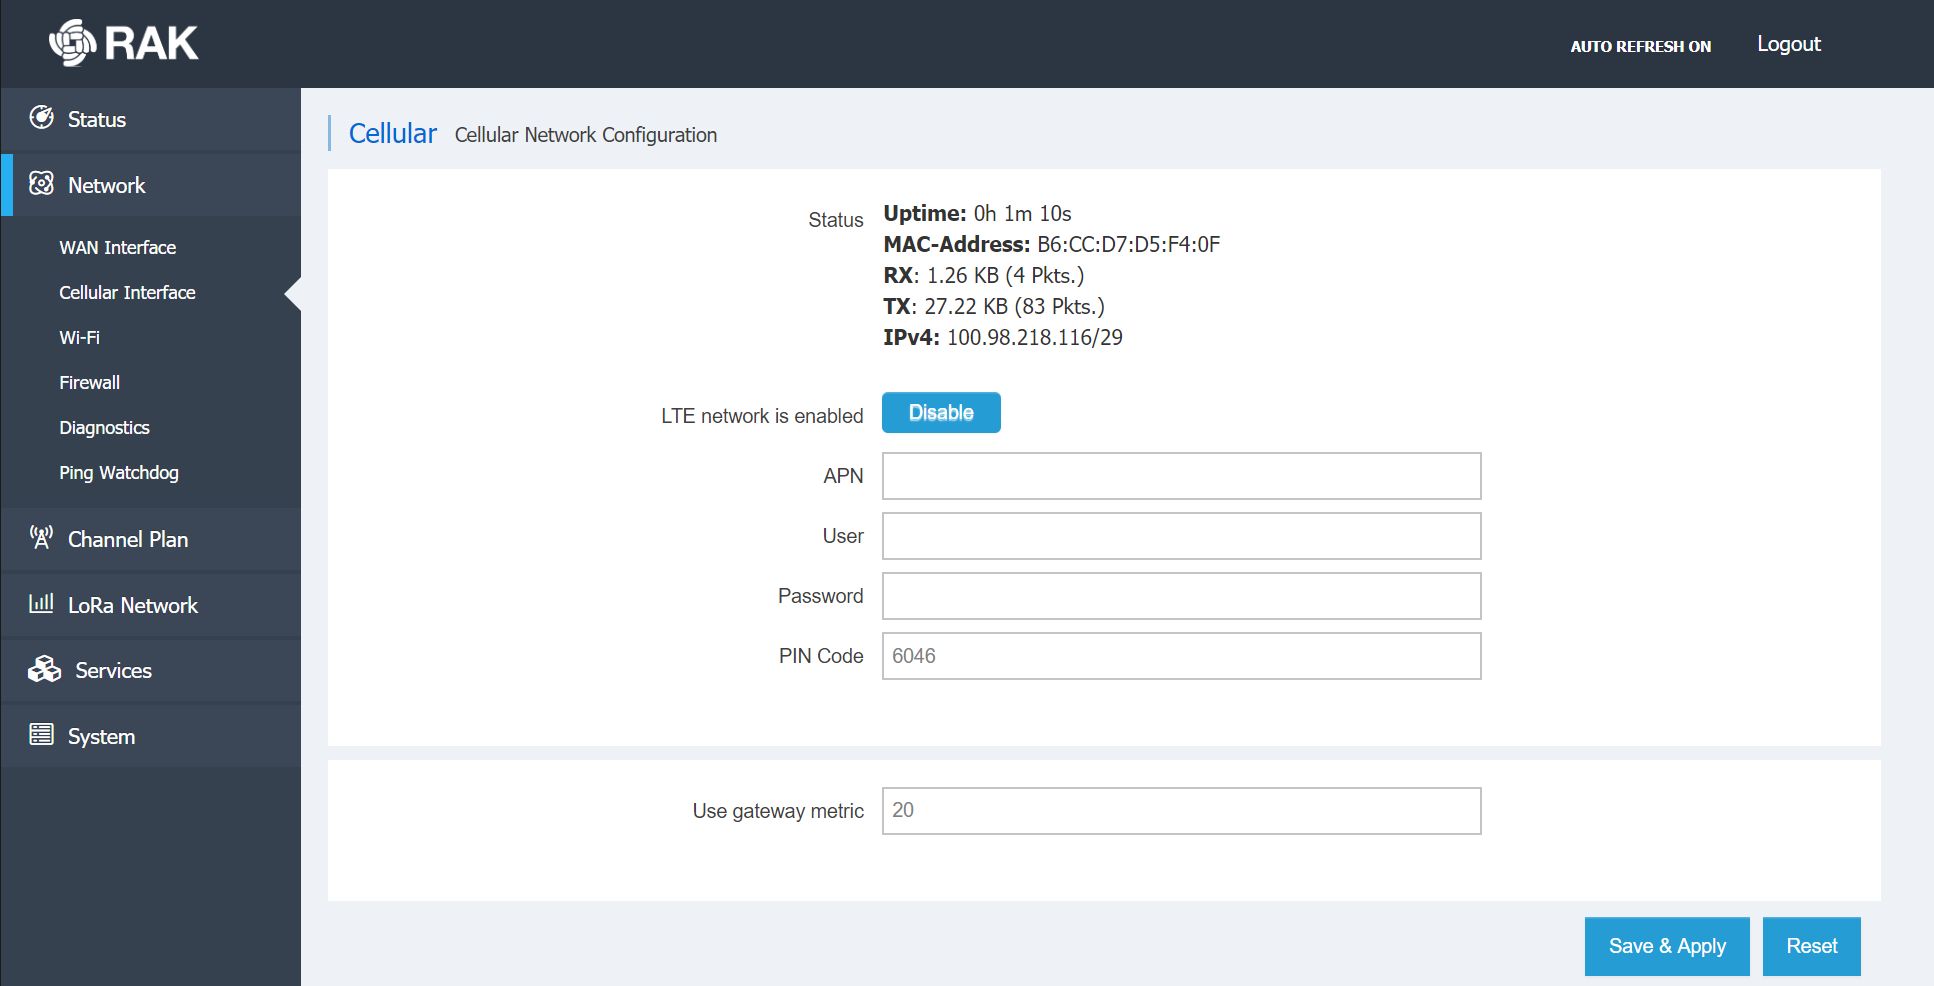
Cellular Interface
Place a SIM card in your gateway’s Nano SIM Socket.
In the Web Management Platform, navigate to Network → Cellular Interface.
If needed, you will need to set APN, User and Password for your provider. Commonly, these parameters are automatically acquired.
If your SIM card needs a PIN, enter it in the PIN Code field.
It is also recommended to set the gateway metric. By increasing the gateway metric, you are lowering the priority of using the specific interface. Since using cellular backhaul can be limiting or expensive, the gateway metric for cellular interface should be the highest one.
The IP address of your gateway will be shown under Status.
Configuring LoRaWAN Network Settings
In the Web Management Platform, navigate to LoRa Network → Network Settings.
RAK7240 can operate in three modes - Network Server, Basic Station and Packet Forwarder. The available network settings depend on which Mode you choose. For this guide, Network Server mode is not relevant. Continue reading to learn to connect RAK7240 to The Things Stack using Basic Station mode or Packet Forwarder mode.
Registration
Create a gateway on The Things Stack by following the instructions for Adding Gateways.
You can find the Gateway EUI under LoRa Network → Network Settings → LoRaWAN Network Settings once you successfully access the Web Management Platform.