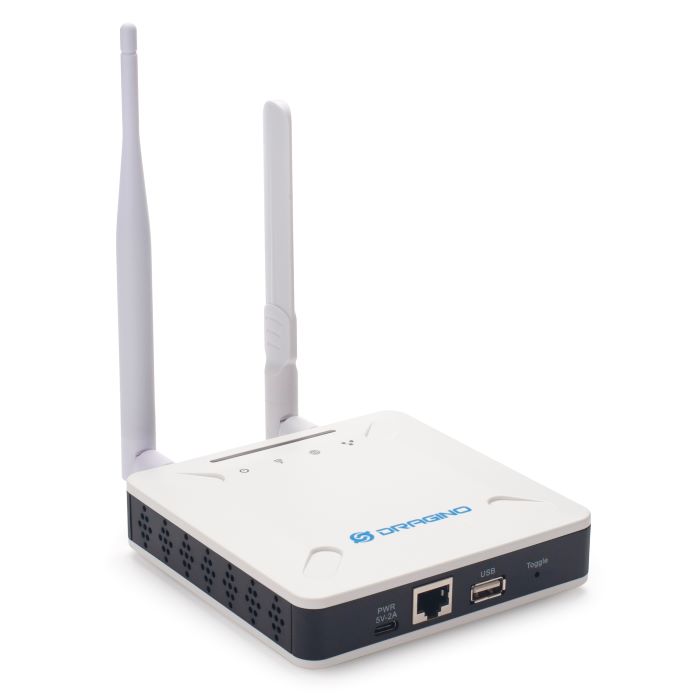
The Dragino LPS8N is a LoRaWAN® indoor gateway based on the open-source OpenWrt Linux operating system. Its hardware is built around the SX1302 LoRa Core™ Digital Baseband Chip and the SX1250 LoRa Core™ Multi-band Sub-GHz RF Front End. The LPS8N provides ten programmable parallel demodulation paths. The gateway can be connected to the internet using Ethernet, WiFi, or optional Cellular (3G/4G) connectivity. It supports the EU868, IN865, US915, AU915, AS923, and KR920 frequency bands.
This page guides you on how to configure the Dragino LPS8N for adding on The Things Stack.
Prerequisites
- A user account on The Things Stack with user rights to add gateways.
- A computer on the same network as the LPS8N.
- The latest version of firmware running on the Dragino LPS8N. Read the Dragino LPS8N user manual for instructions on firmware upgrade.
- Internet access setup for the LPS8N using one of the following methods:
- Using the WAN port of the LPS8N
- As a WiFi client
- Using the built-in 4G modem
Configuring the LPS8N
Navigate to the Web UI using one of the following addresses with a web browser:
- If you are connecting through the Wi-Fi access point generated by the LPS8N, use the default IP address
10.130.1.1. - If your LPS8N is connected to a router via Ethernet or Wi-Fi, use the address
http://IP_ADDRESSorhttp://IP_ADDRESS:8000. ReplaceIP_ADDRESSwith the IP address assigned to the LPS8N by the router.
When prompted for the sign-in, enter the username root and the password dragino.
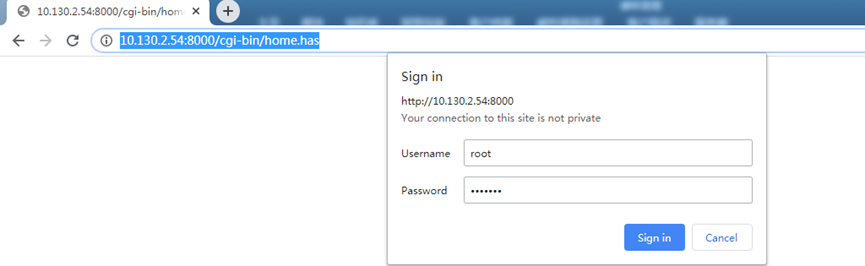
After signing in, you will be directed to the LPS8N’s Web UI.
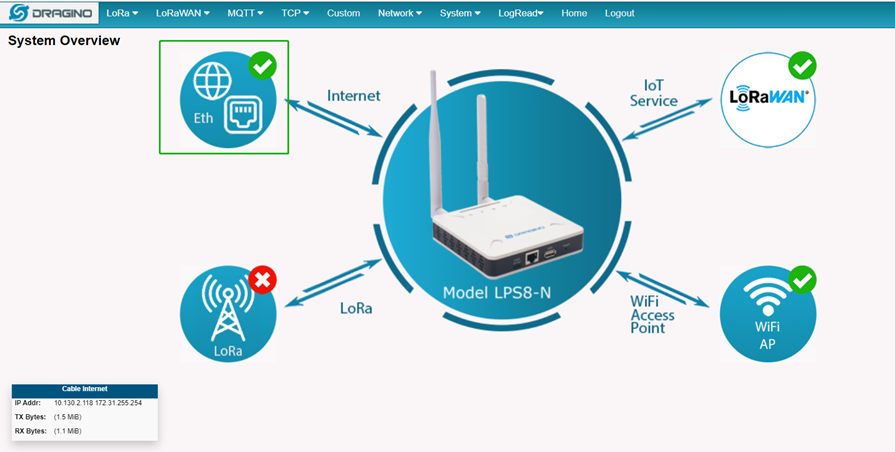
Connect to The Things Stack
After completing the basic configuration, follow the instructions to Connect Dragino LPS8N with LoRa Basics™ Station or to Connect Dragino LPS8N with Semtech UDP Packet Forwarder.