Zoho IoT is a low-code platform for building cloud based web applications tailored to IoT use cases. It lets you securely connect, monitor, and automate IoT enabled devices with ease.
This guide will help you set up an integration between The Things Stack and Zoho IoT.
Prerequisite
- A valid and active Zoho IoT platform account.
- Access to The Things Stack Console.
Step 1: Setting up the Data Stream in Zoho IoT
A Zoho IoT Data Stream contains the credentials required to securely connect and integrate with The Things Stack LoRa Network Server. It enables the ingestion of uplink data from connected LoRa devices, allowing seamless monitoring and management within the Zoho IoT application.
i. Sign into Zoho IoT and create an application.
ii. Access the End Application.
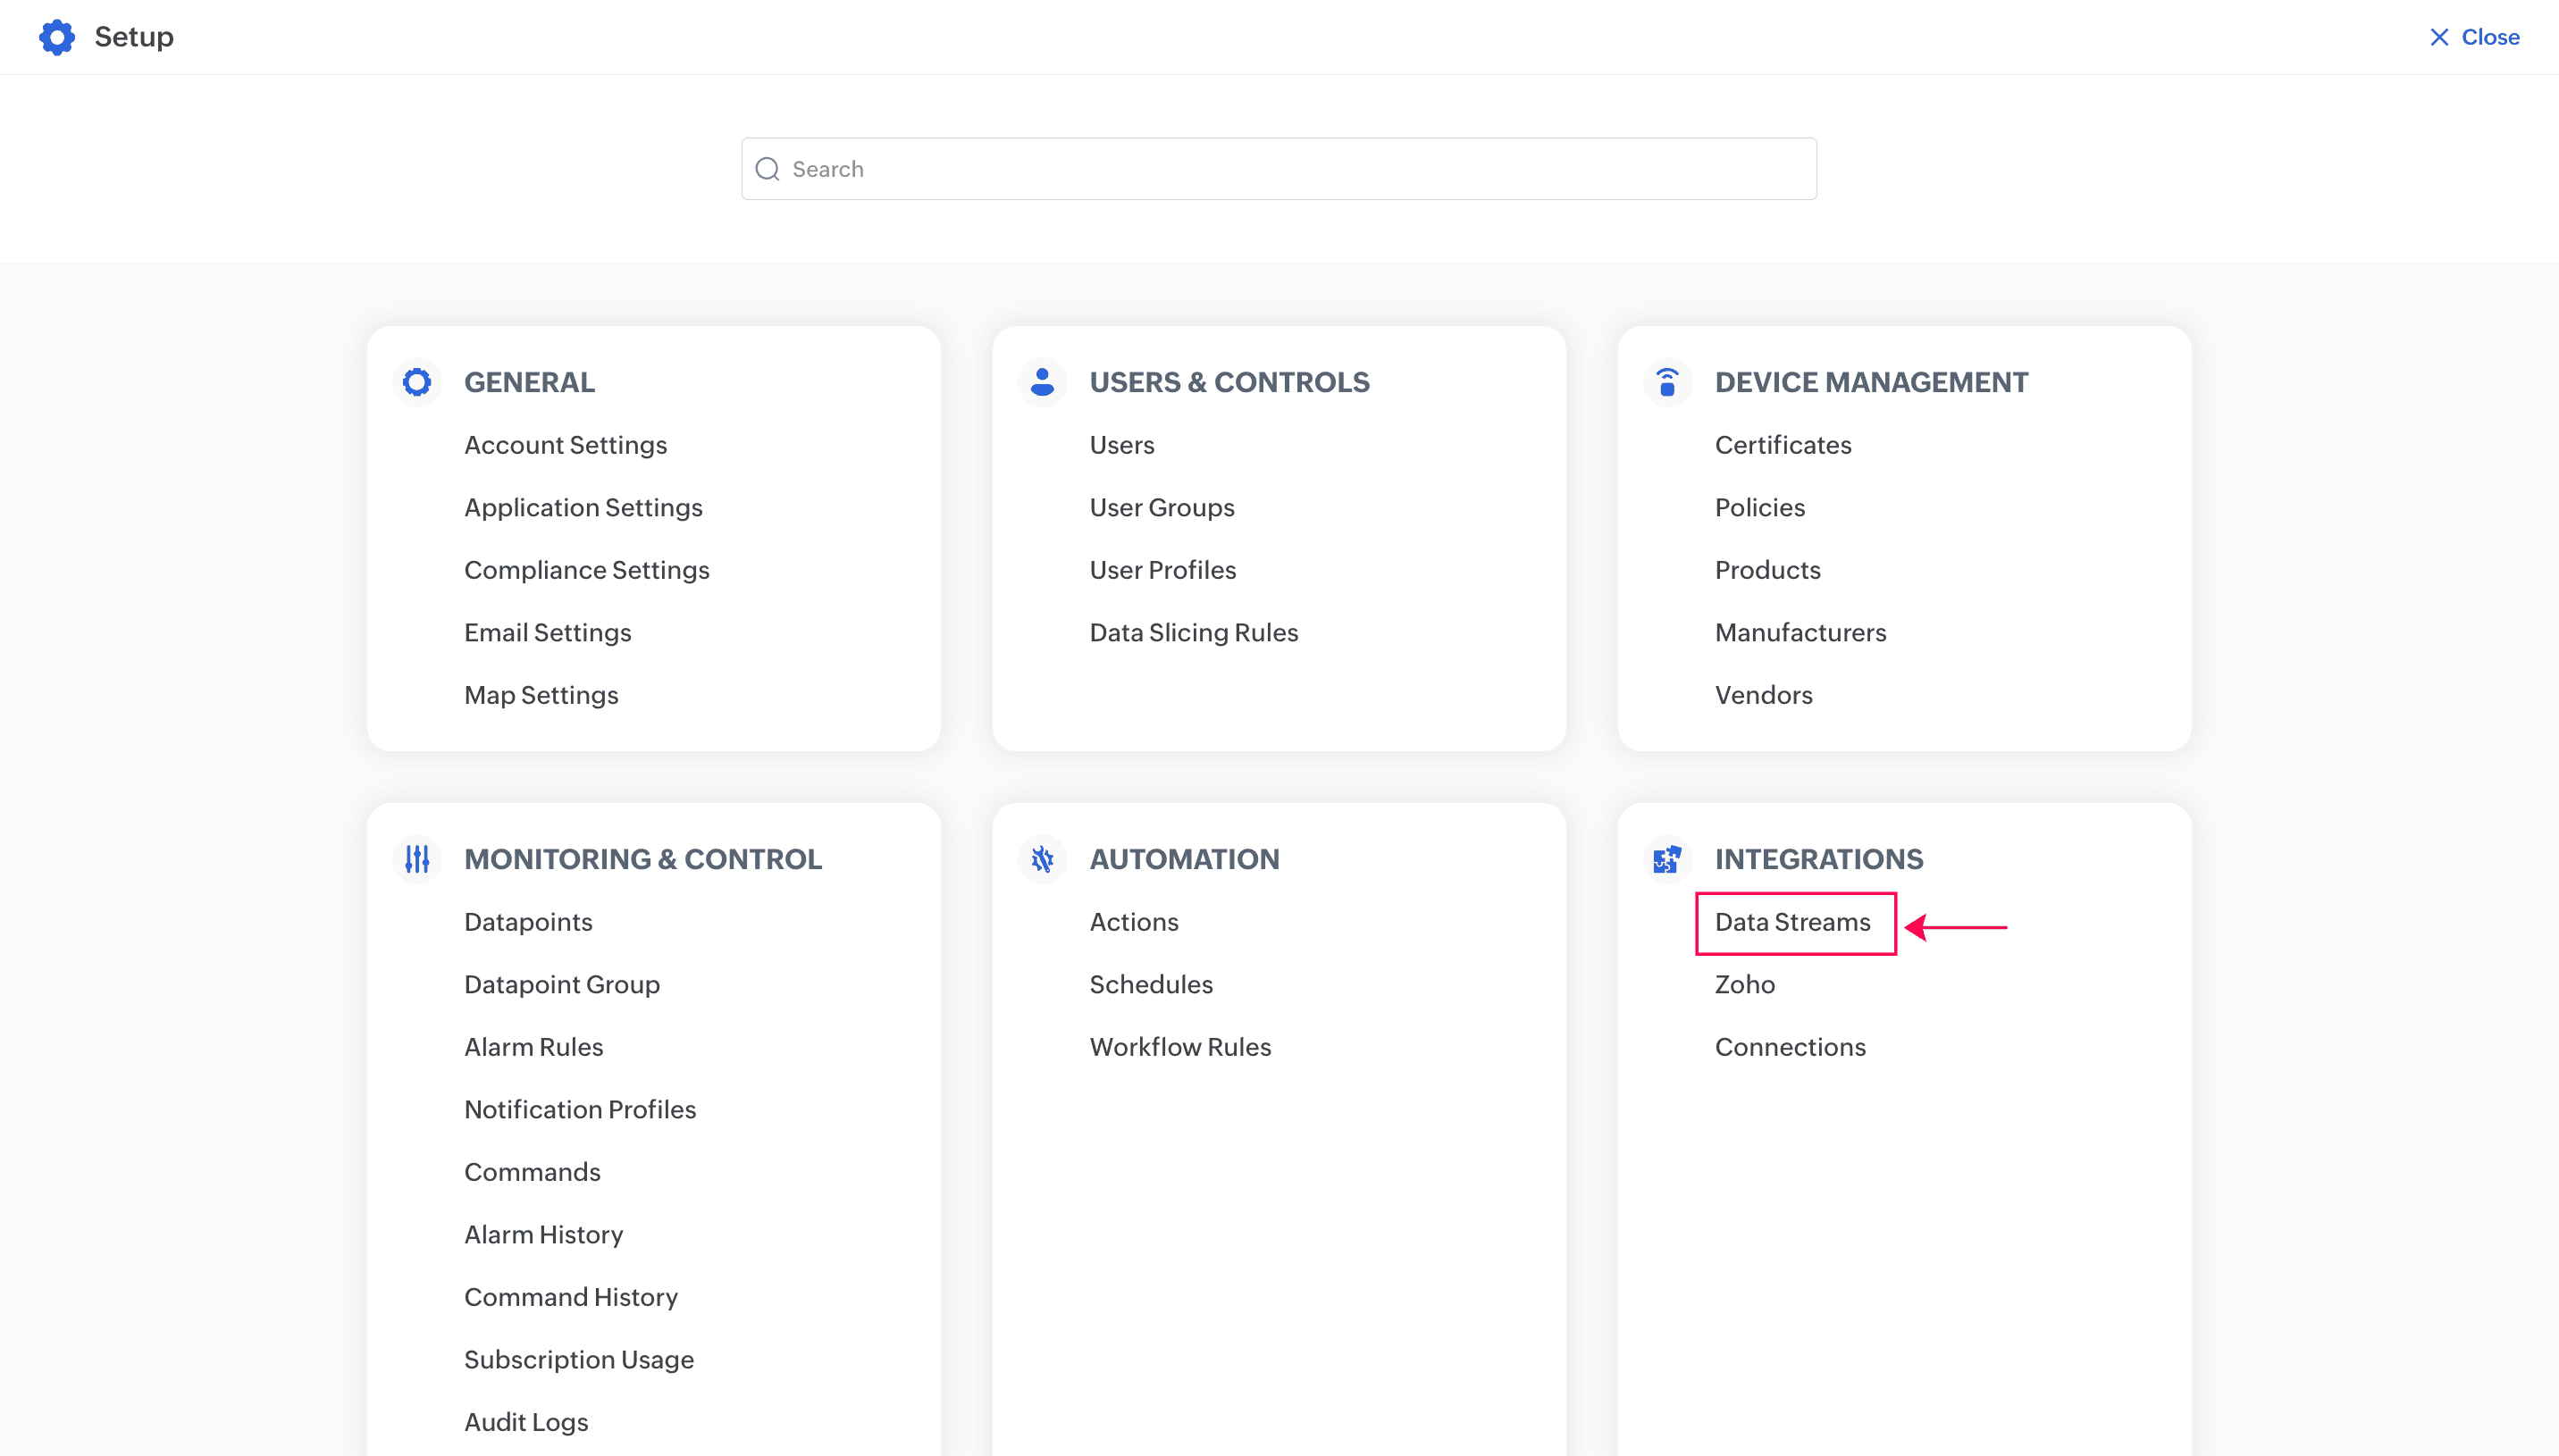
iii. Click the Settings icon at the top right.

iv. Click Data Streams under the INTEGRATIONS section.
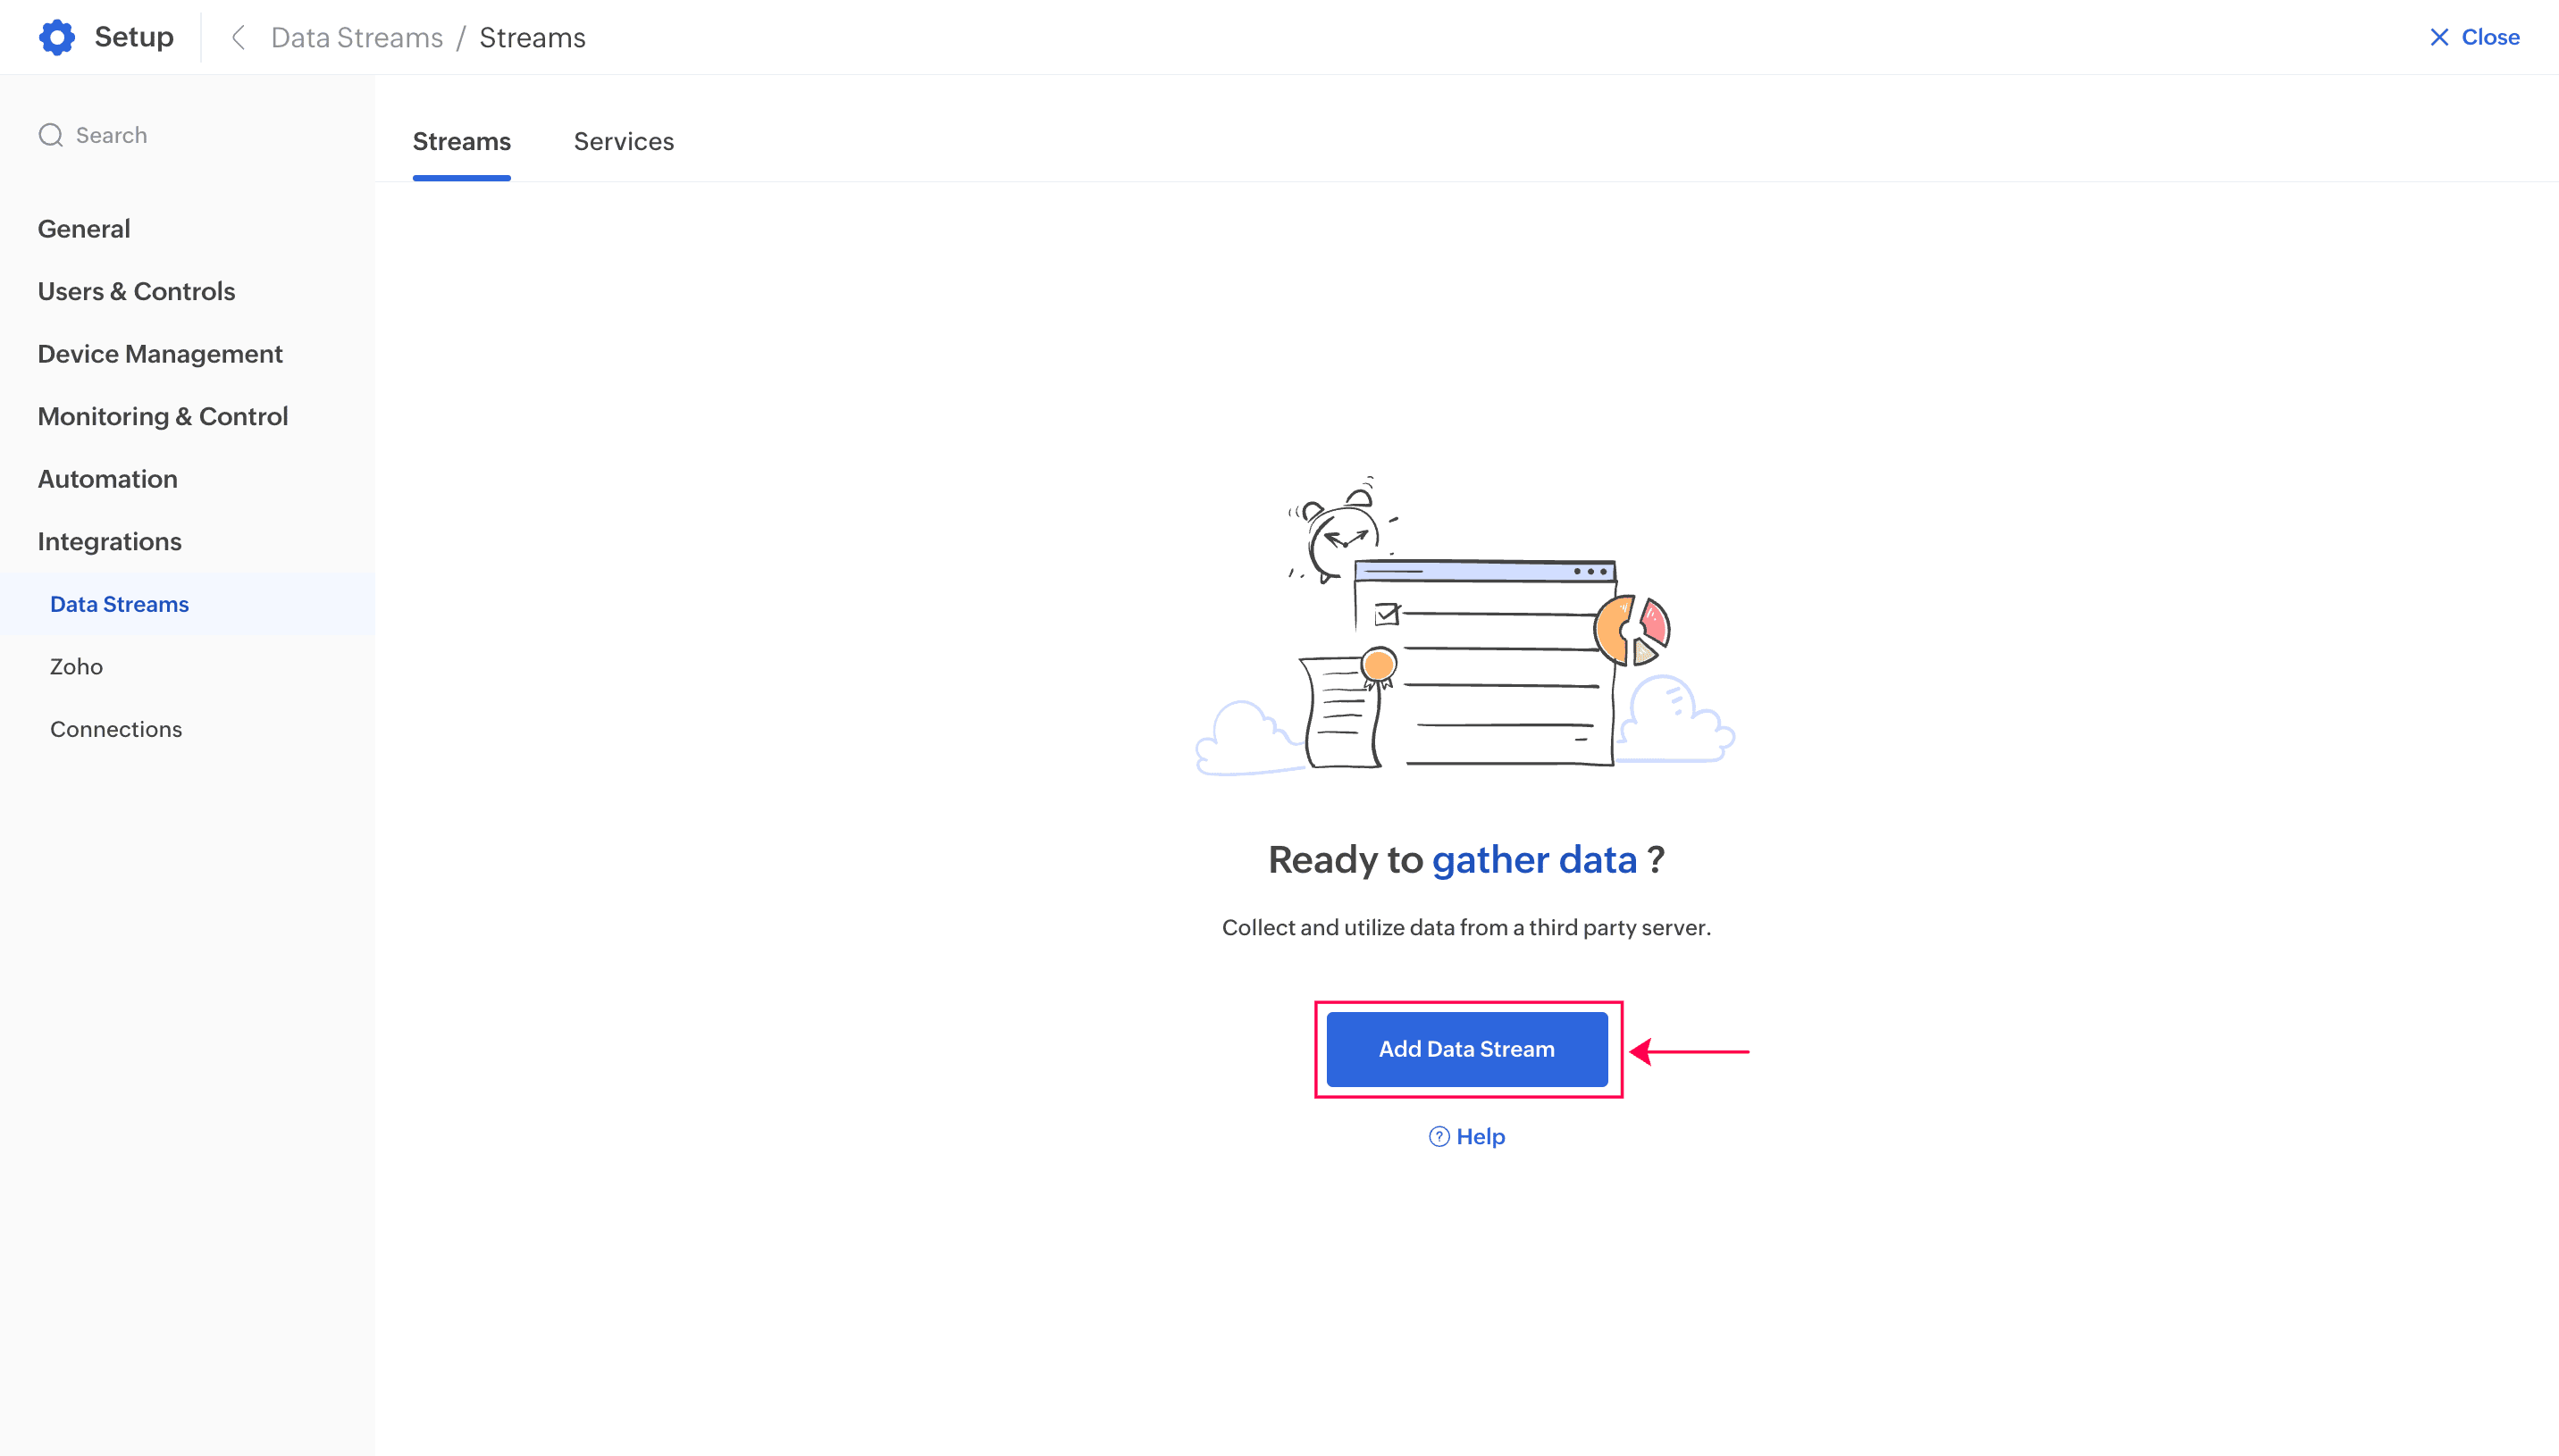
v. Click Add Data Stream.
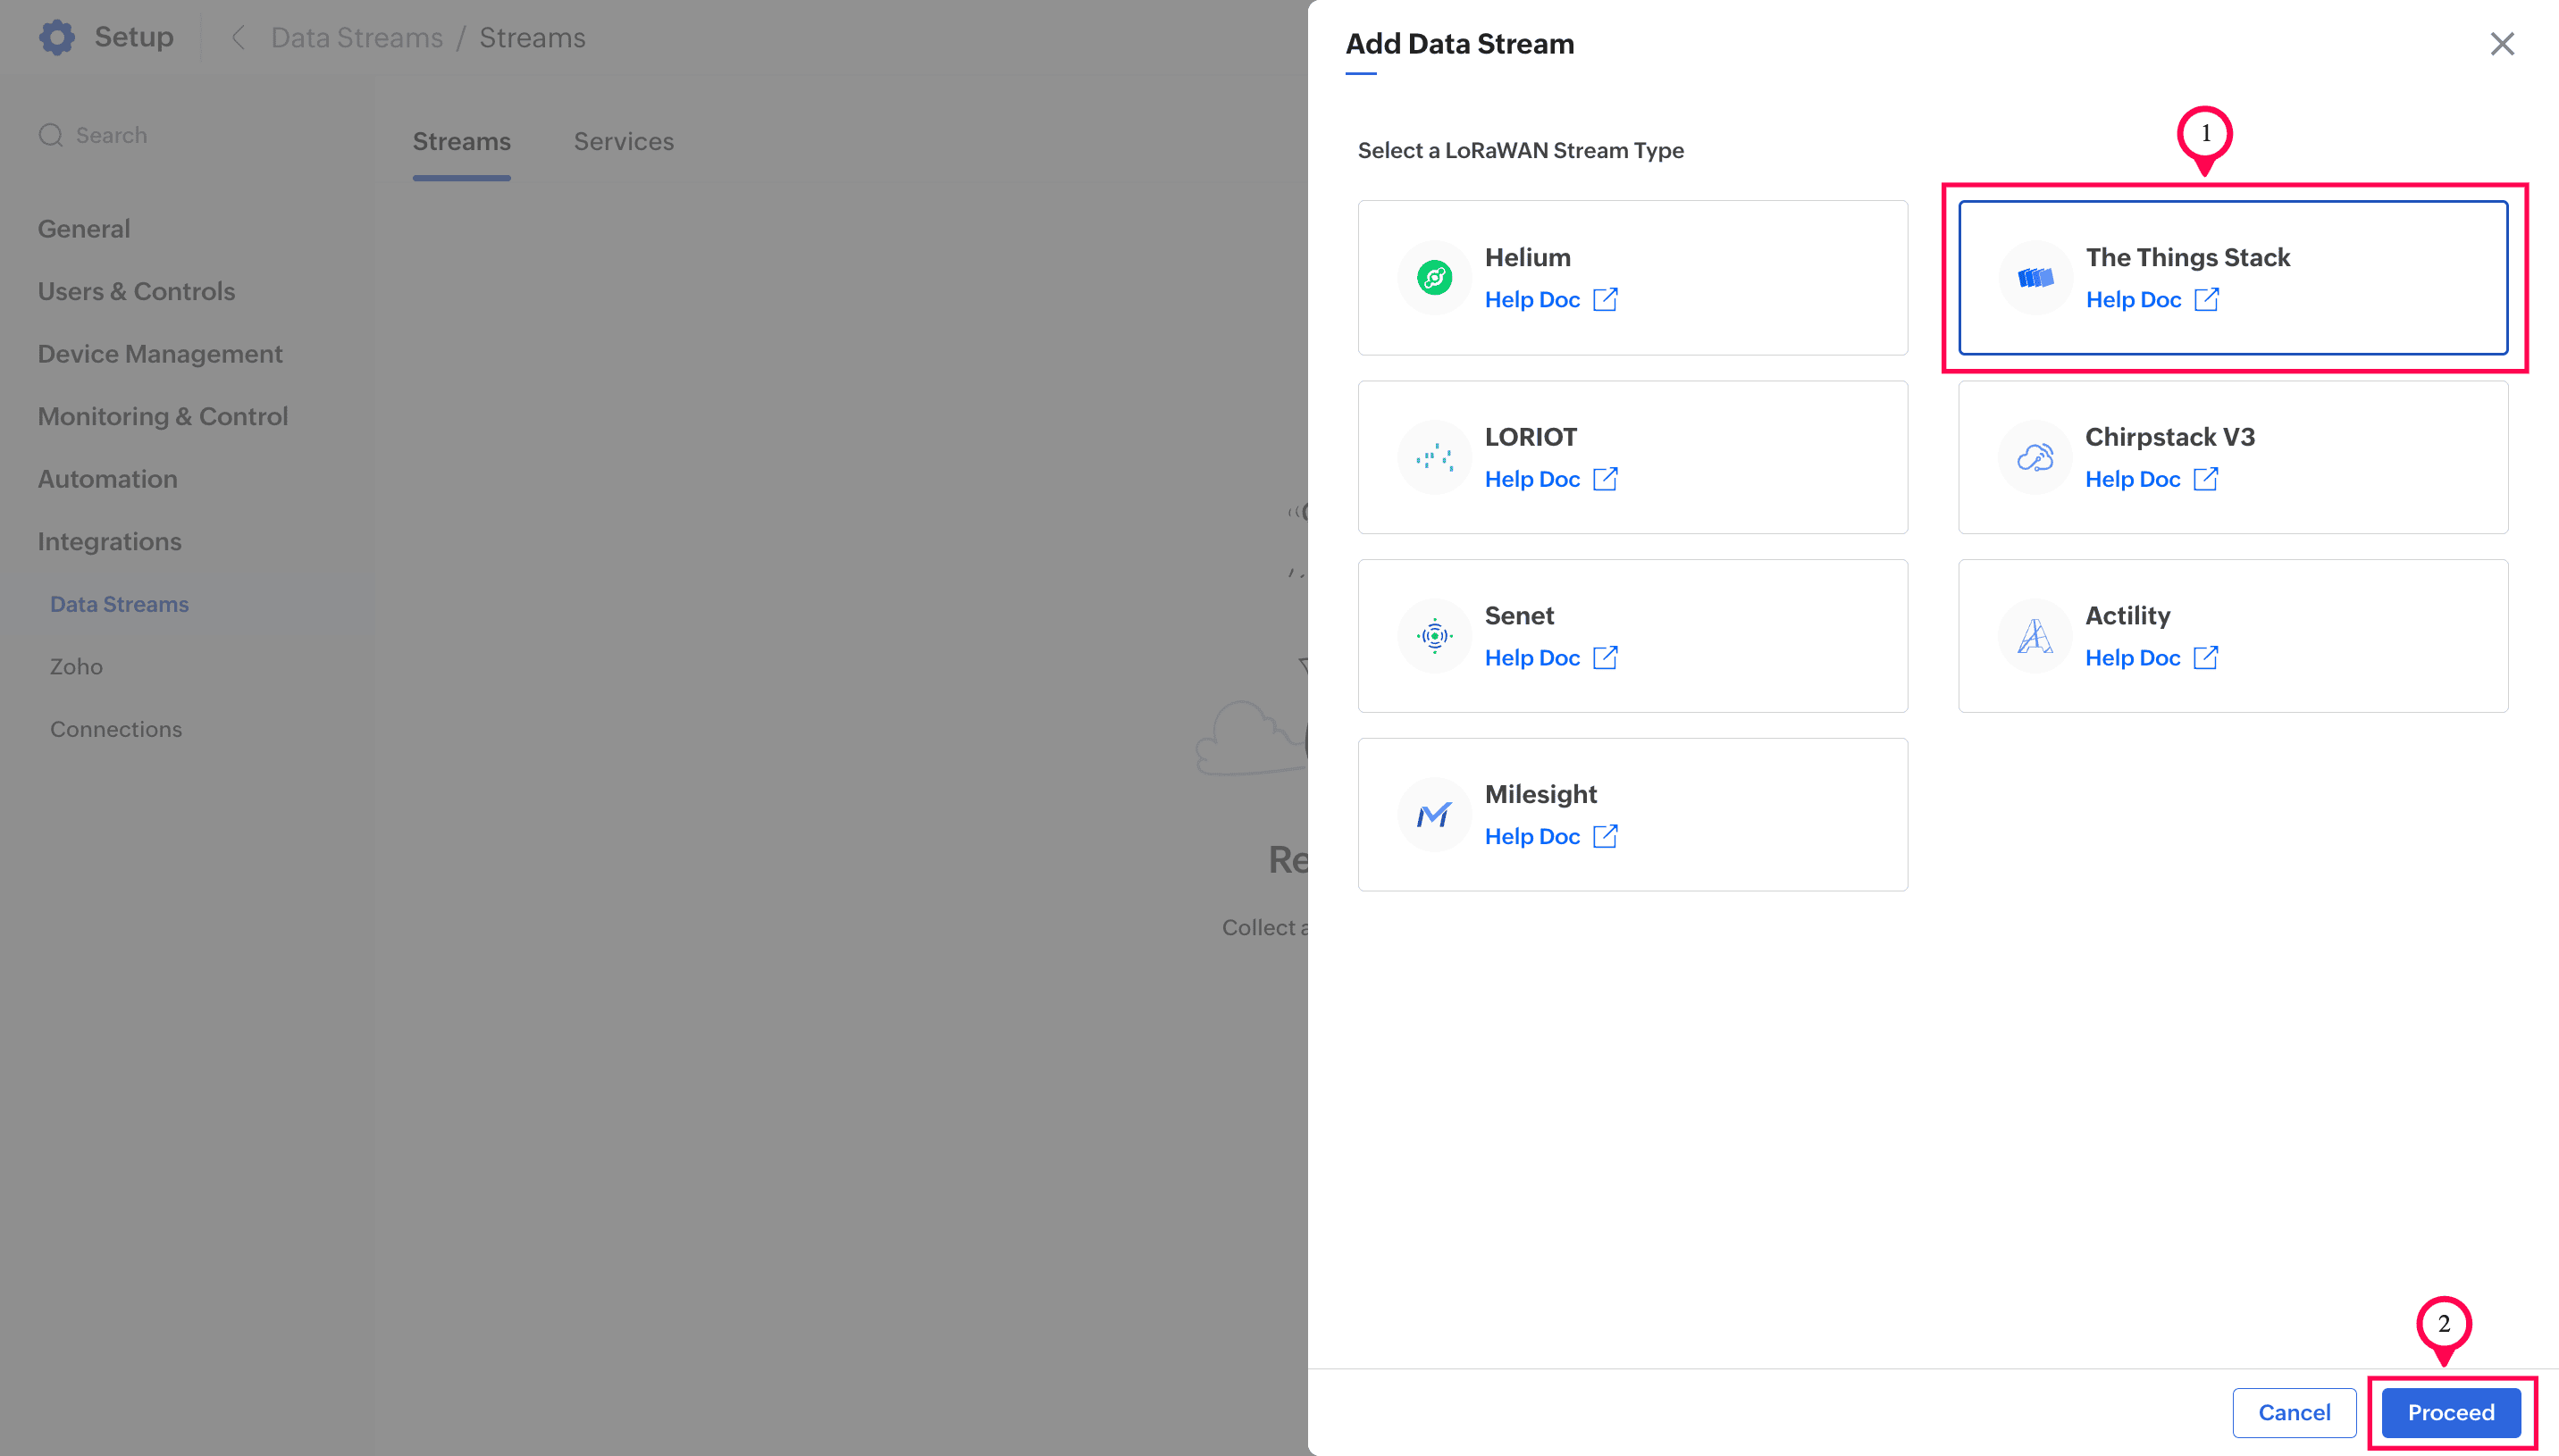
vi. Choose The Things Stack and click Proceed.
vii. Provide a name for the data stream and the Keep Alive interval. For this illustration, The Things Stack is given as the name and 10 minutes is set as the Keep Alive Interval.
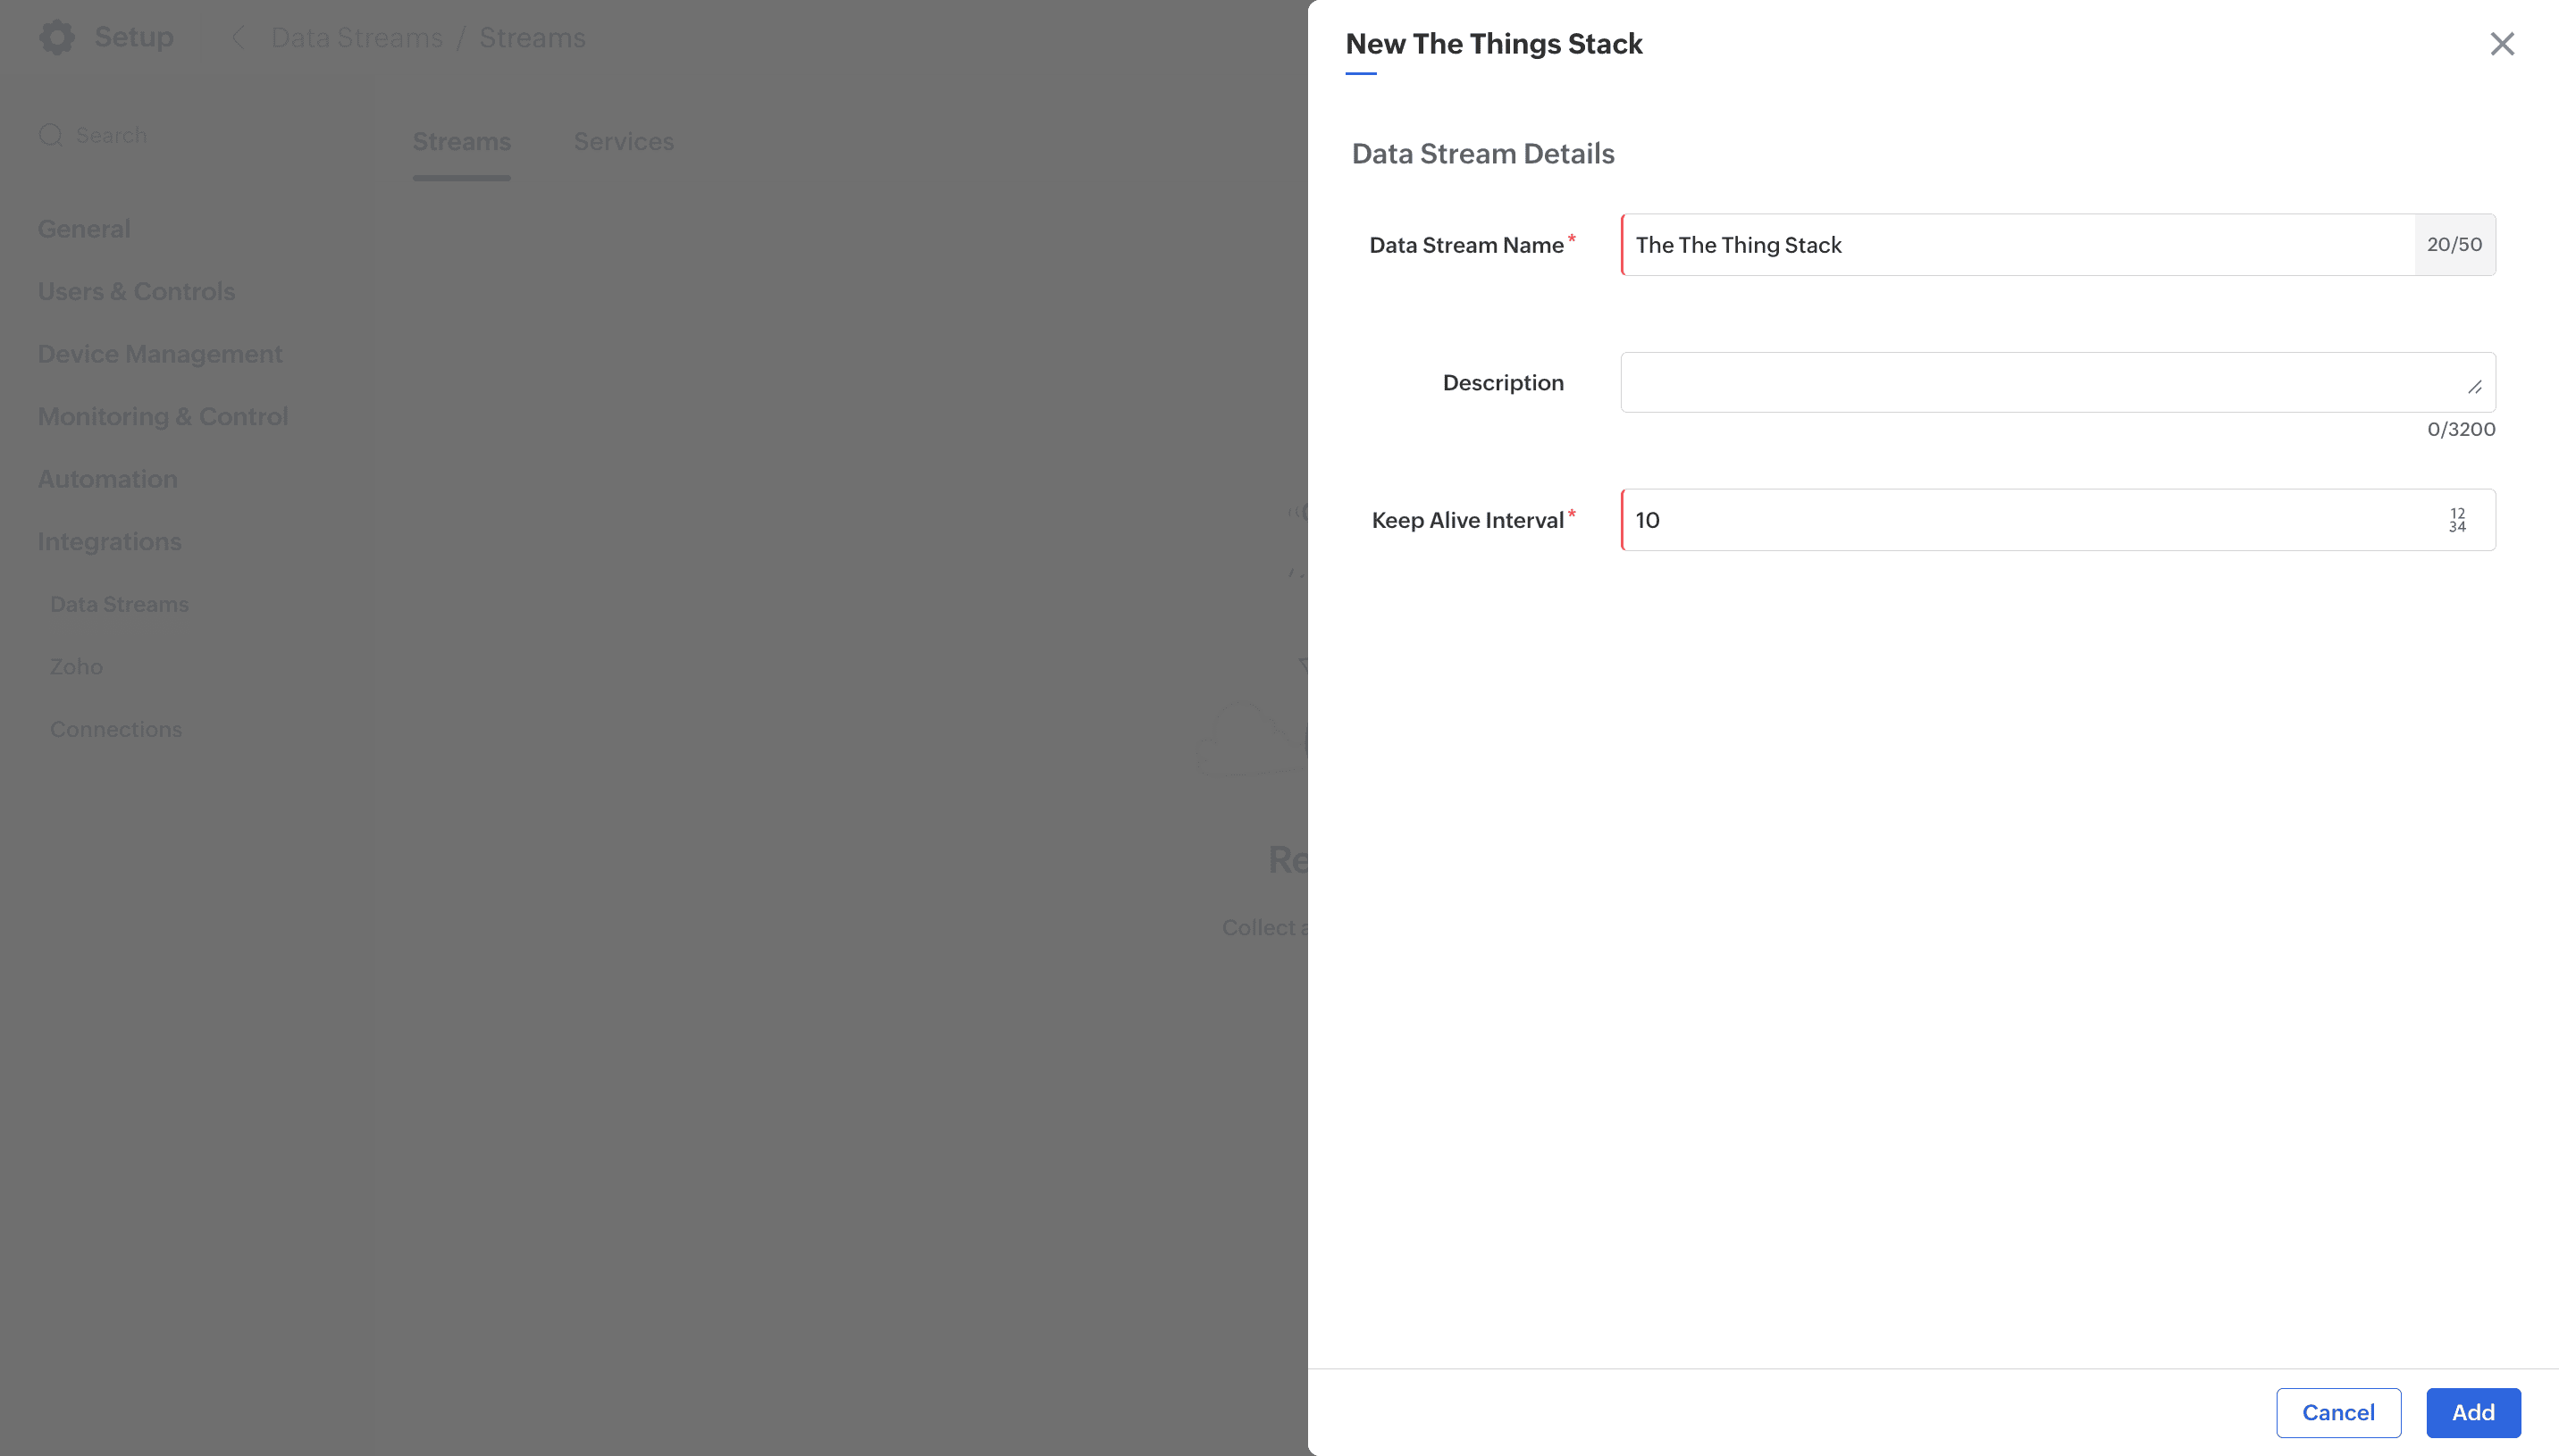
Note: The Keep Alive Interval tells the application how long to wait for data from the LoRa Network Server (LNS). If no data is received within this time, the data stream’s connection status changes to Disconnected. The interval is measured in minutes.
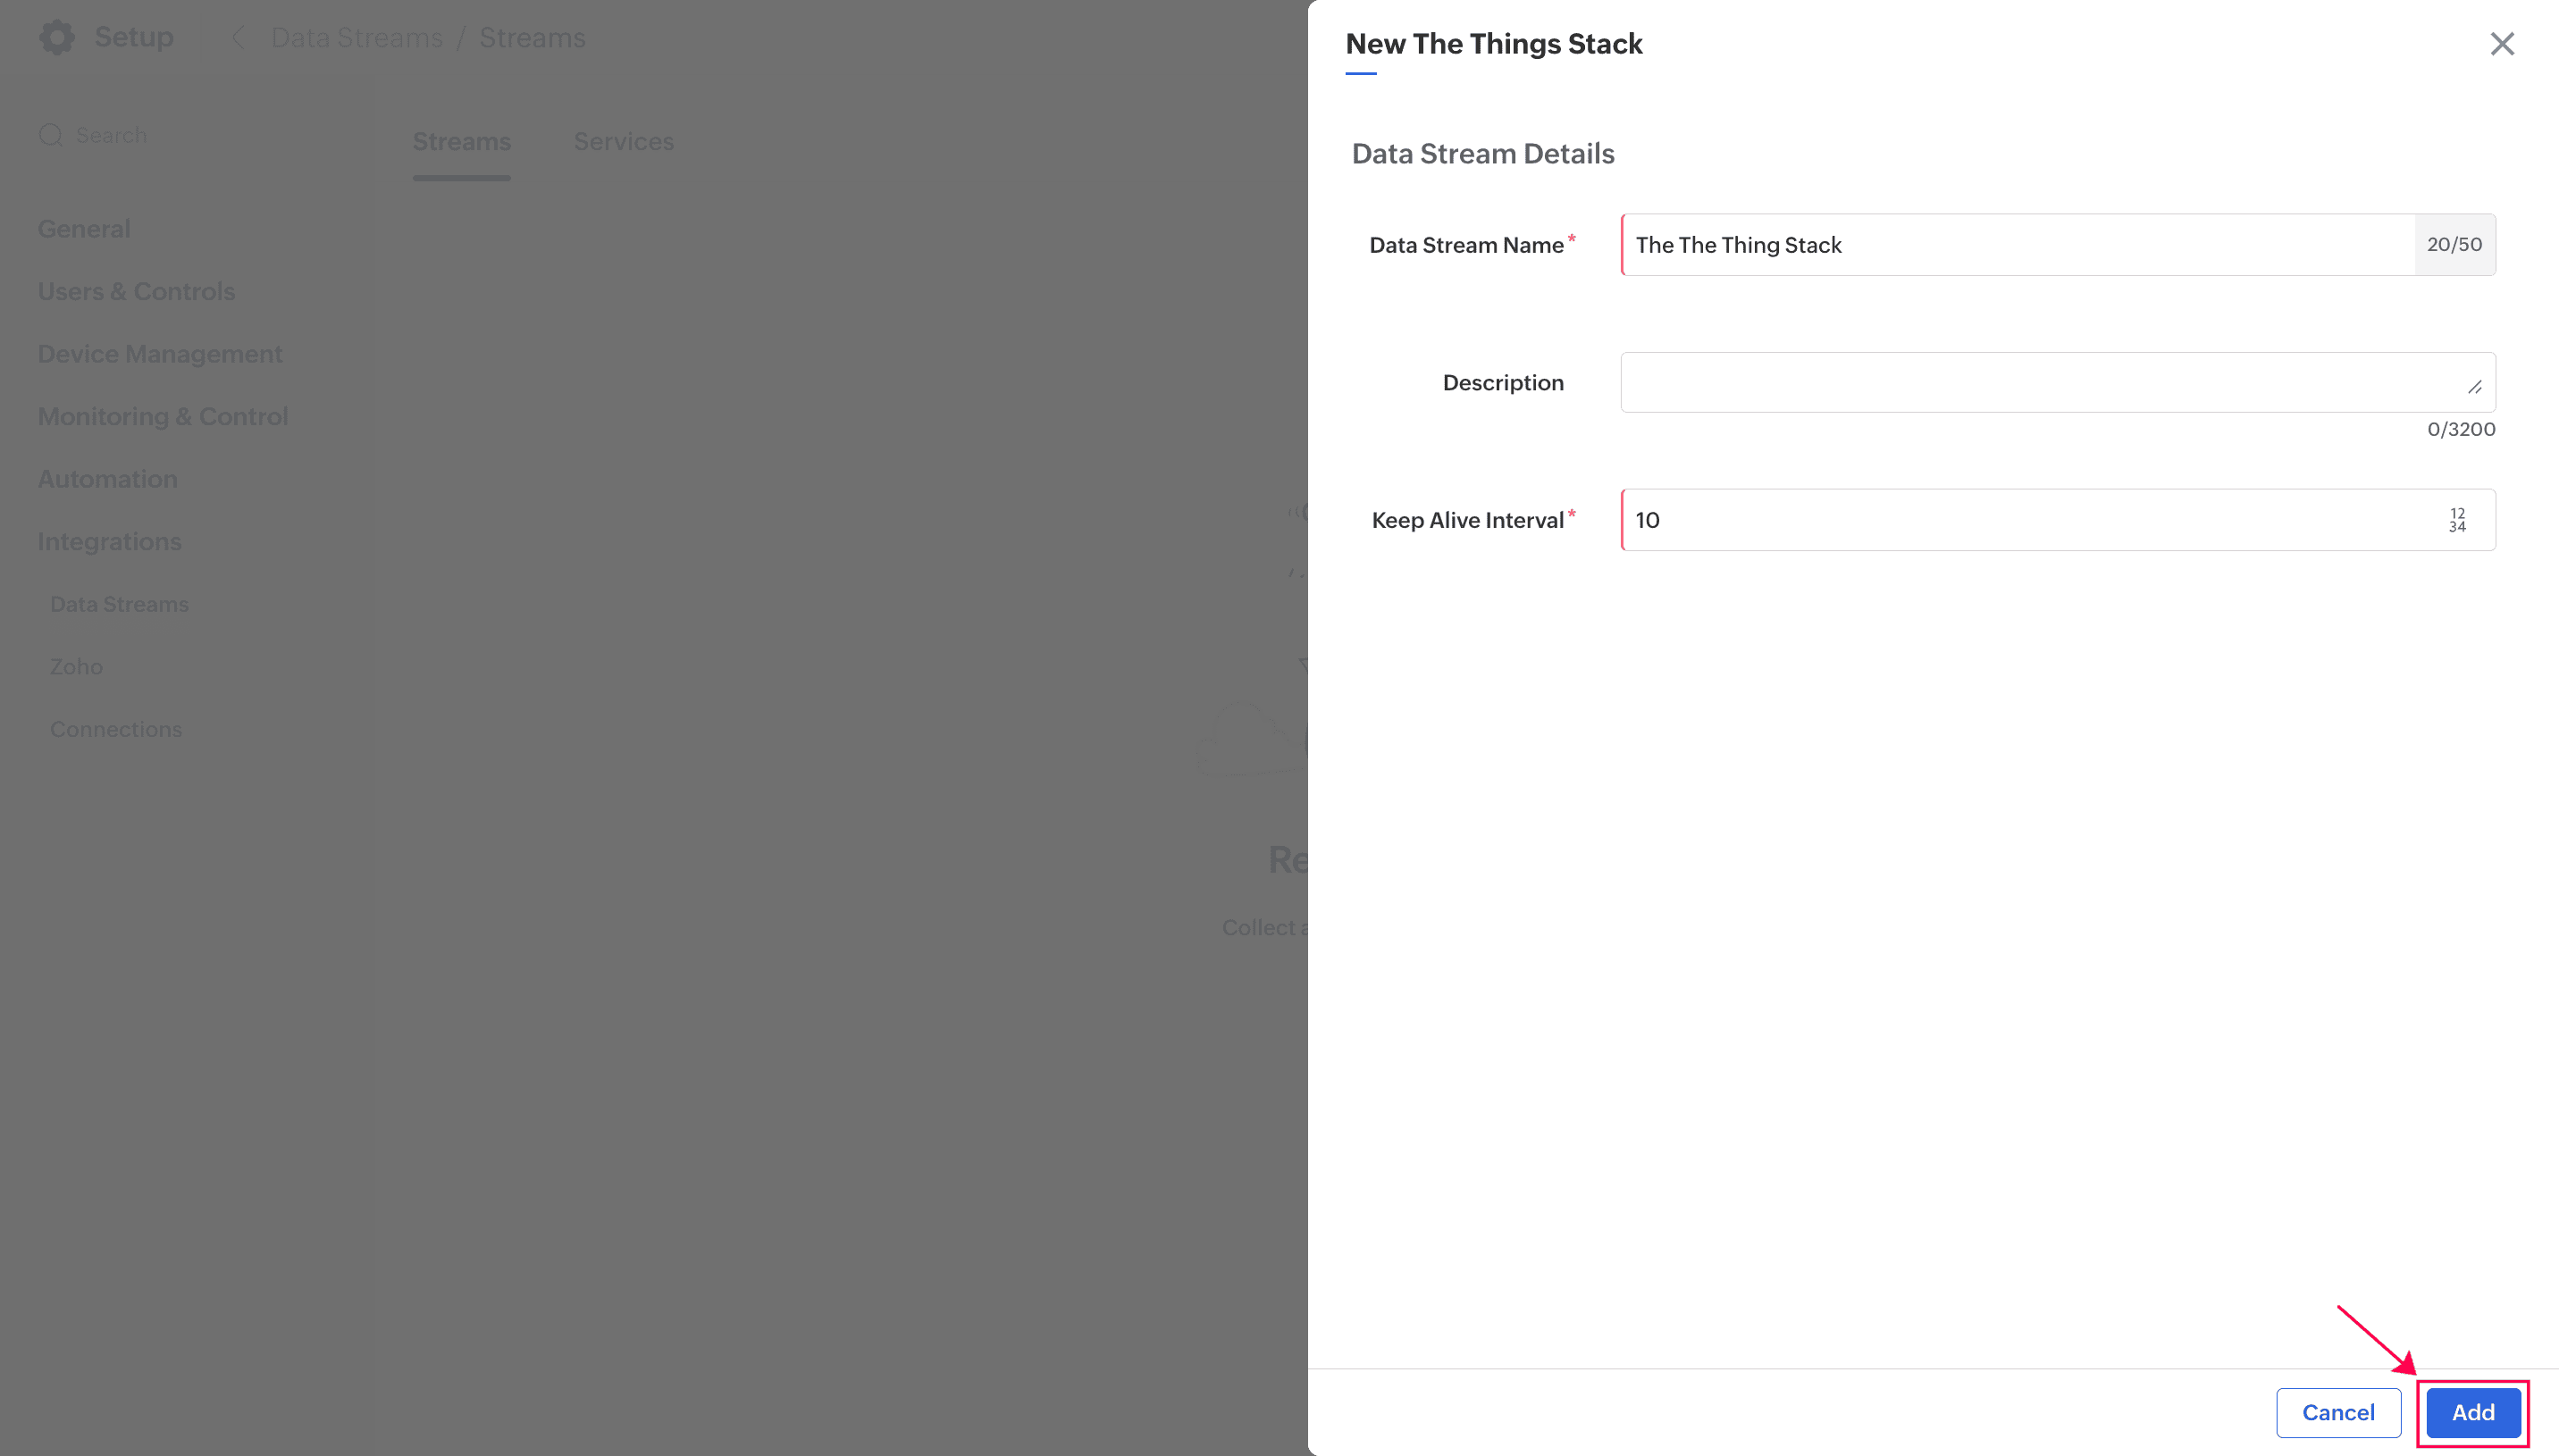
viii. Click Add. The data stream will now be added to the application, and the connection credentials will be displayed.
ix. Click Ok in the addition successful pop-up dialog box. This will open the data stream’s information page.

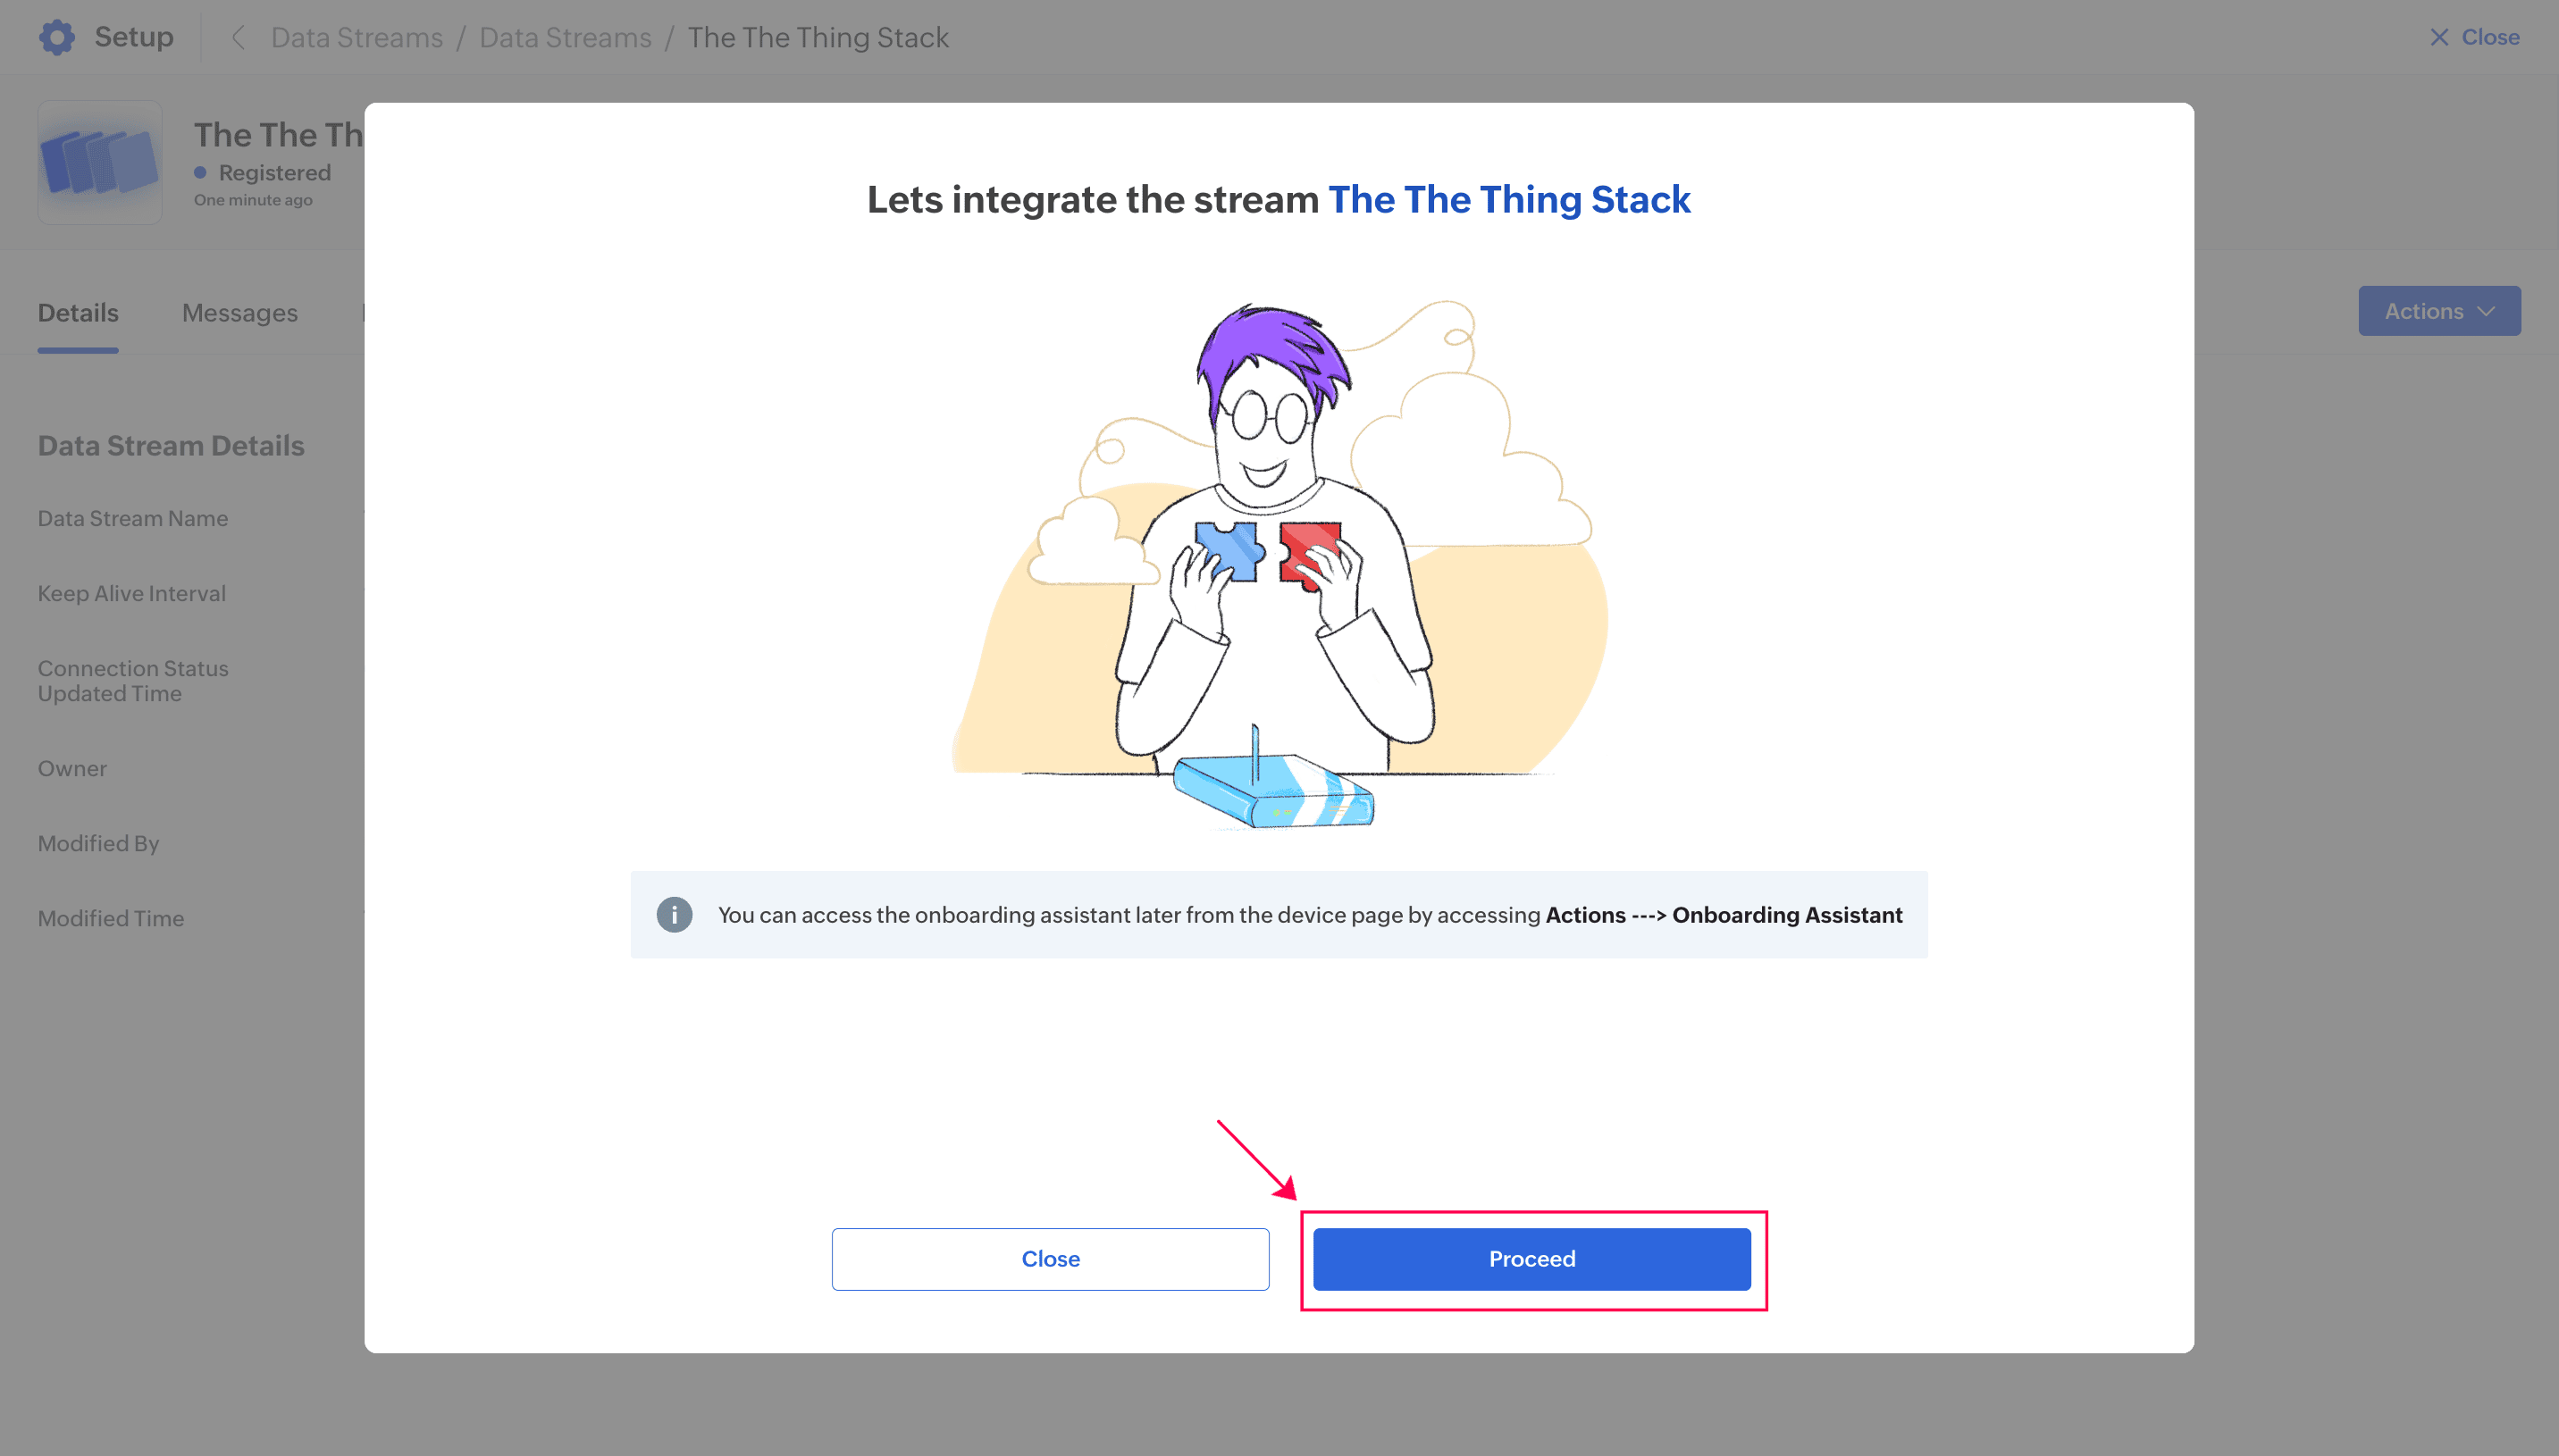
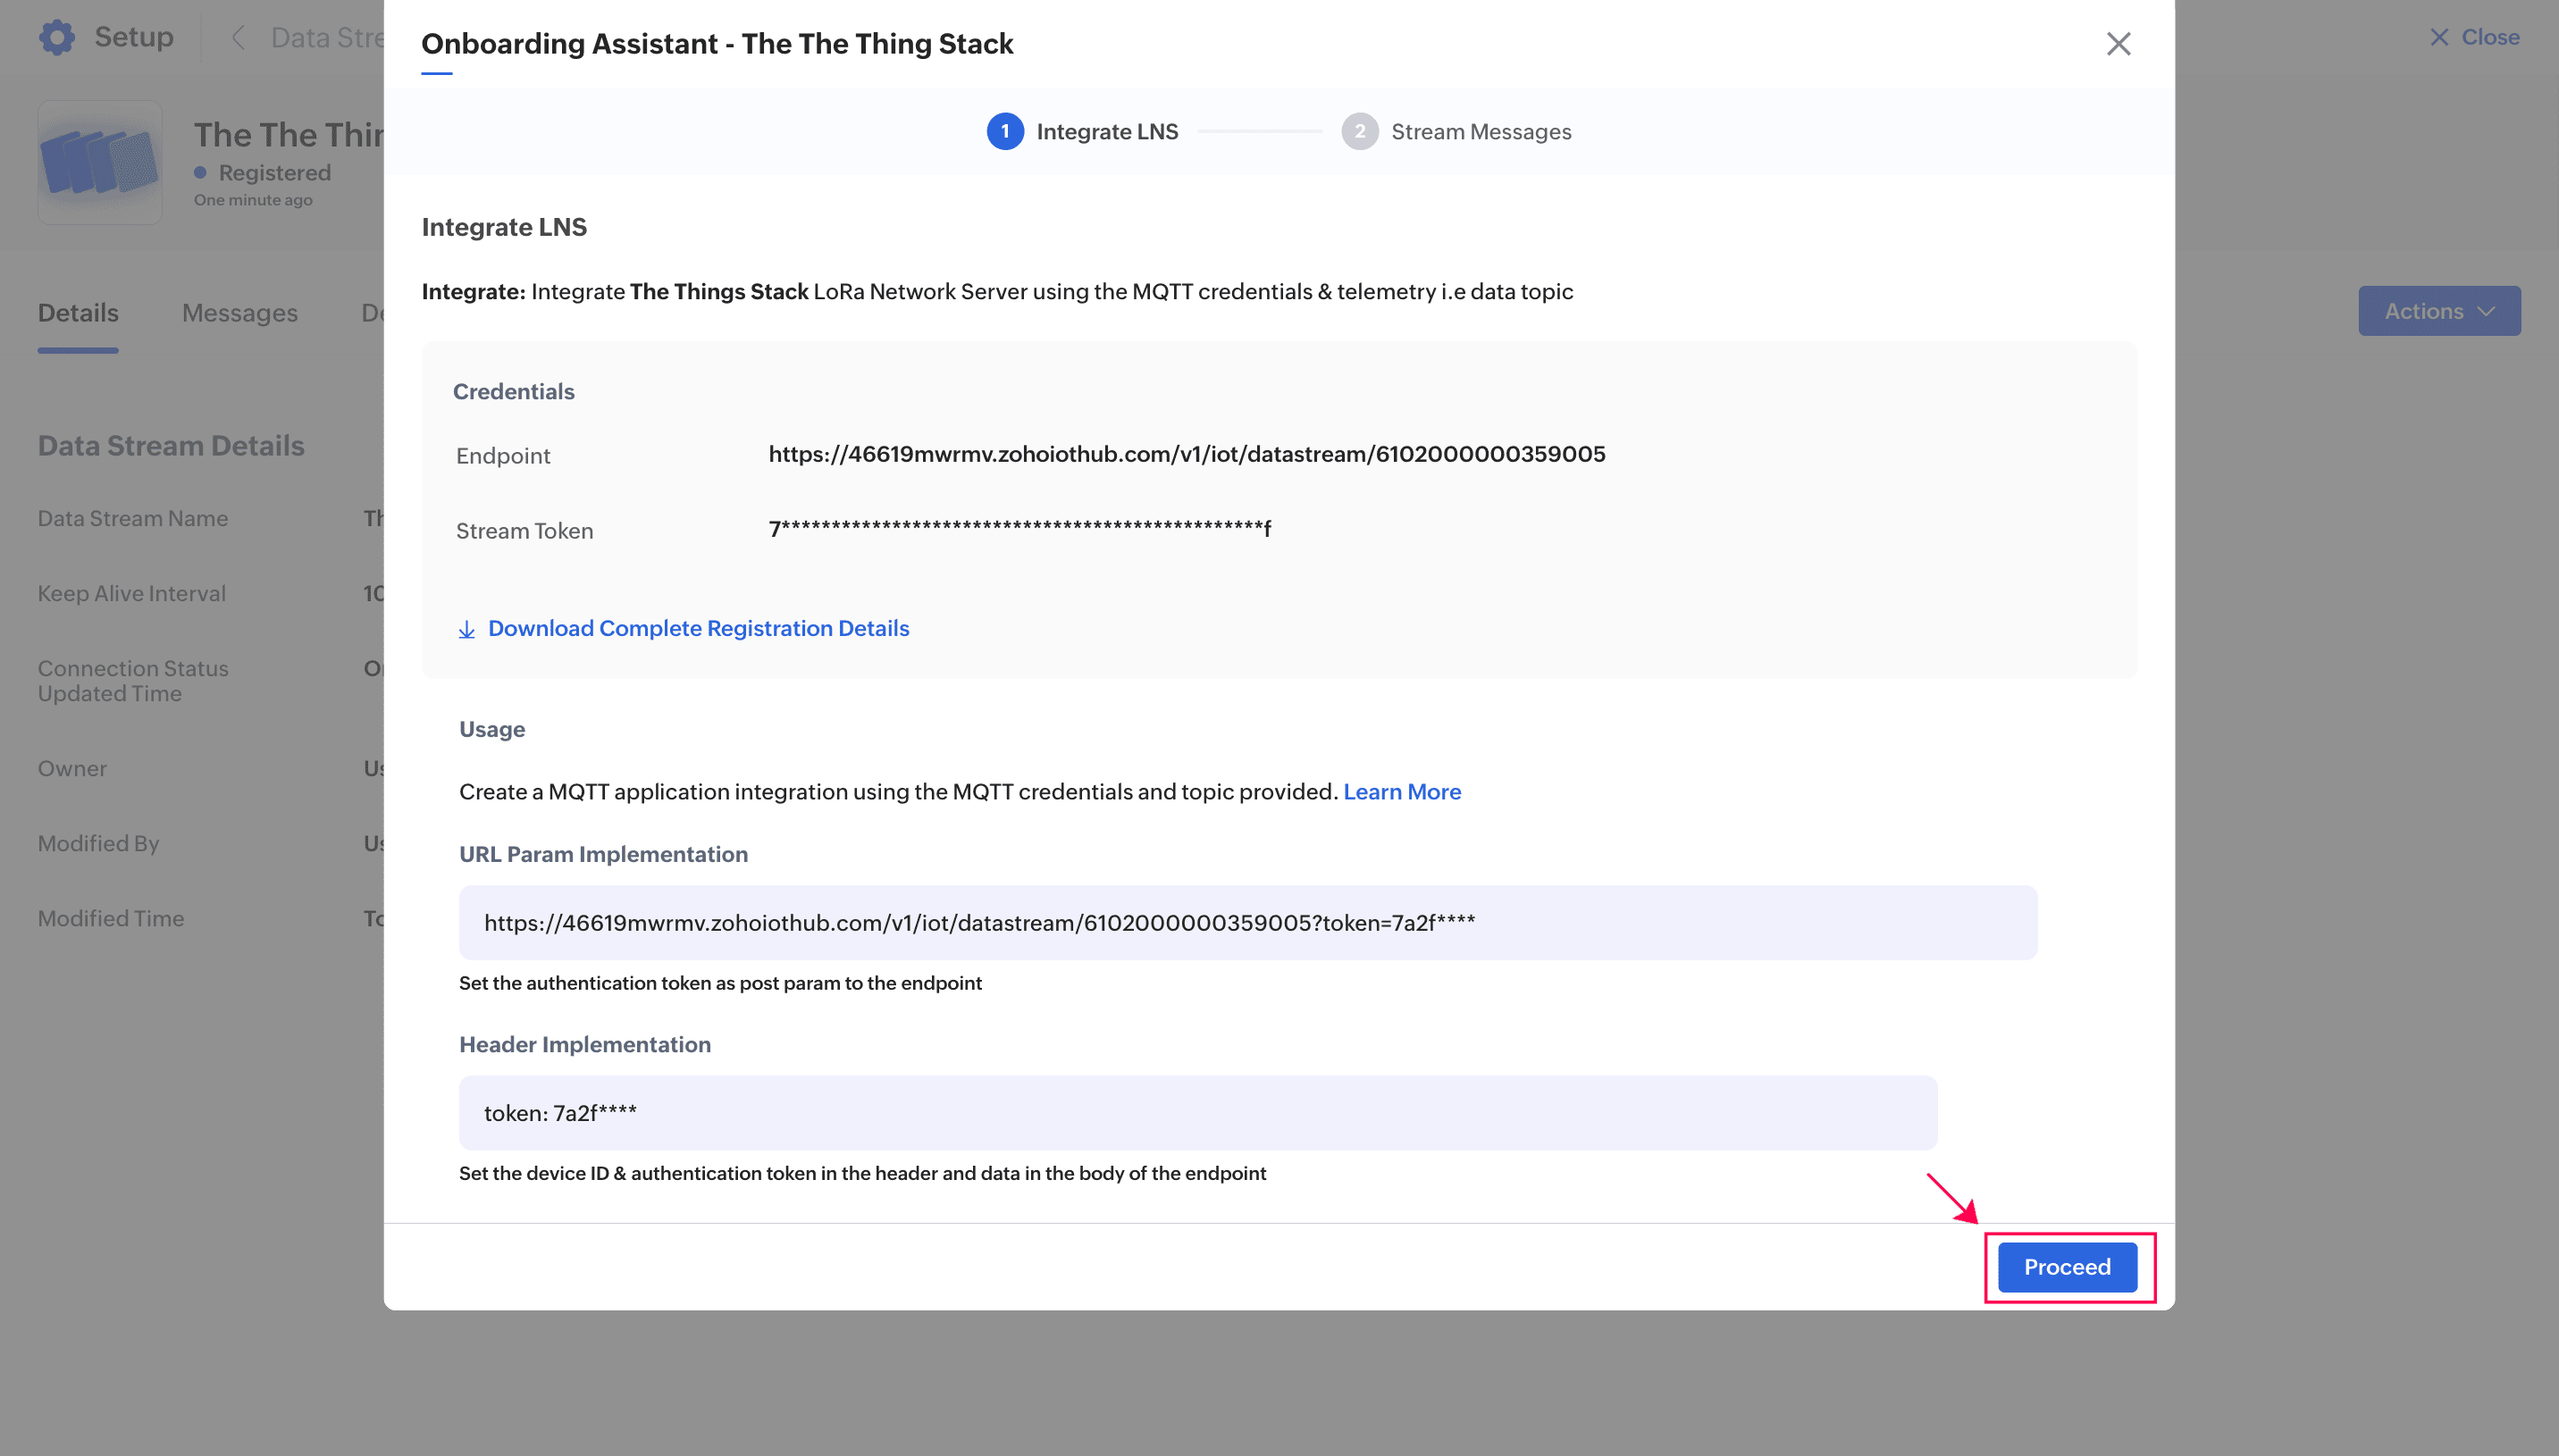
x. Click Proceed in the Onboarding wizard that appears.
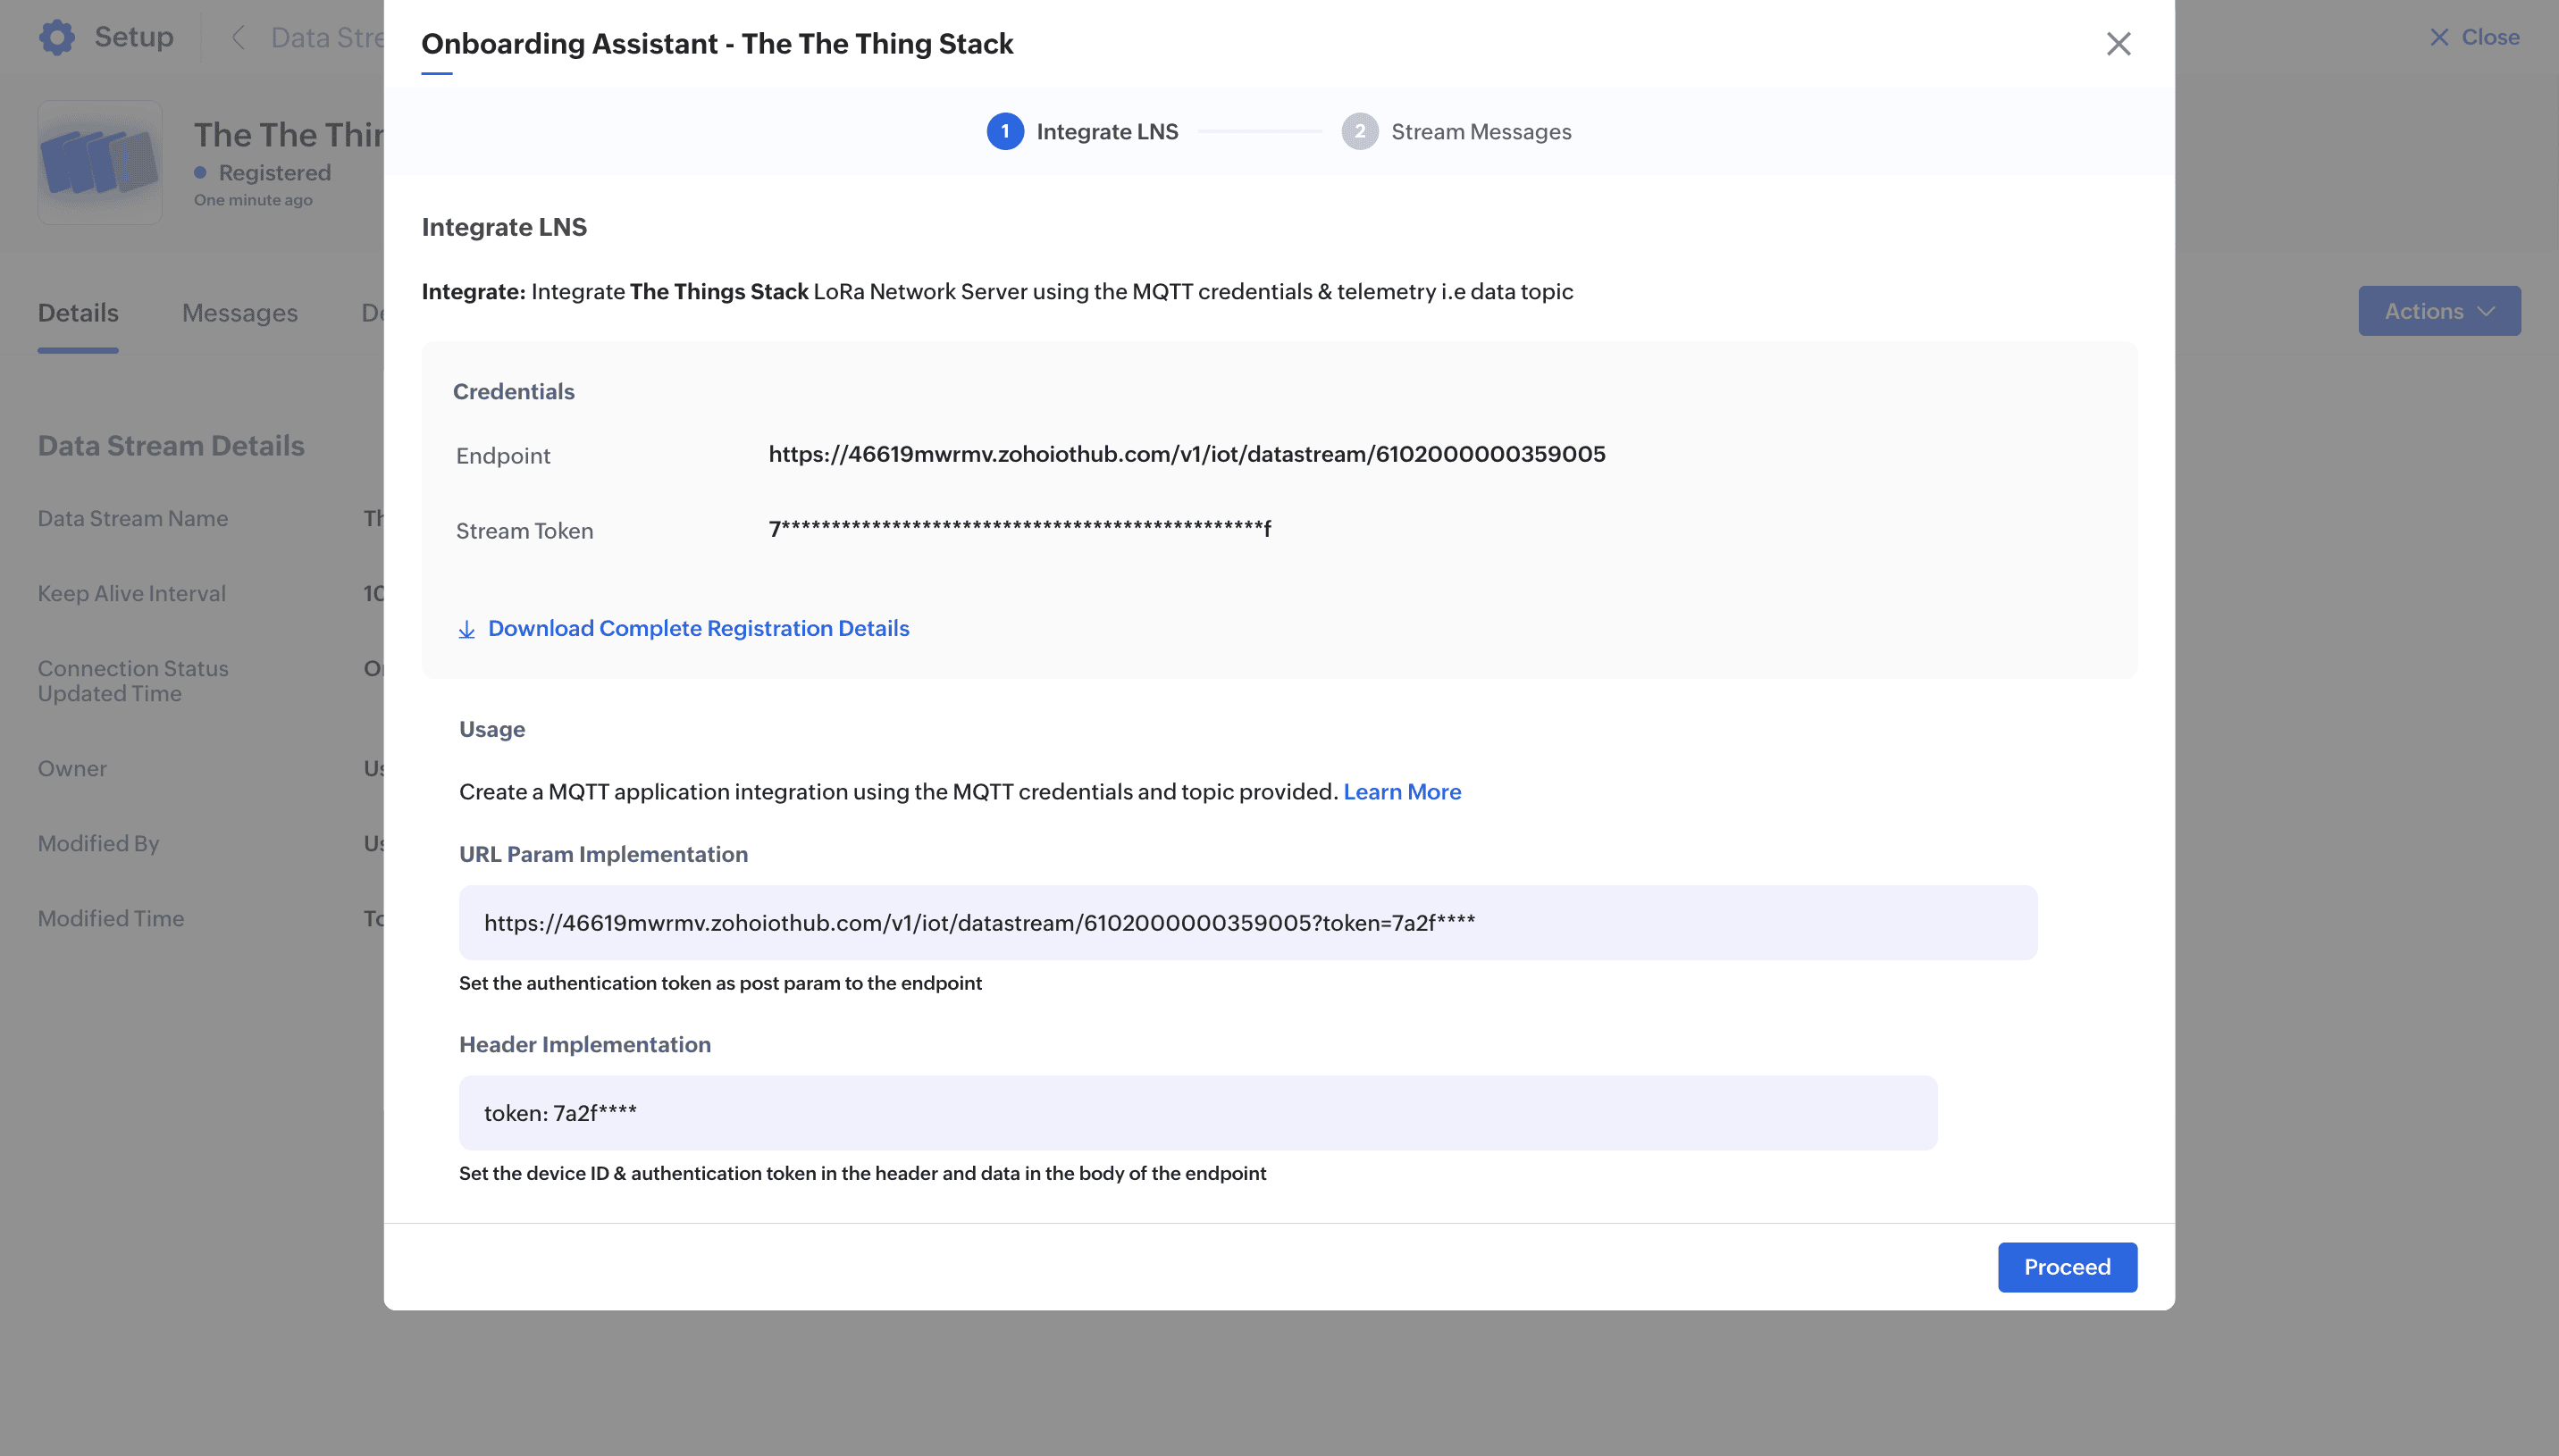
The connection details required to establish a secure integration with The Things Stack application will be displayed.
Do not close this window or tab. Open The Things Stack Console in a new tab to continue the integration process.
Step 2: Configuring The Things Stack application
LoRa devices registered in The Things Stack can be monitored in Zoho IoT through data stream integration. The data stream connects to The Things Stack using a webhook, which forwards uplink messages from the device to Zoho IoT for monitoring. In this step, you’ll learn how to integrate the data stream with The Things Stack using the credentials generated while adding the data stream.
Note: If you’ve closed the Onboarding Assistant, follow this guide to view the connection credentials of your data stream.
i. Open the The Things Stack Console.
ii. Toggle to Applications and select the application you want to integrate with the Zoho IoT application. For this illustration, the Parking Monitoring application is selected.
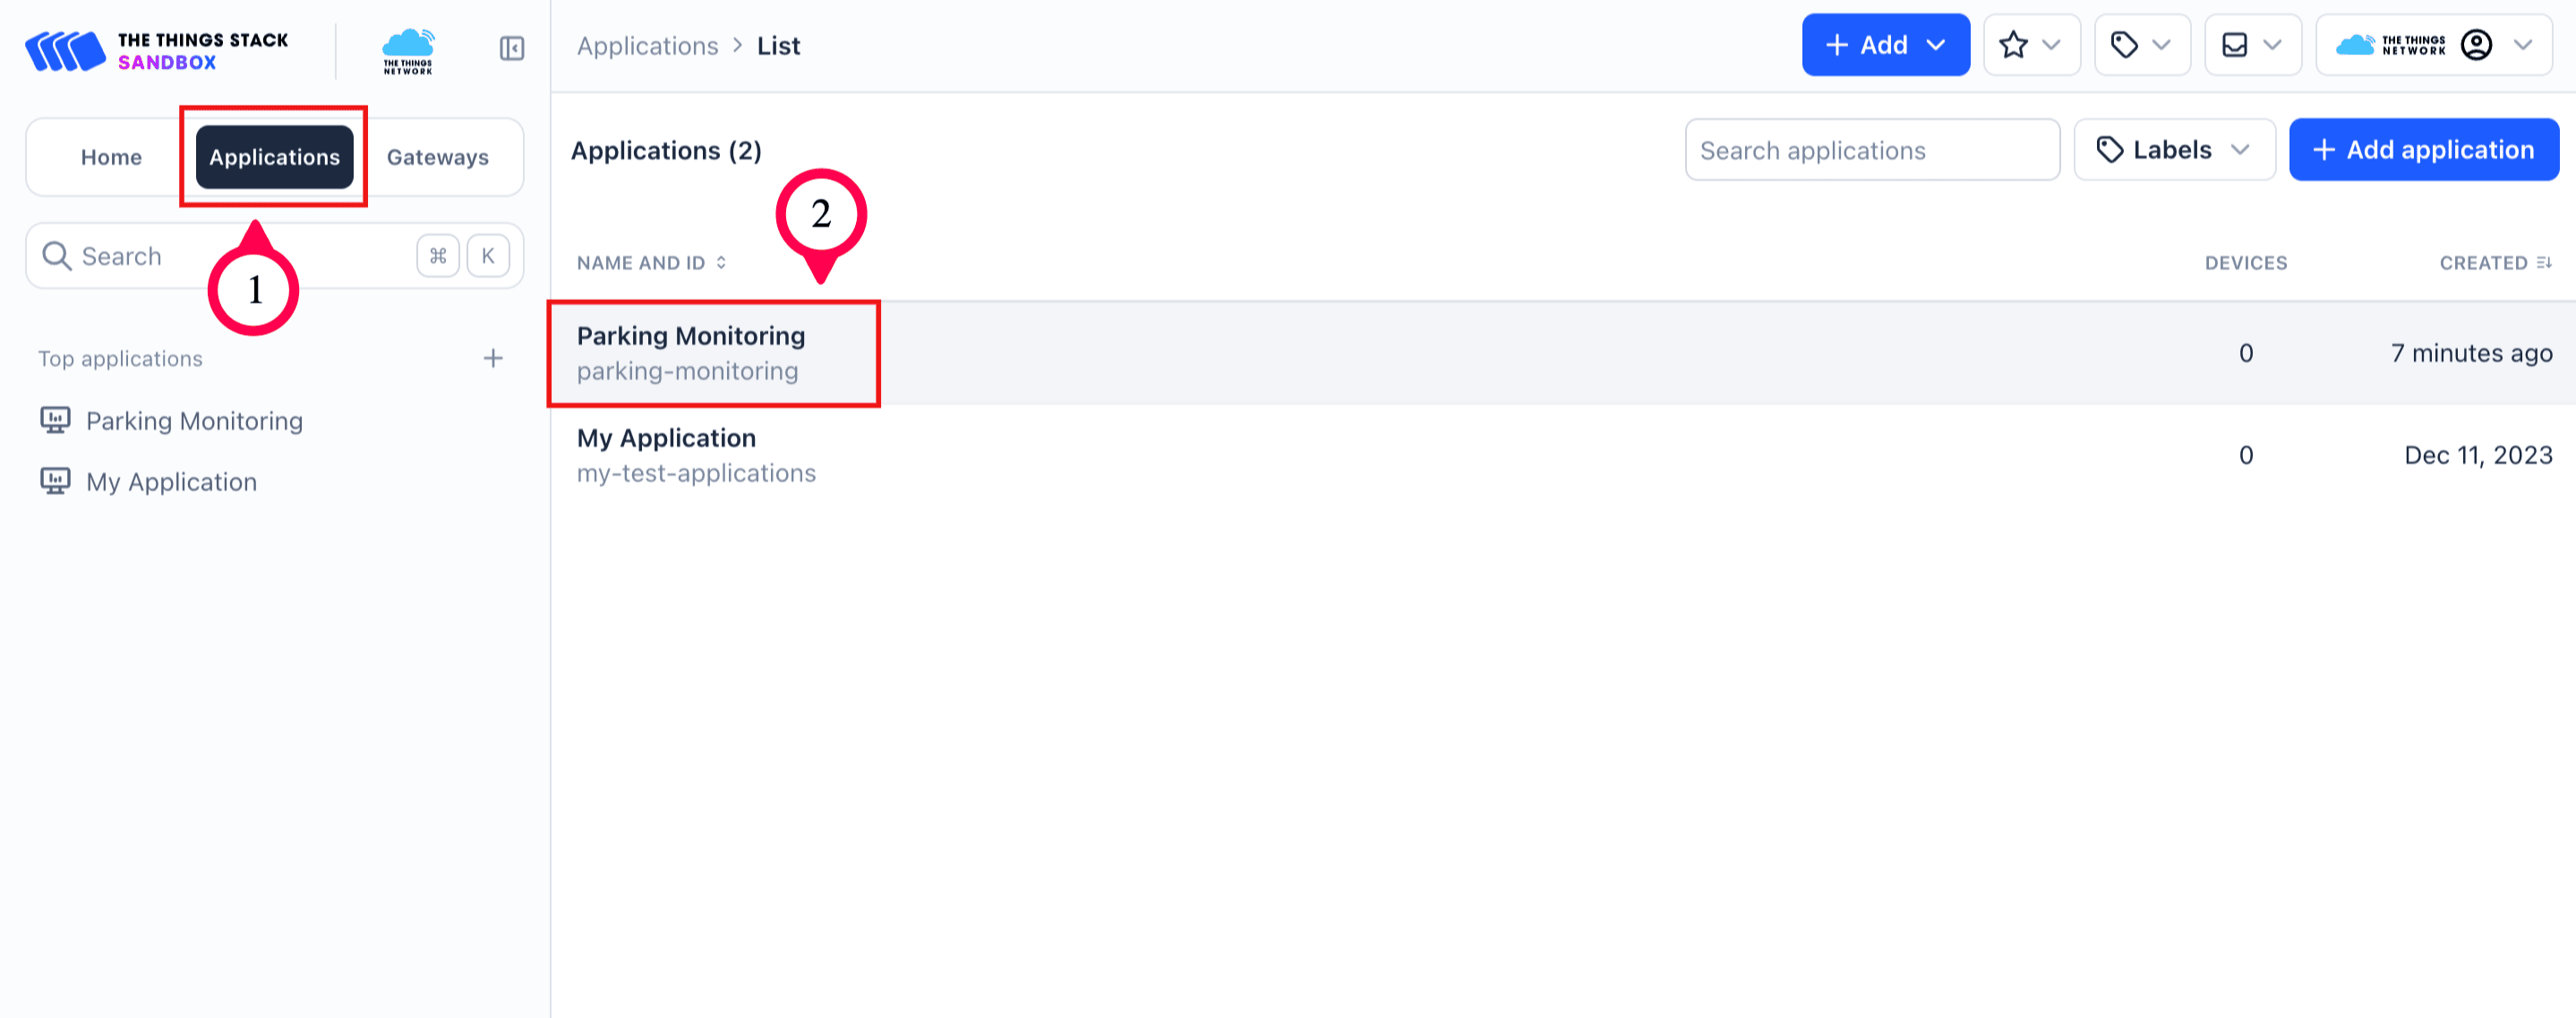
iii. Select Webhooks and click Add Webhook.
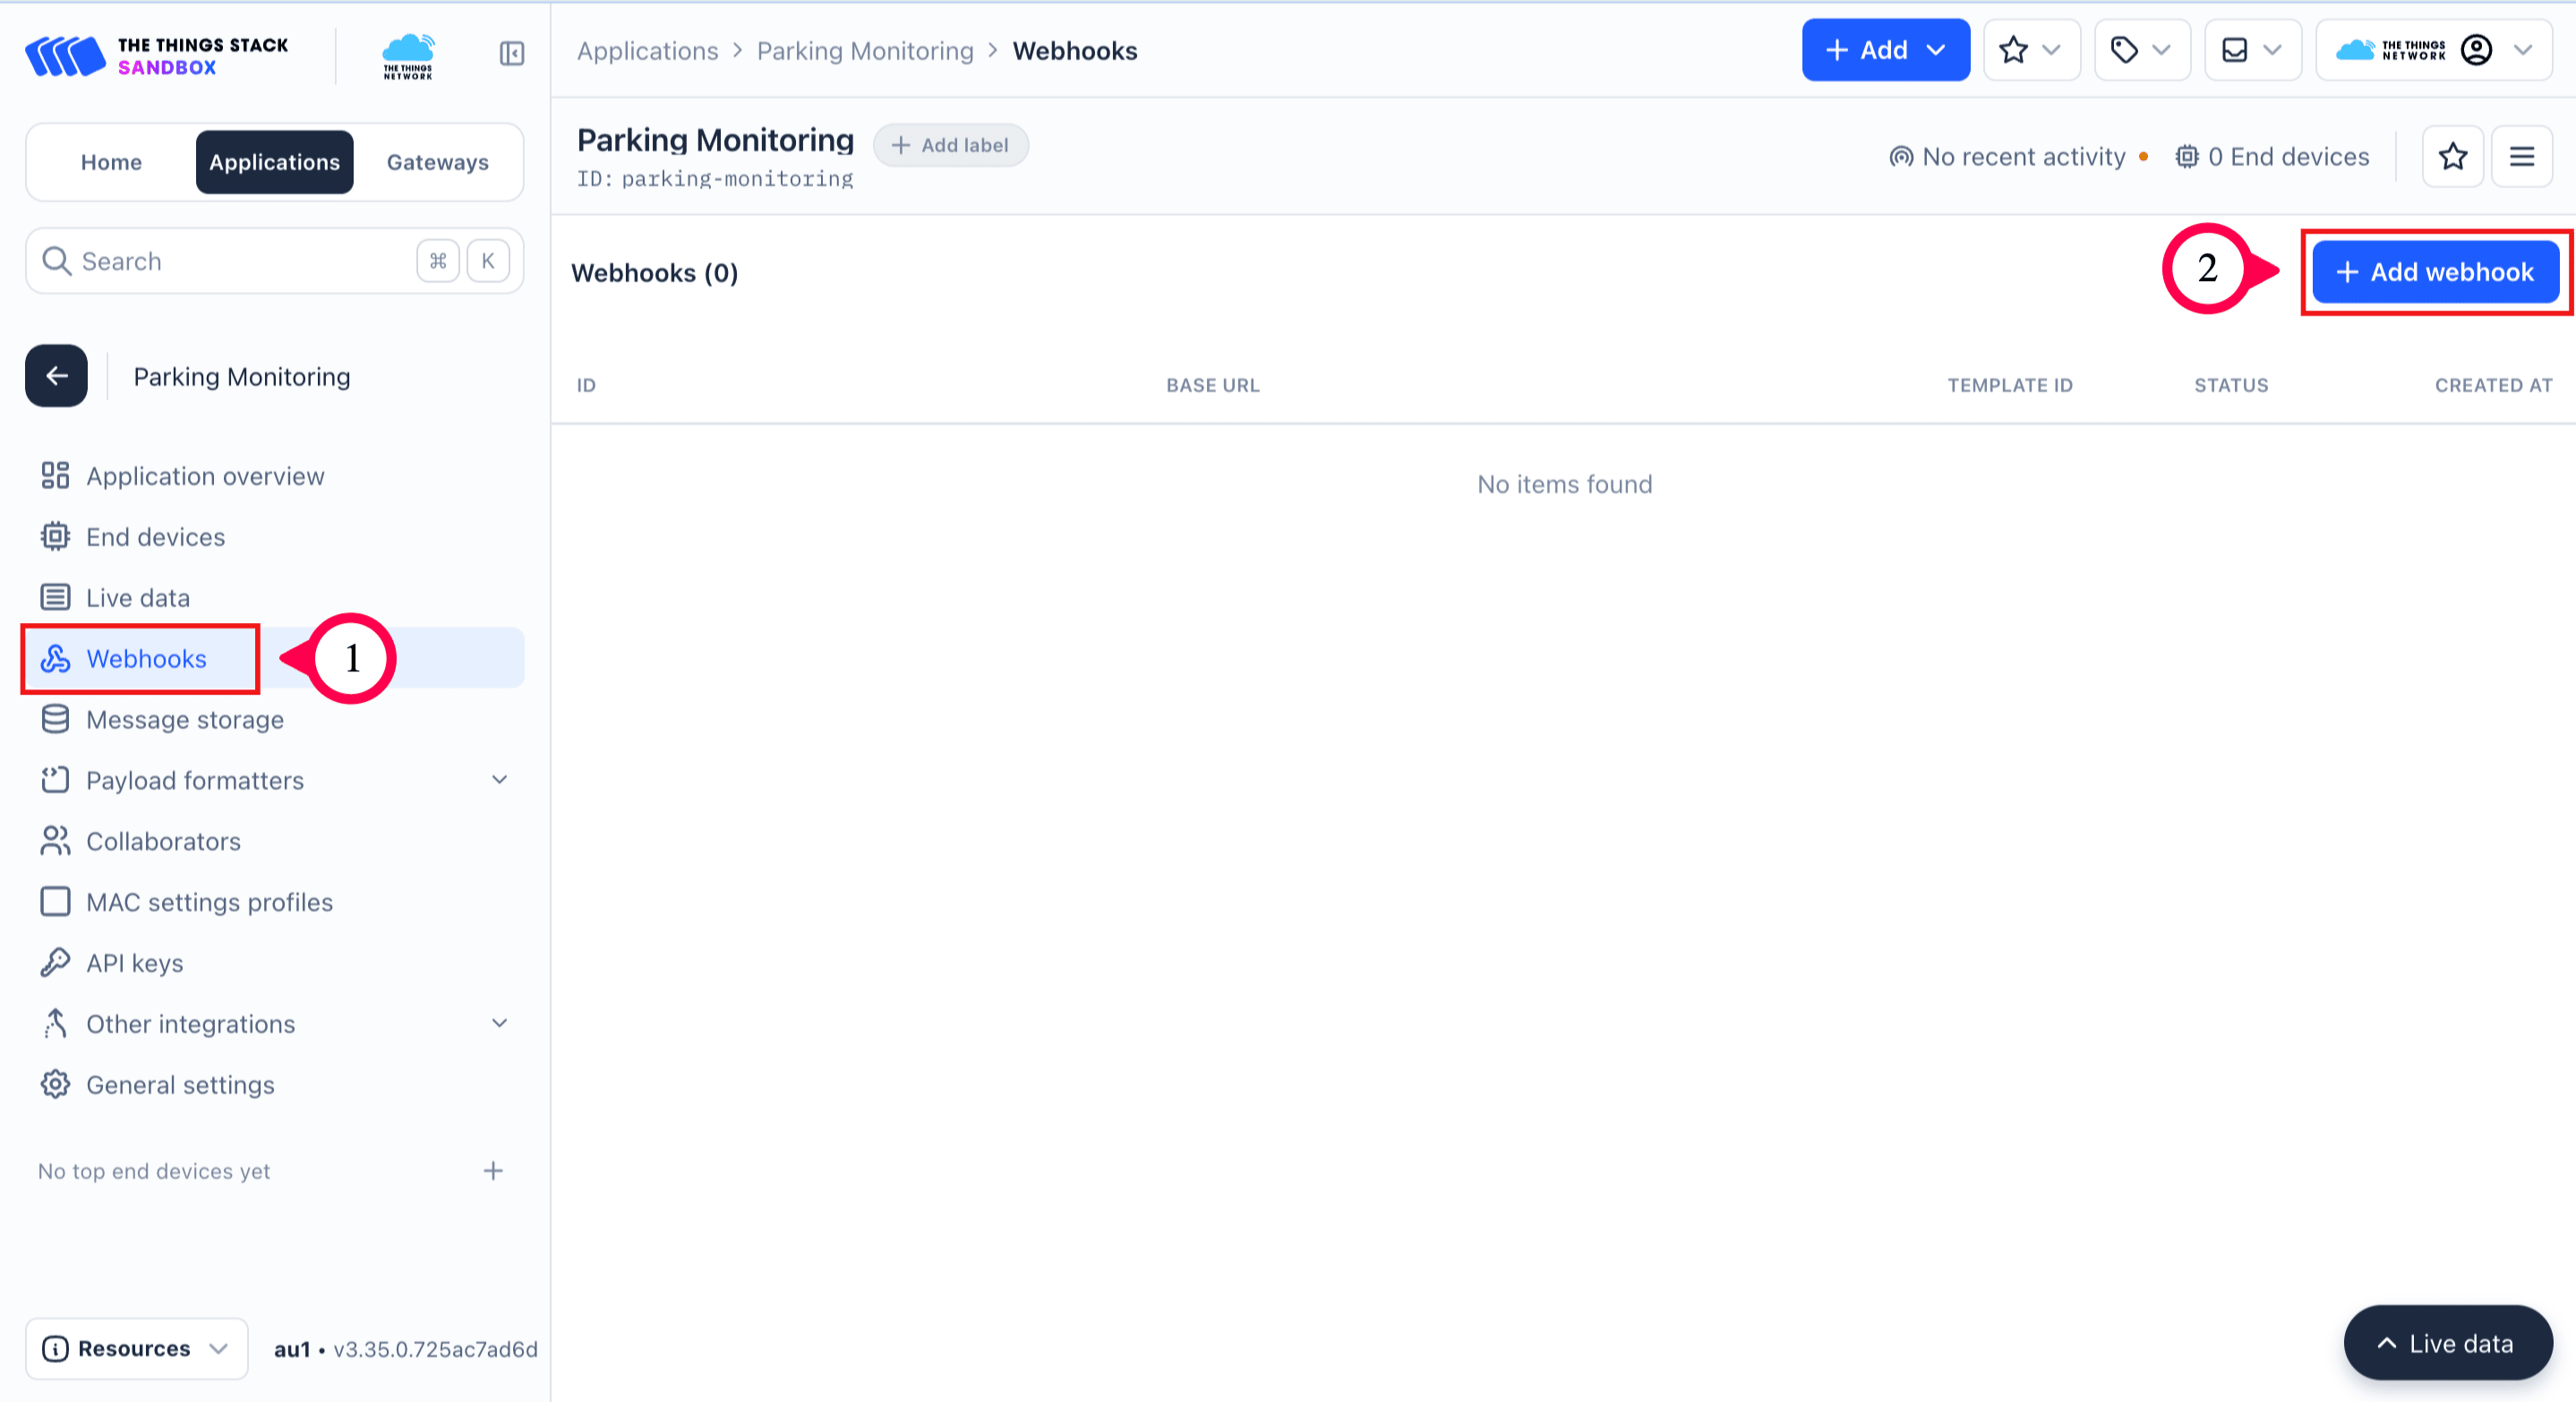
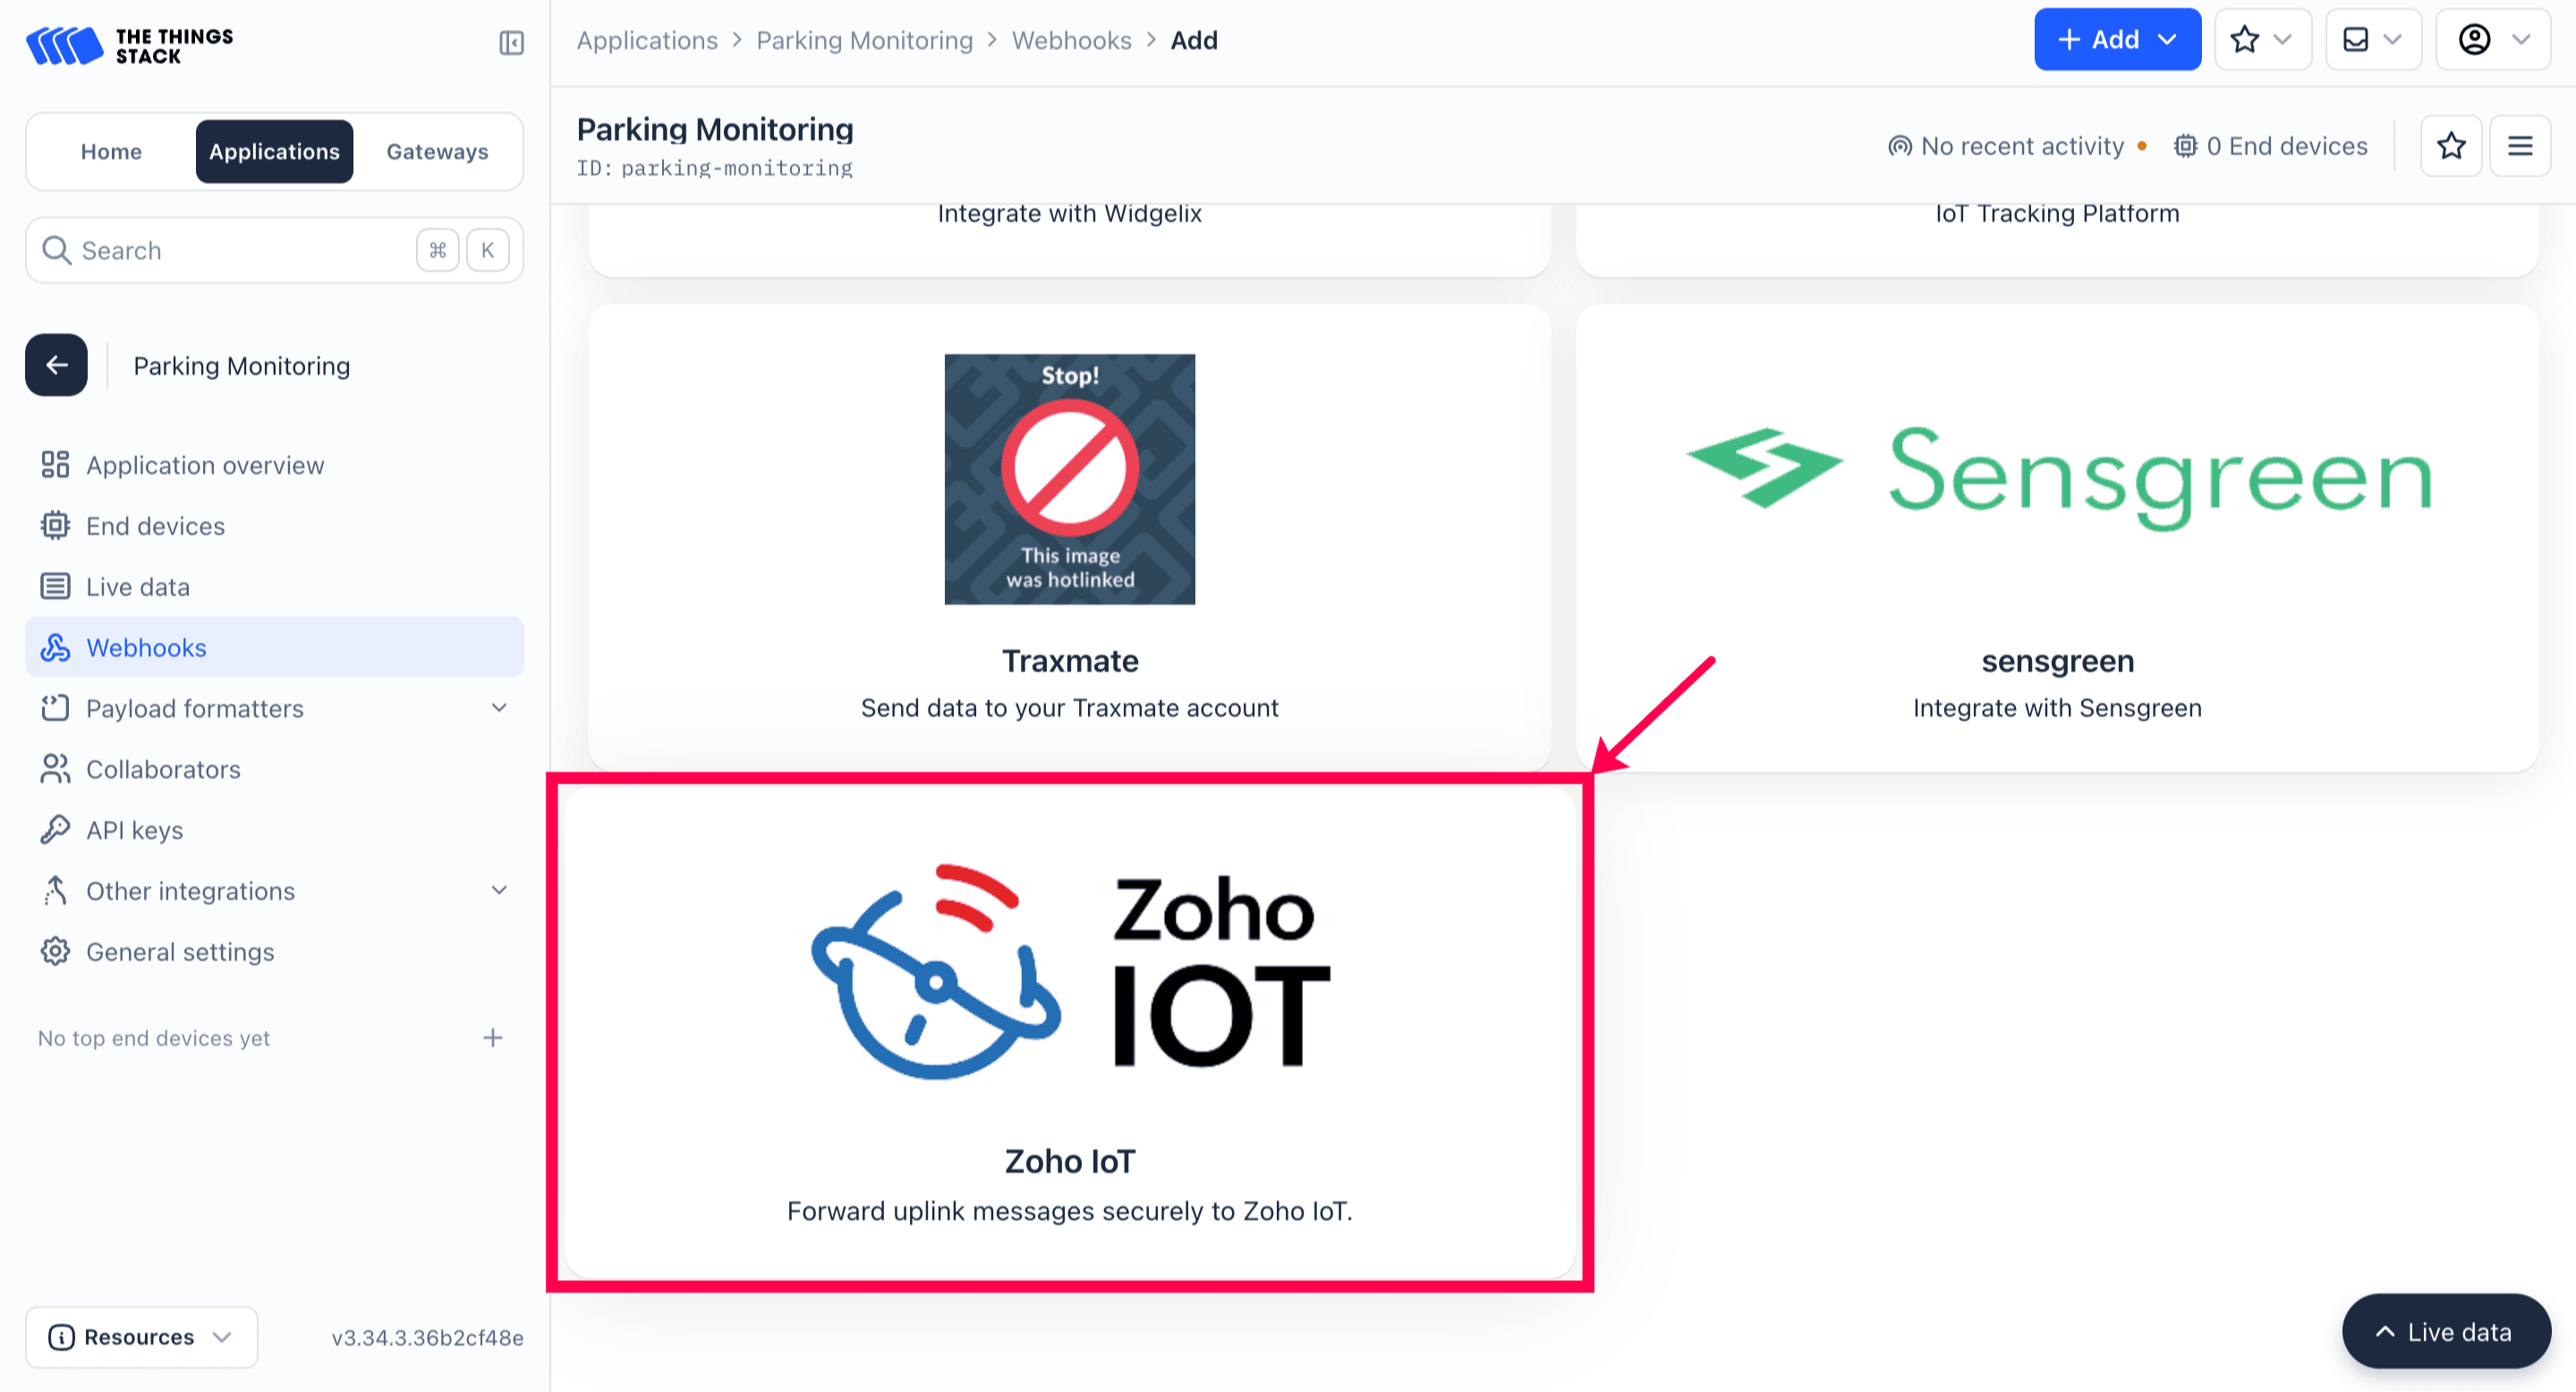
iv. Scroll down and click on Zoho IoT.
v. Provide a Webhook ID for your reference. For this illustration, zoho-iot-parking-solution is used.
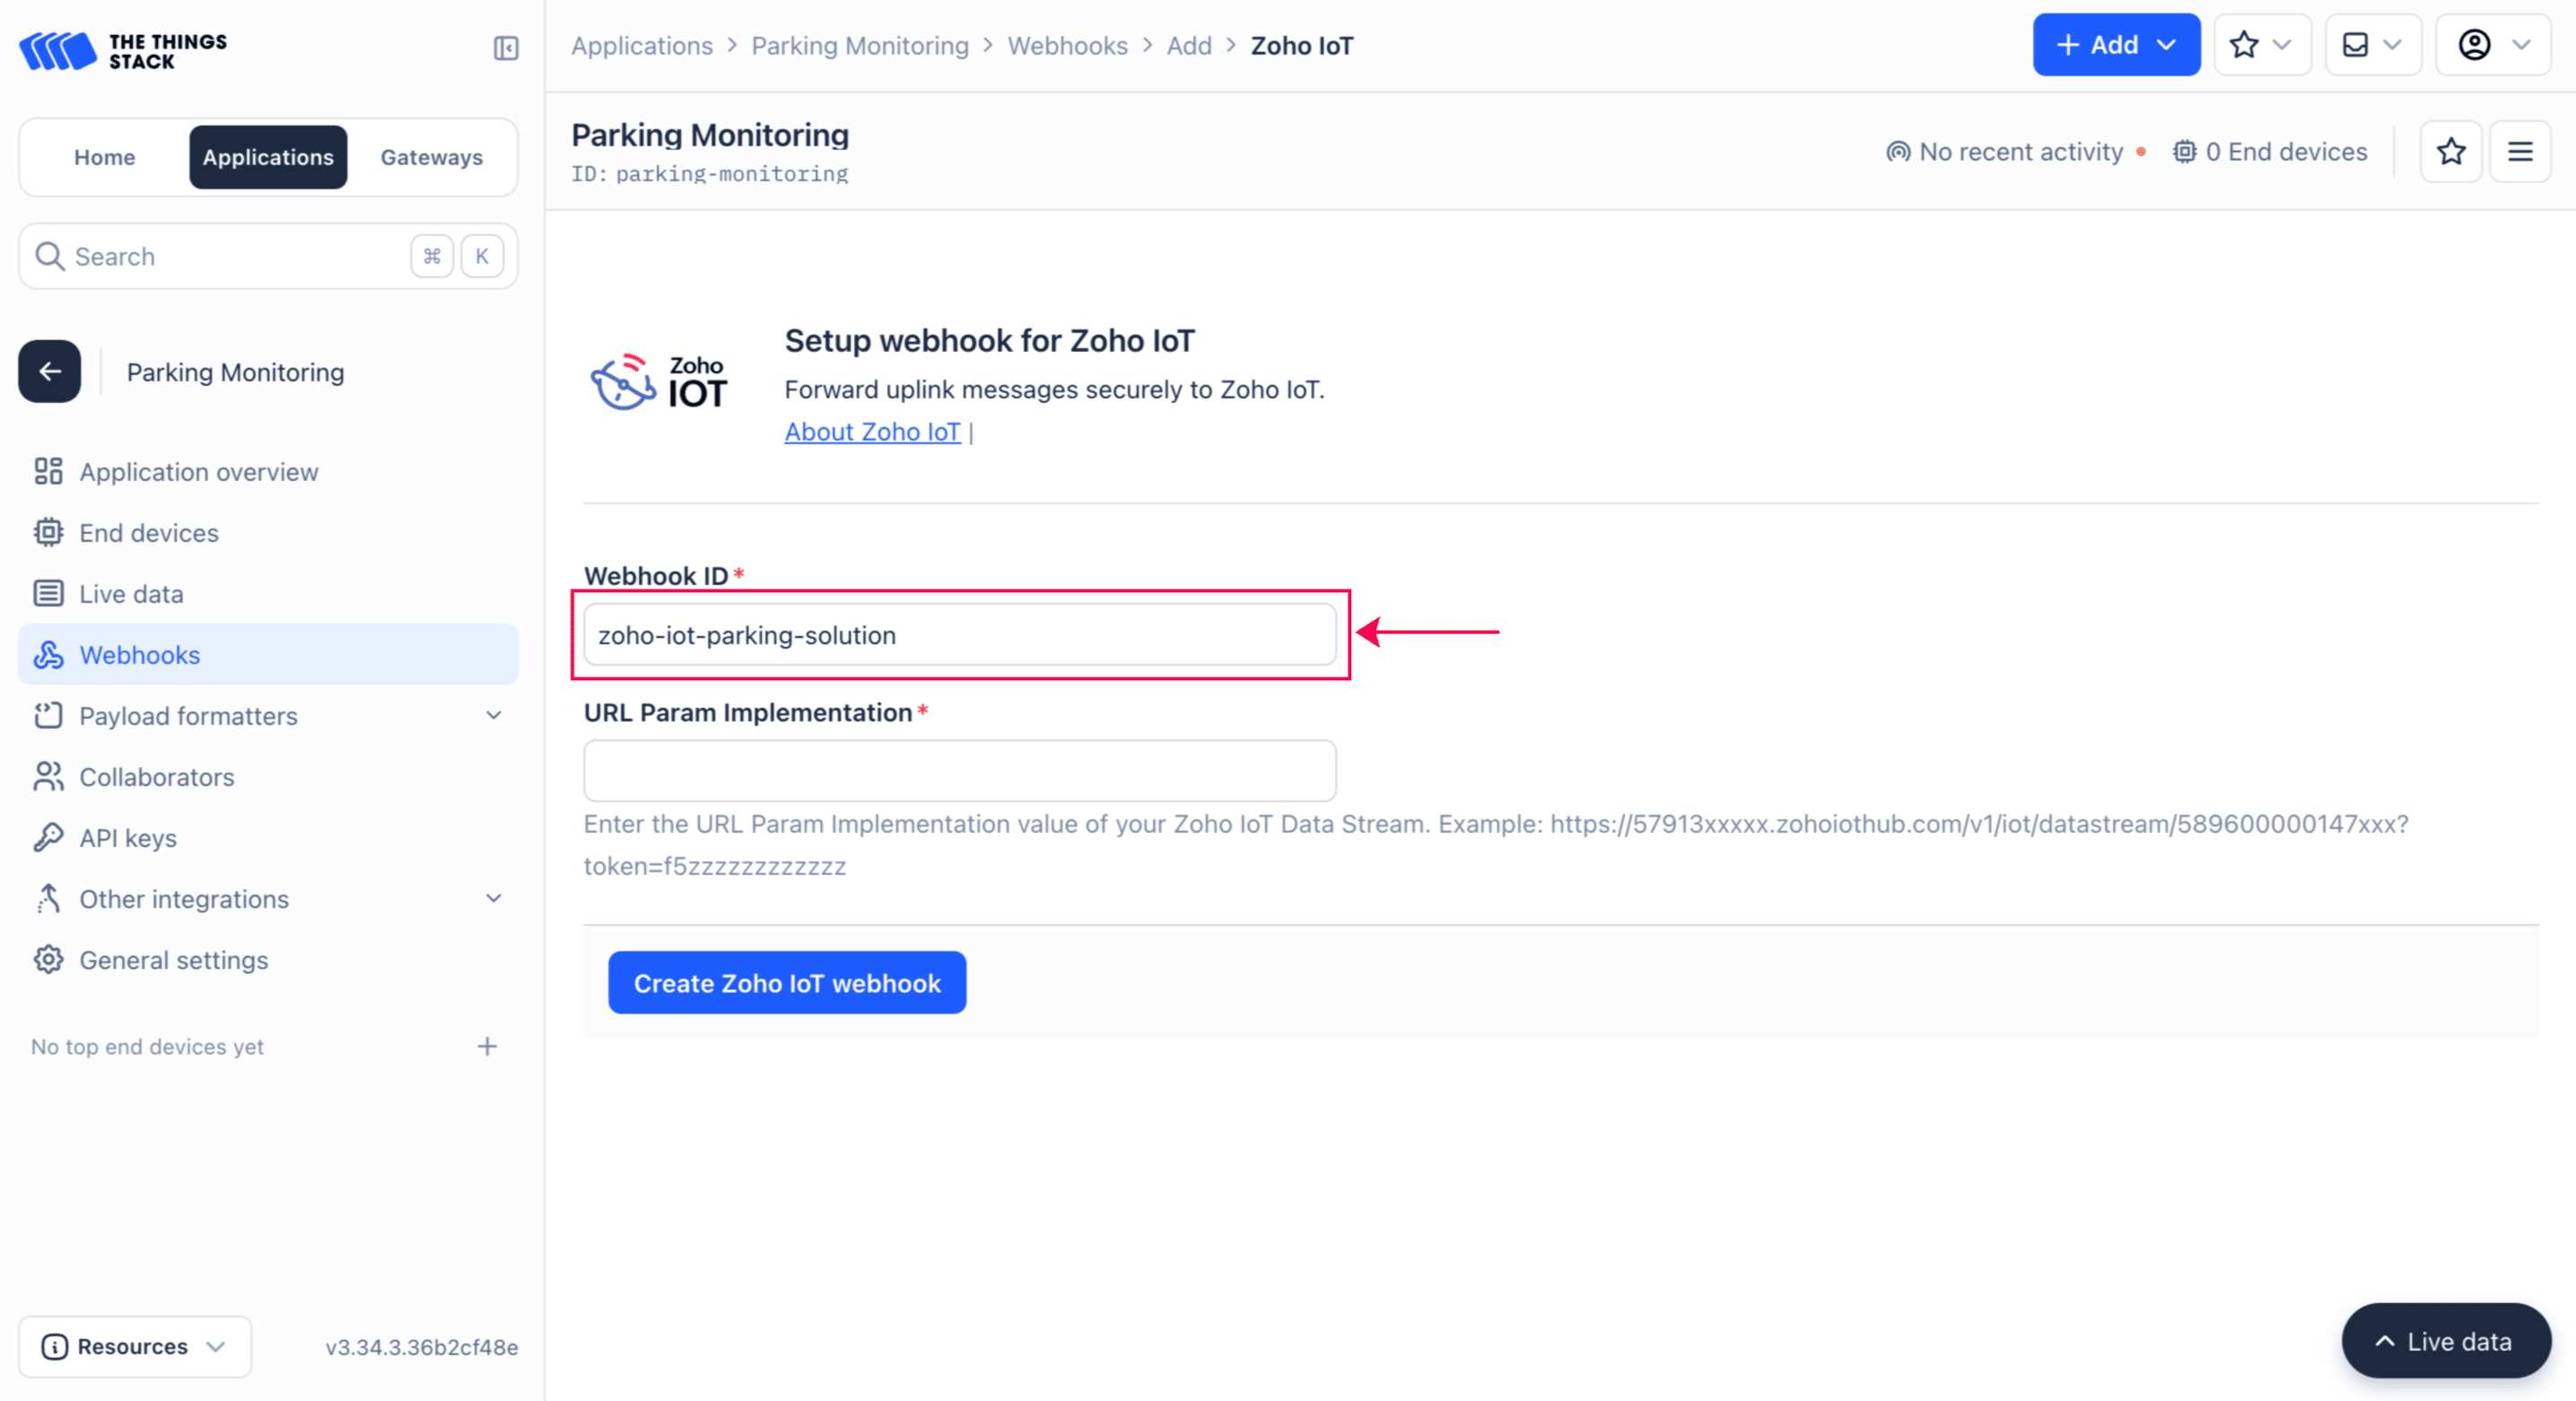
vi. Provide the URL Param Implementation value from the datastreams connection credentials in the Base URL filed.

The authentication token required for secure connection is include in the URL Param value.
vii. Click Create Zoho IoT Webhook.
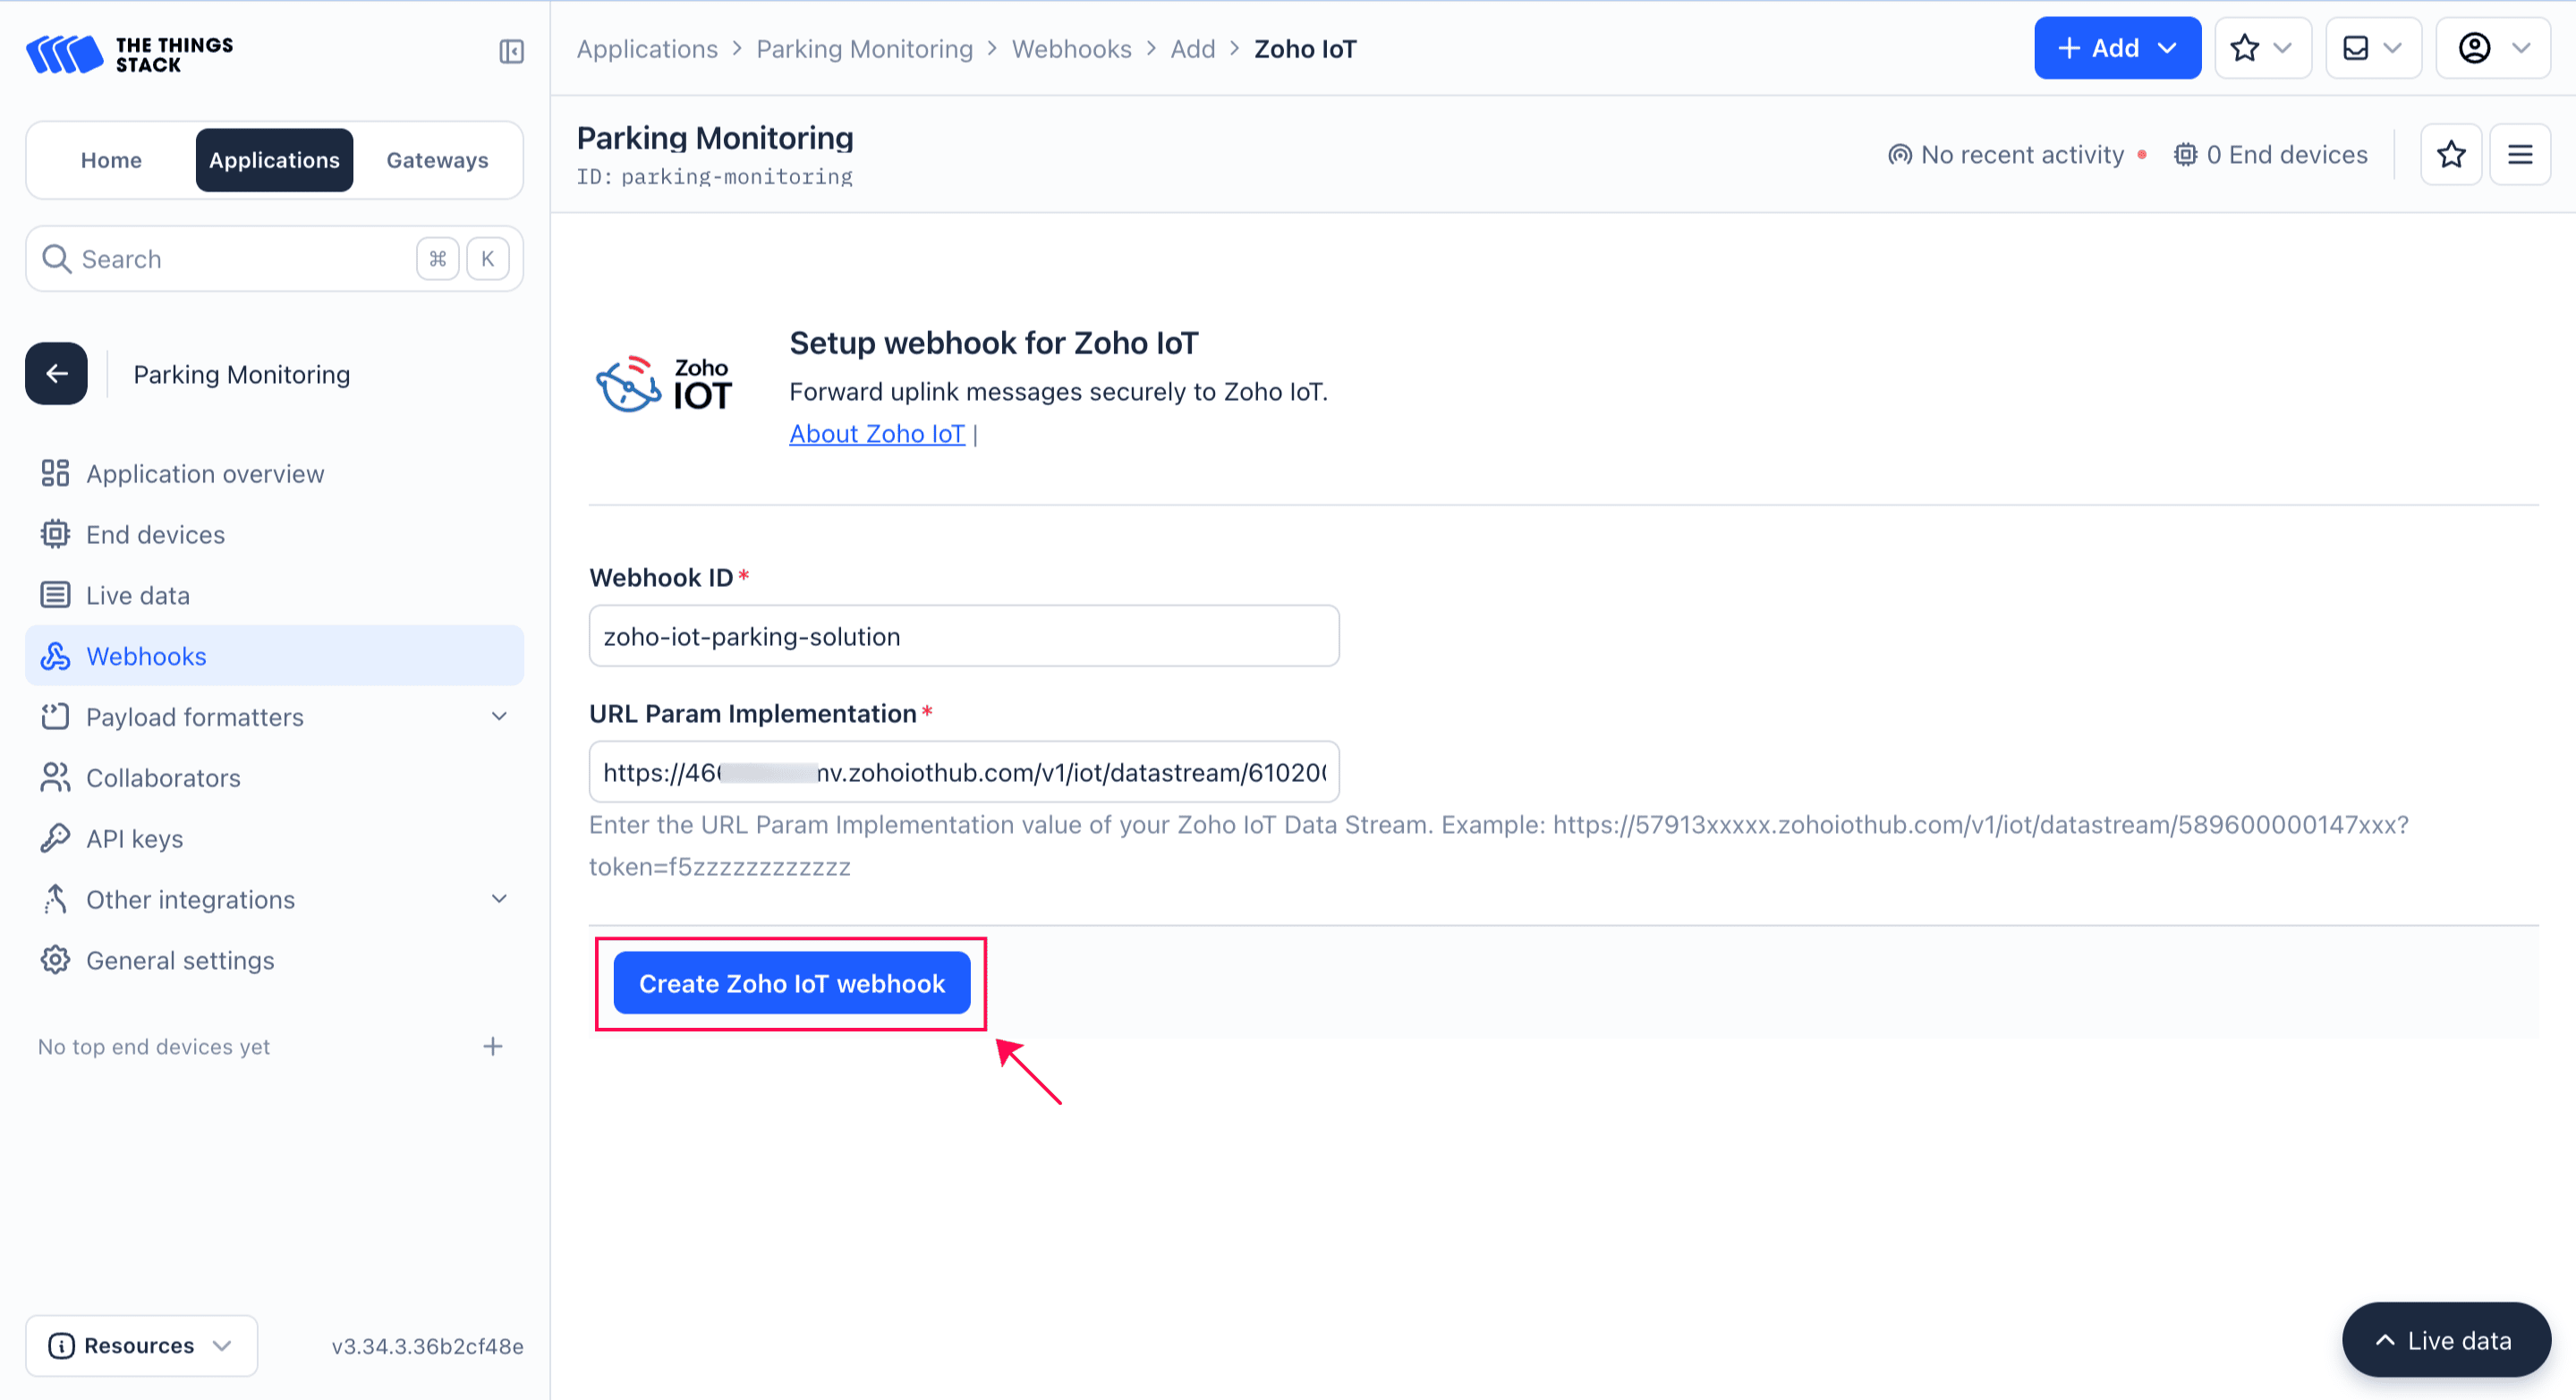
The Things Stack application will now be integrated with the Zoho IoT application via the Data Stream.
With this step completed, you can now view The Things Stack (TTN) data within Zoho IoT. When a device managed by The Things Stack LNS sends a message, it will also be received by your Zoho IoT application.
Step 3: Viewing the Data in Zoho IoT
Once the Zoho IoT webhook is created for your data stream, you can view messages sent from The Things Stack.
After updating the credentials in The Things Stack console, switch back to the Zoho IoT application tab and click Proceed in the Data Stream Onboarding Assistant. The message sent by the device will then be displayed.
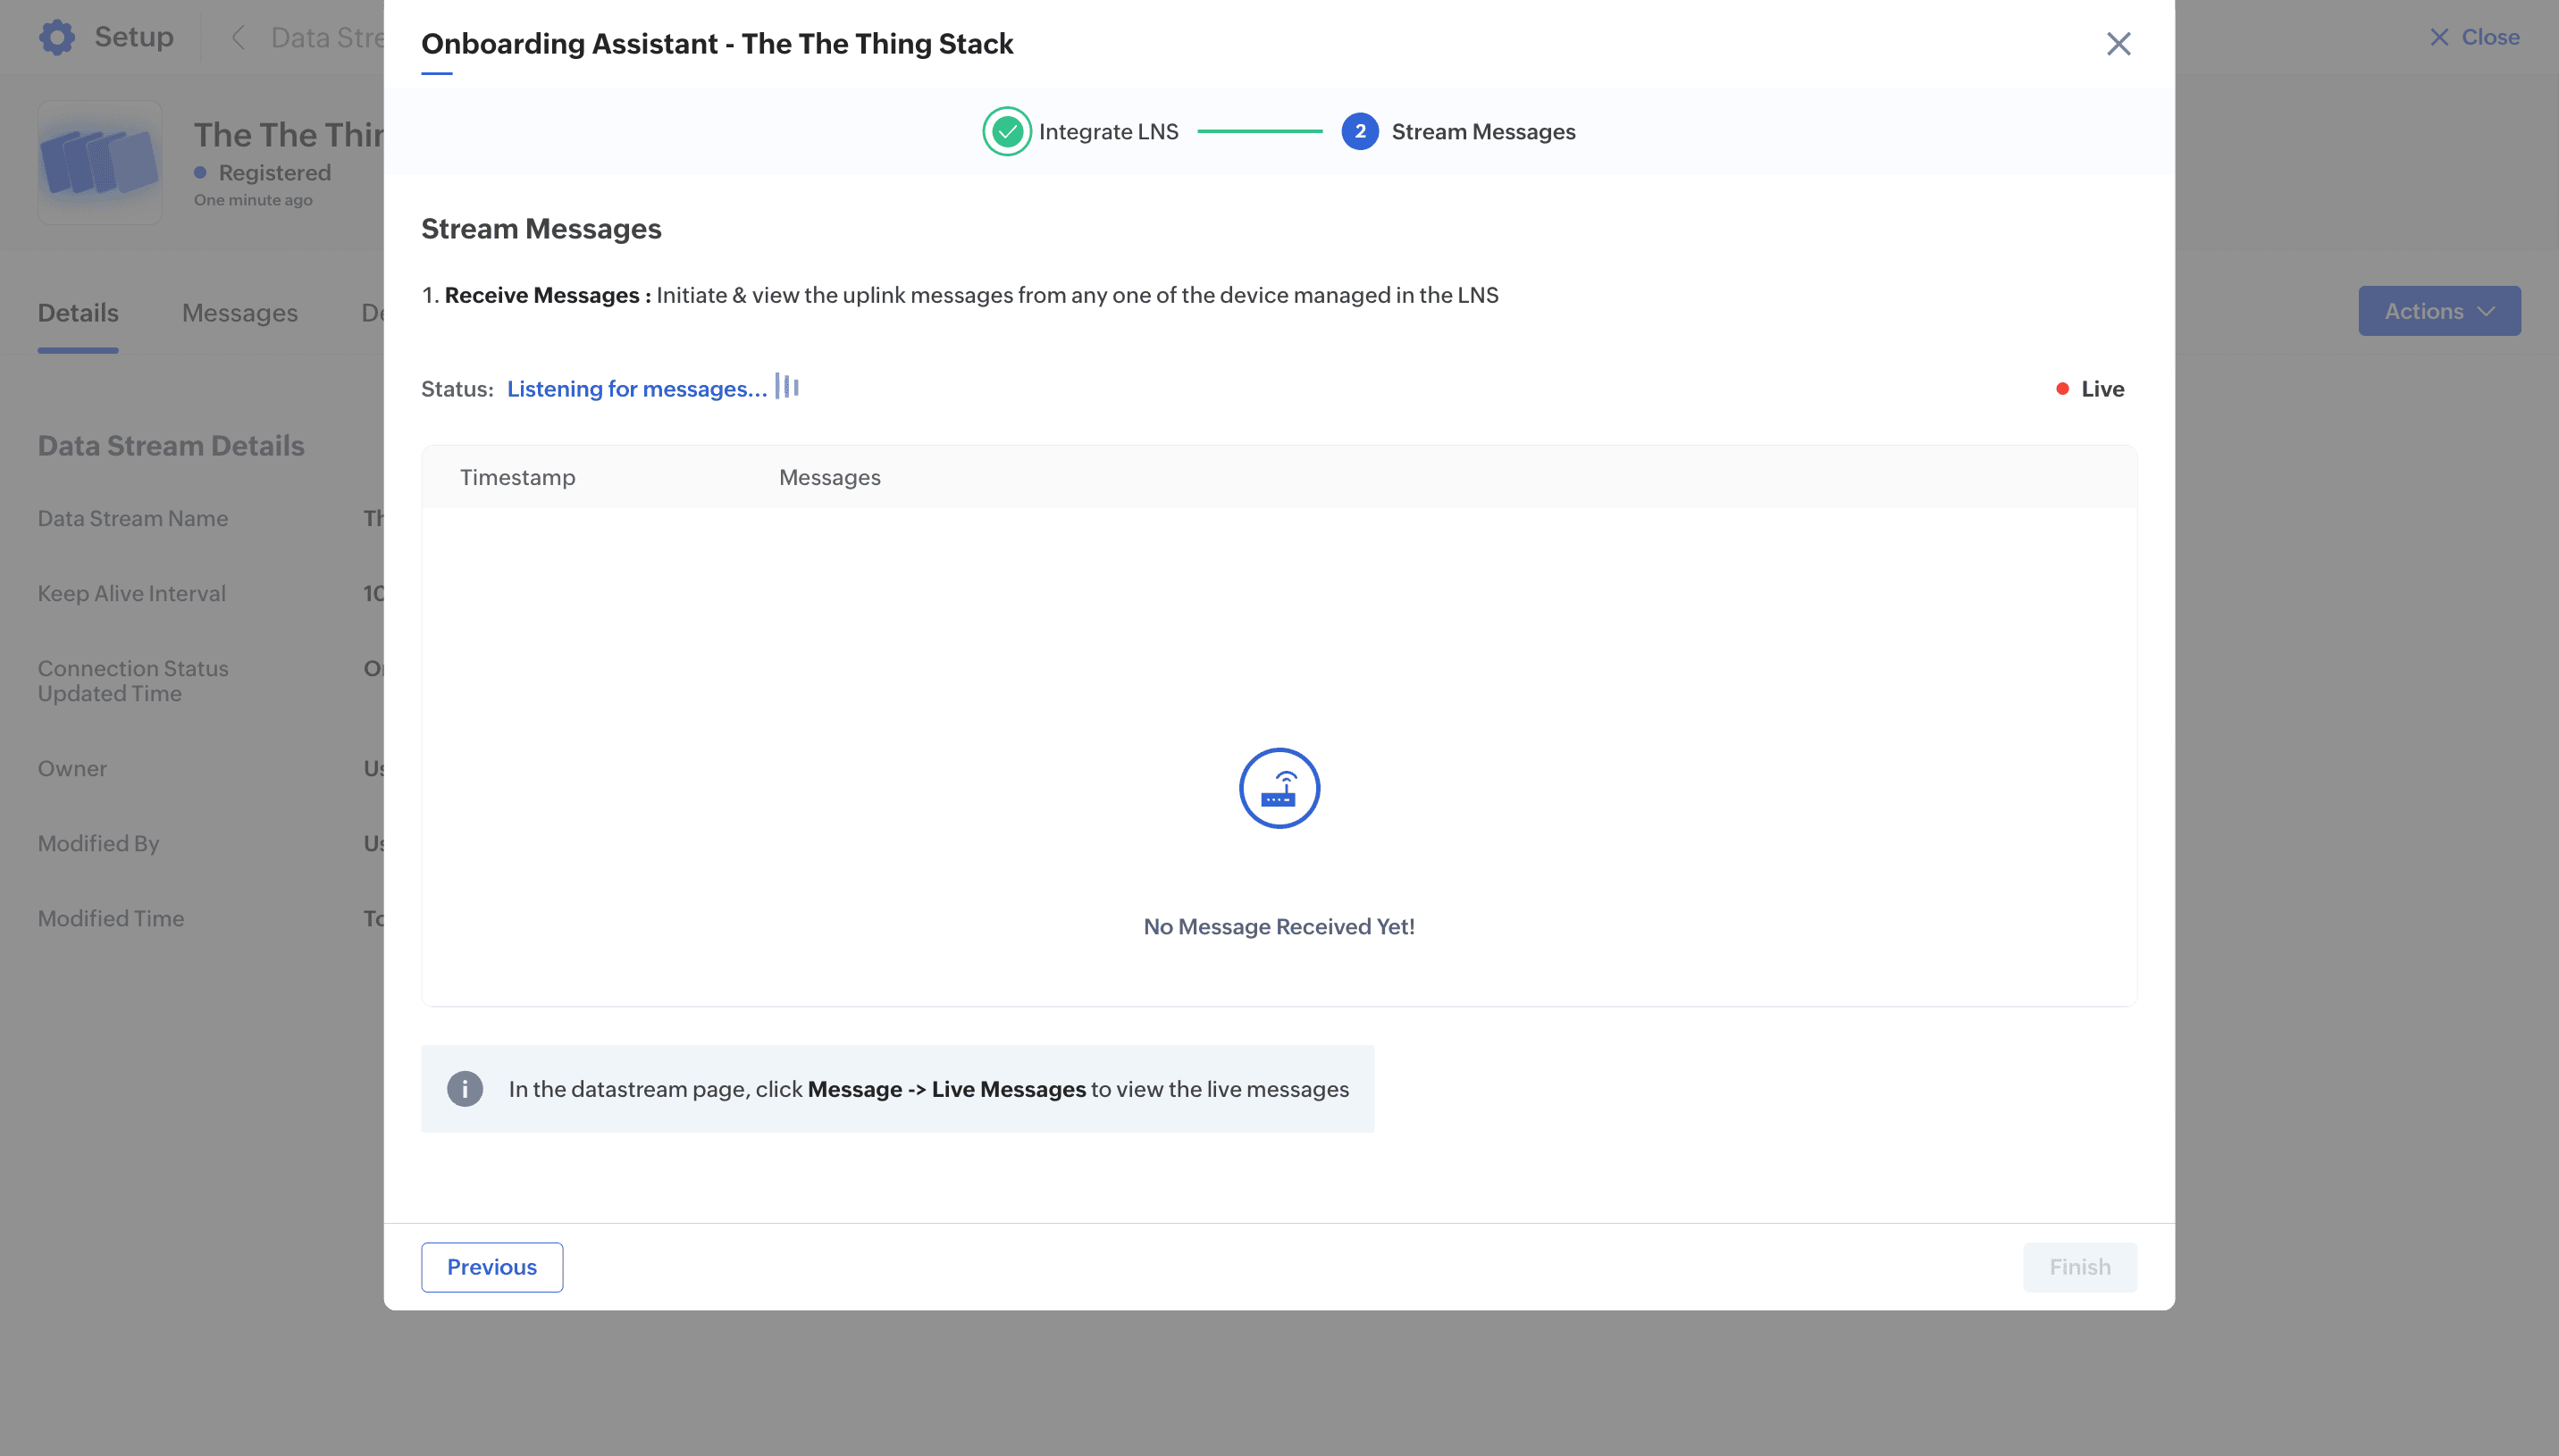
Note: If you’ve closed the Onboarding Assistant, follow this guide to view the messages received by your data stream.
Step 4: Adding a Device in the Zoho IoT application
With the data stream added and integrated, The Things Stack application will now forward all uplink data from the connected devices. You can add a corresponding device in Zoho IoT to represent each LoRa device. This ensures that the data sent from the device is stored as datapoints in Zoho IoT and can be monitored within the application.
To add a LoRa device,
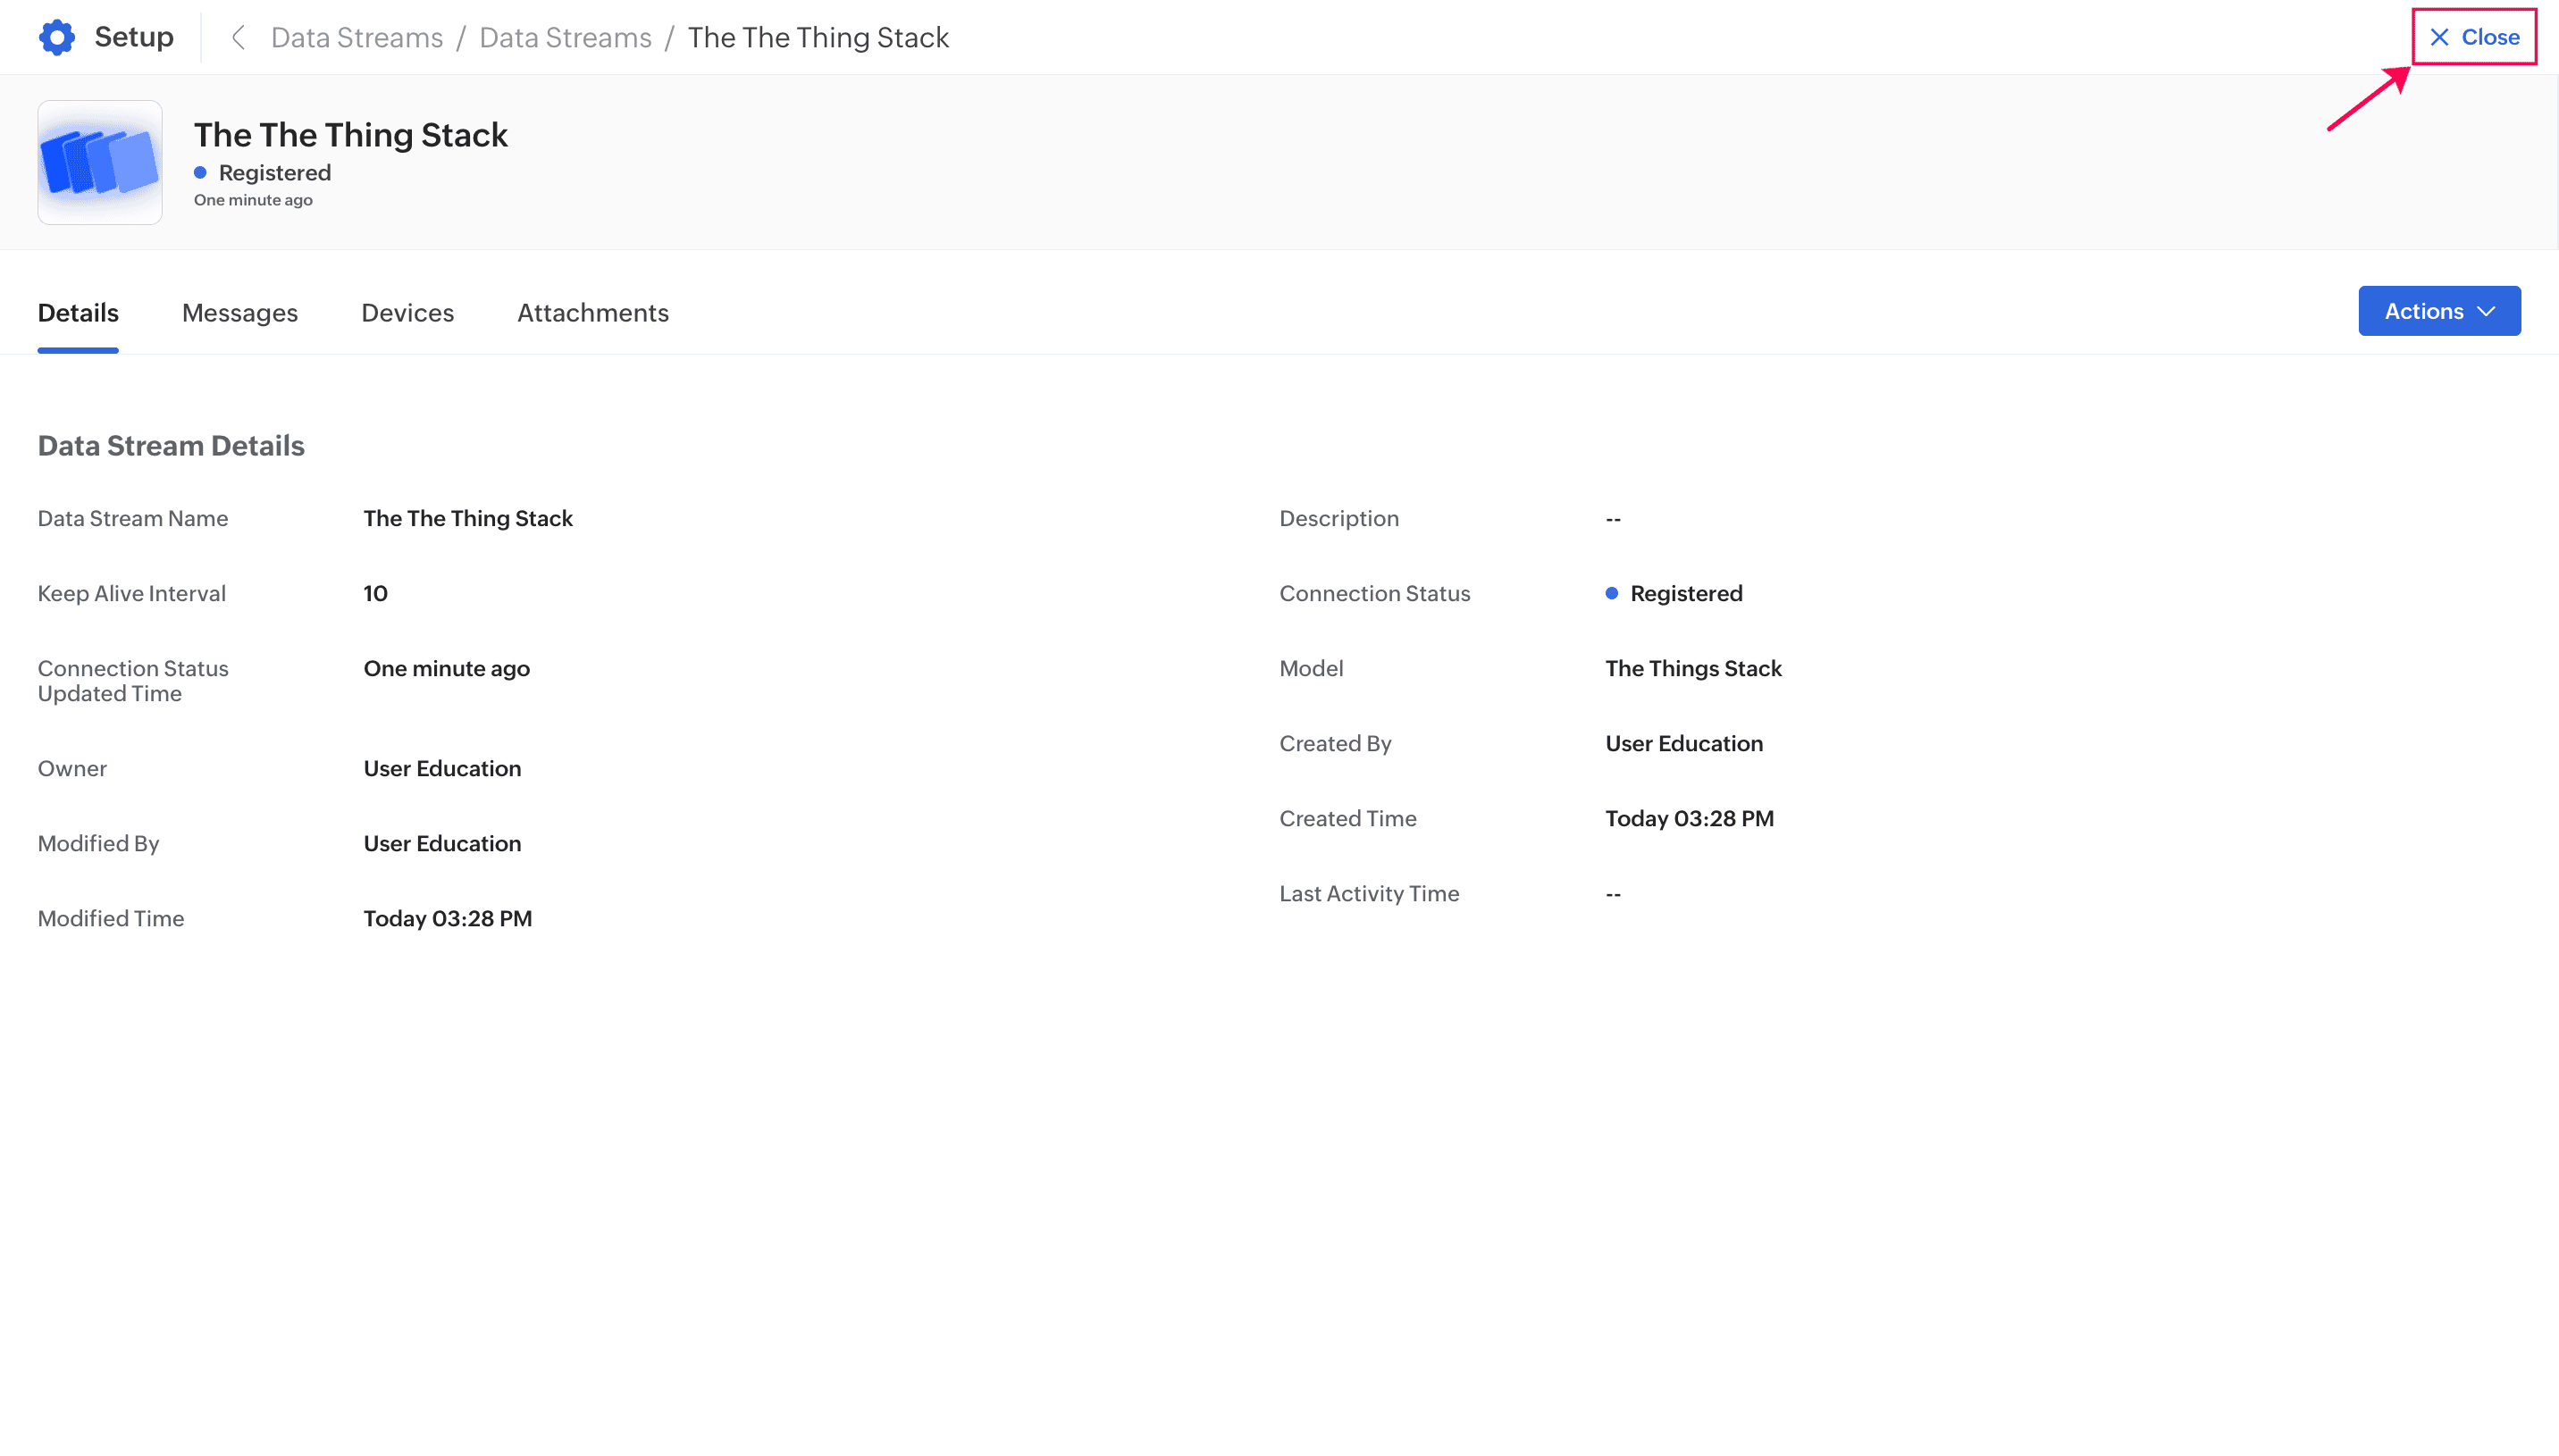
i. If you are in the Data Stream Onboarding Assistant, close it by clicking the X button.

ii. Close the Data Stream Information page by clicking the X Close button.
iii. In the left navigation panel, select Devices > Devices.

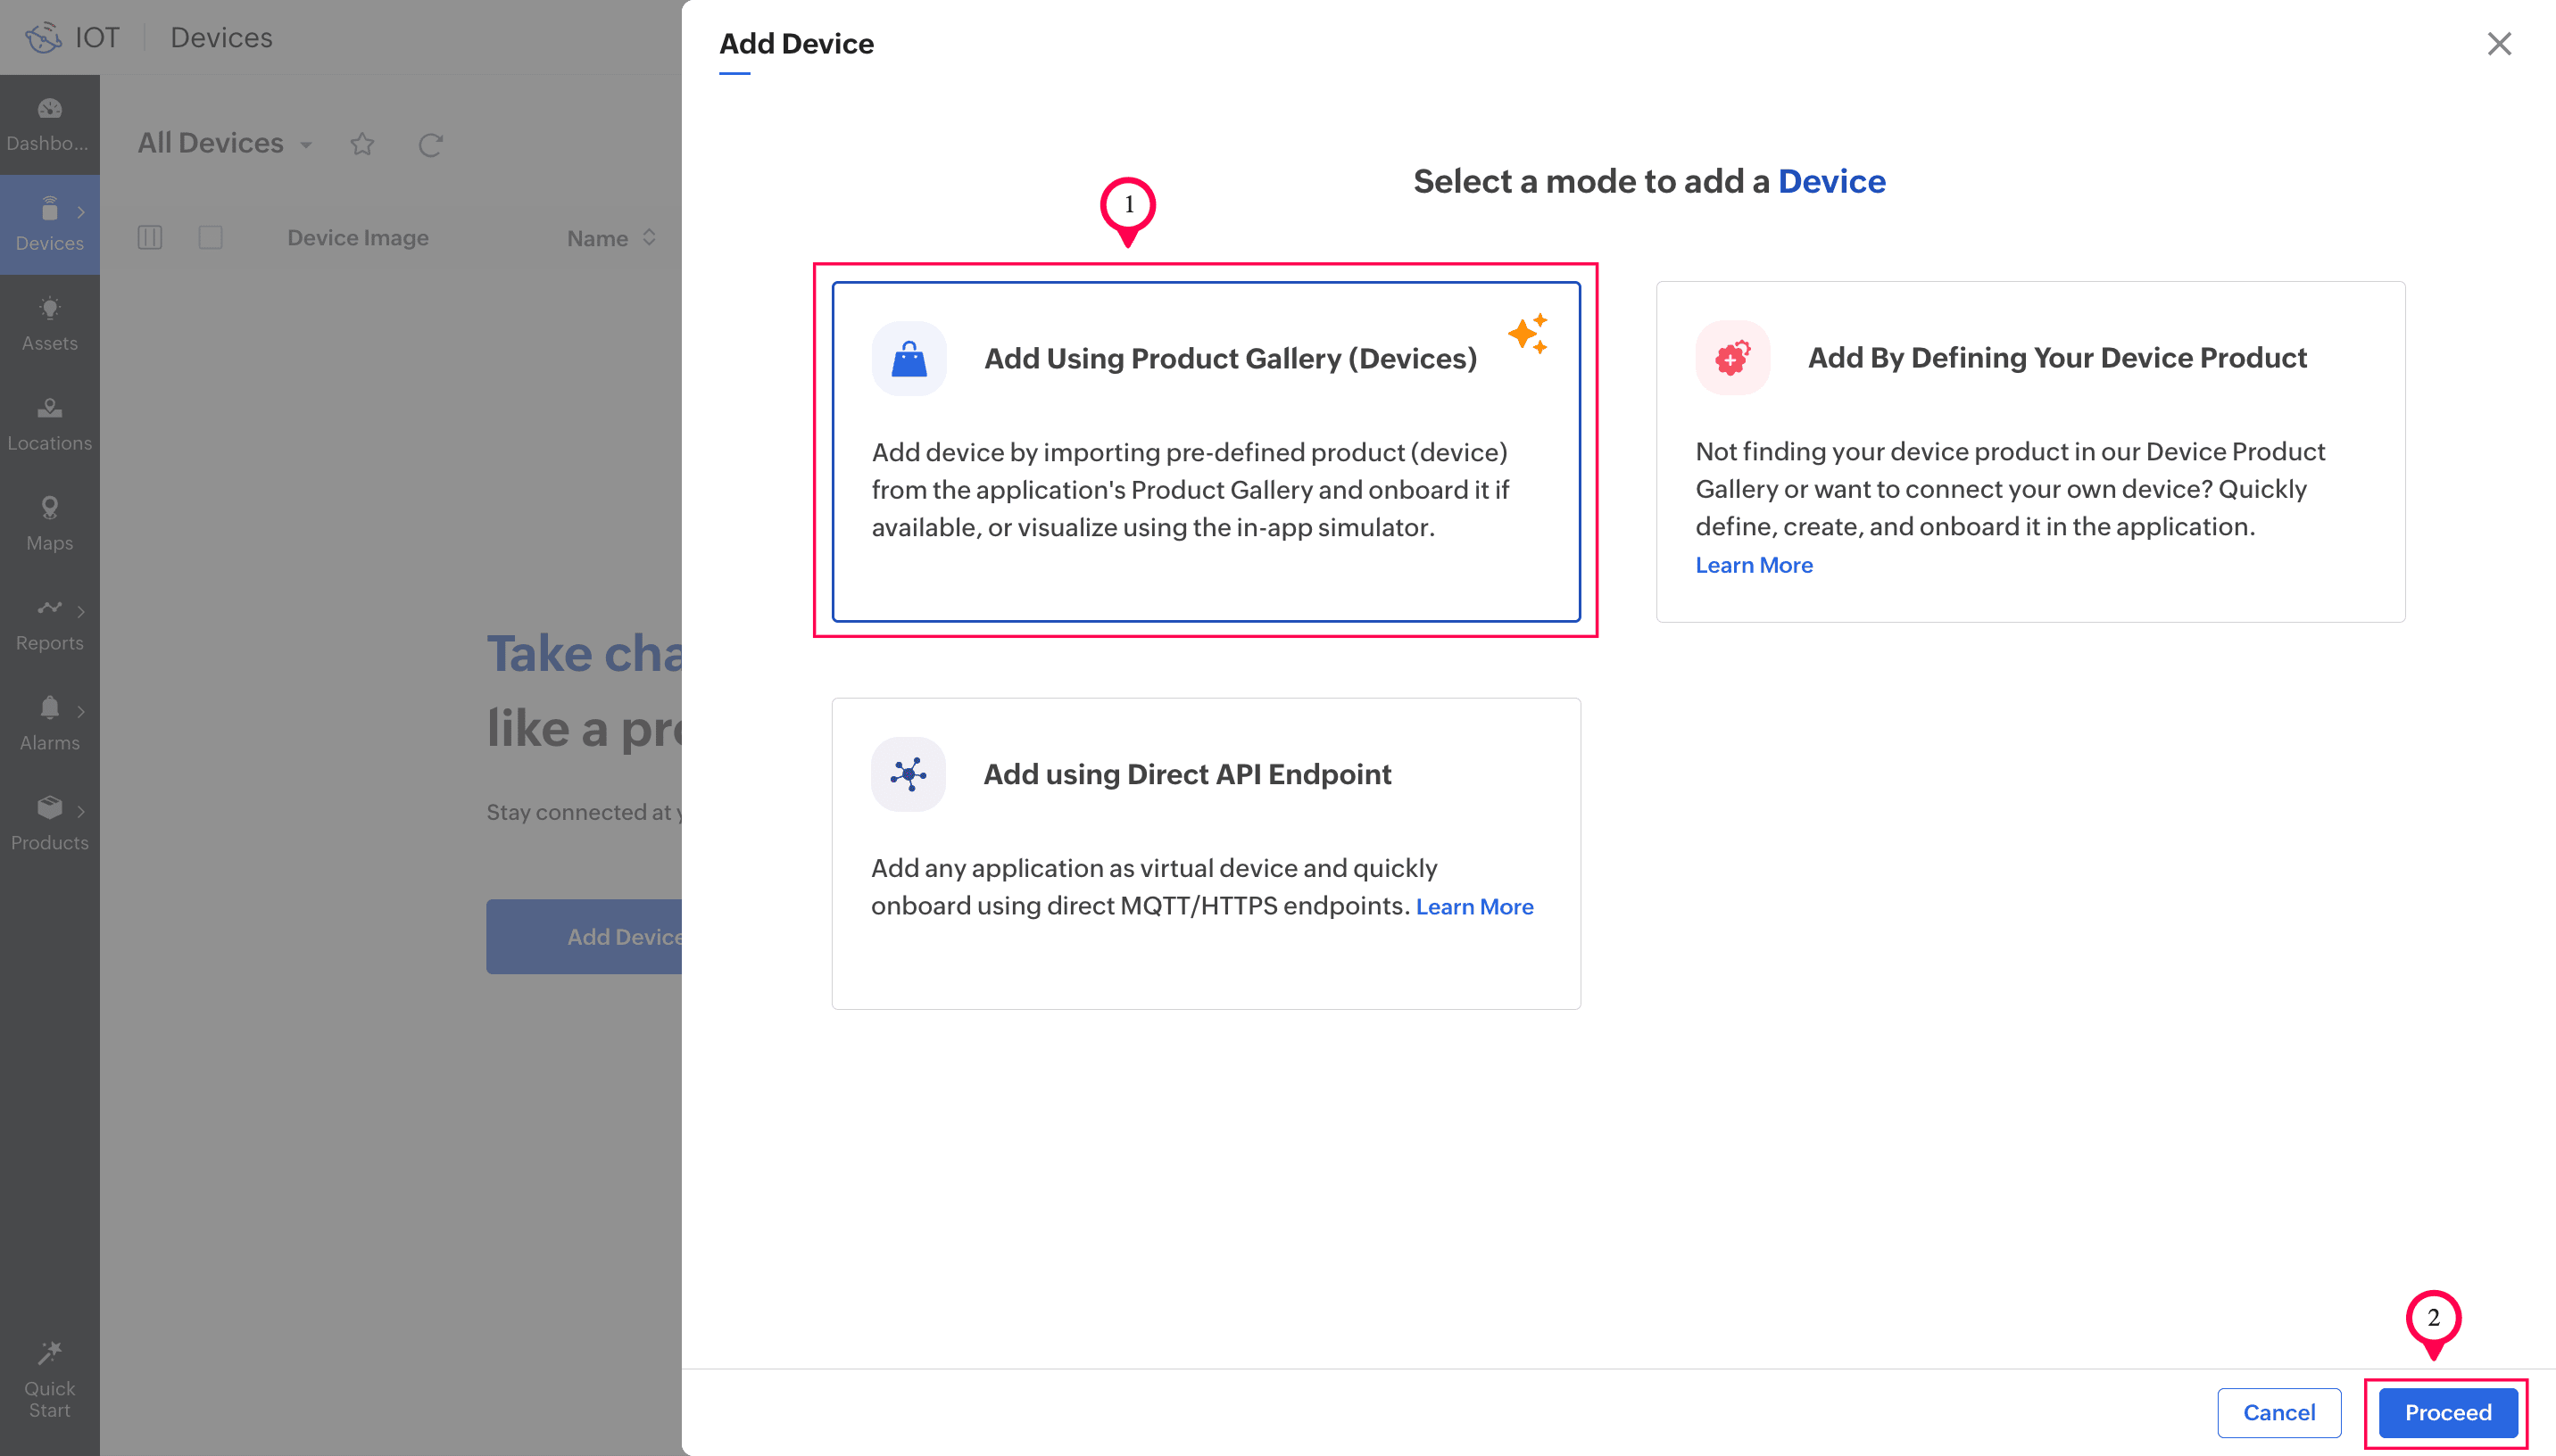
iv. Click Add Device.

v. Select Add Using Product Gallery (Devices) and click Proceed.
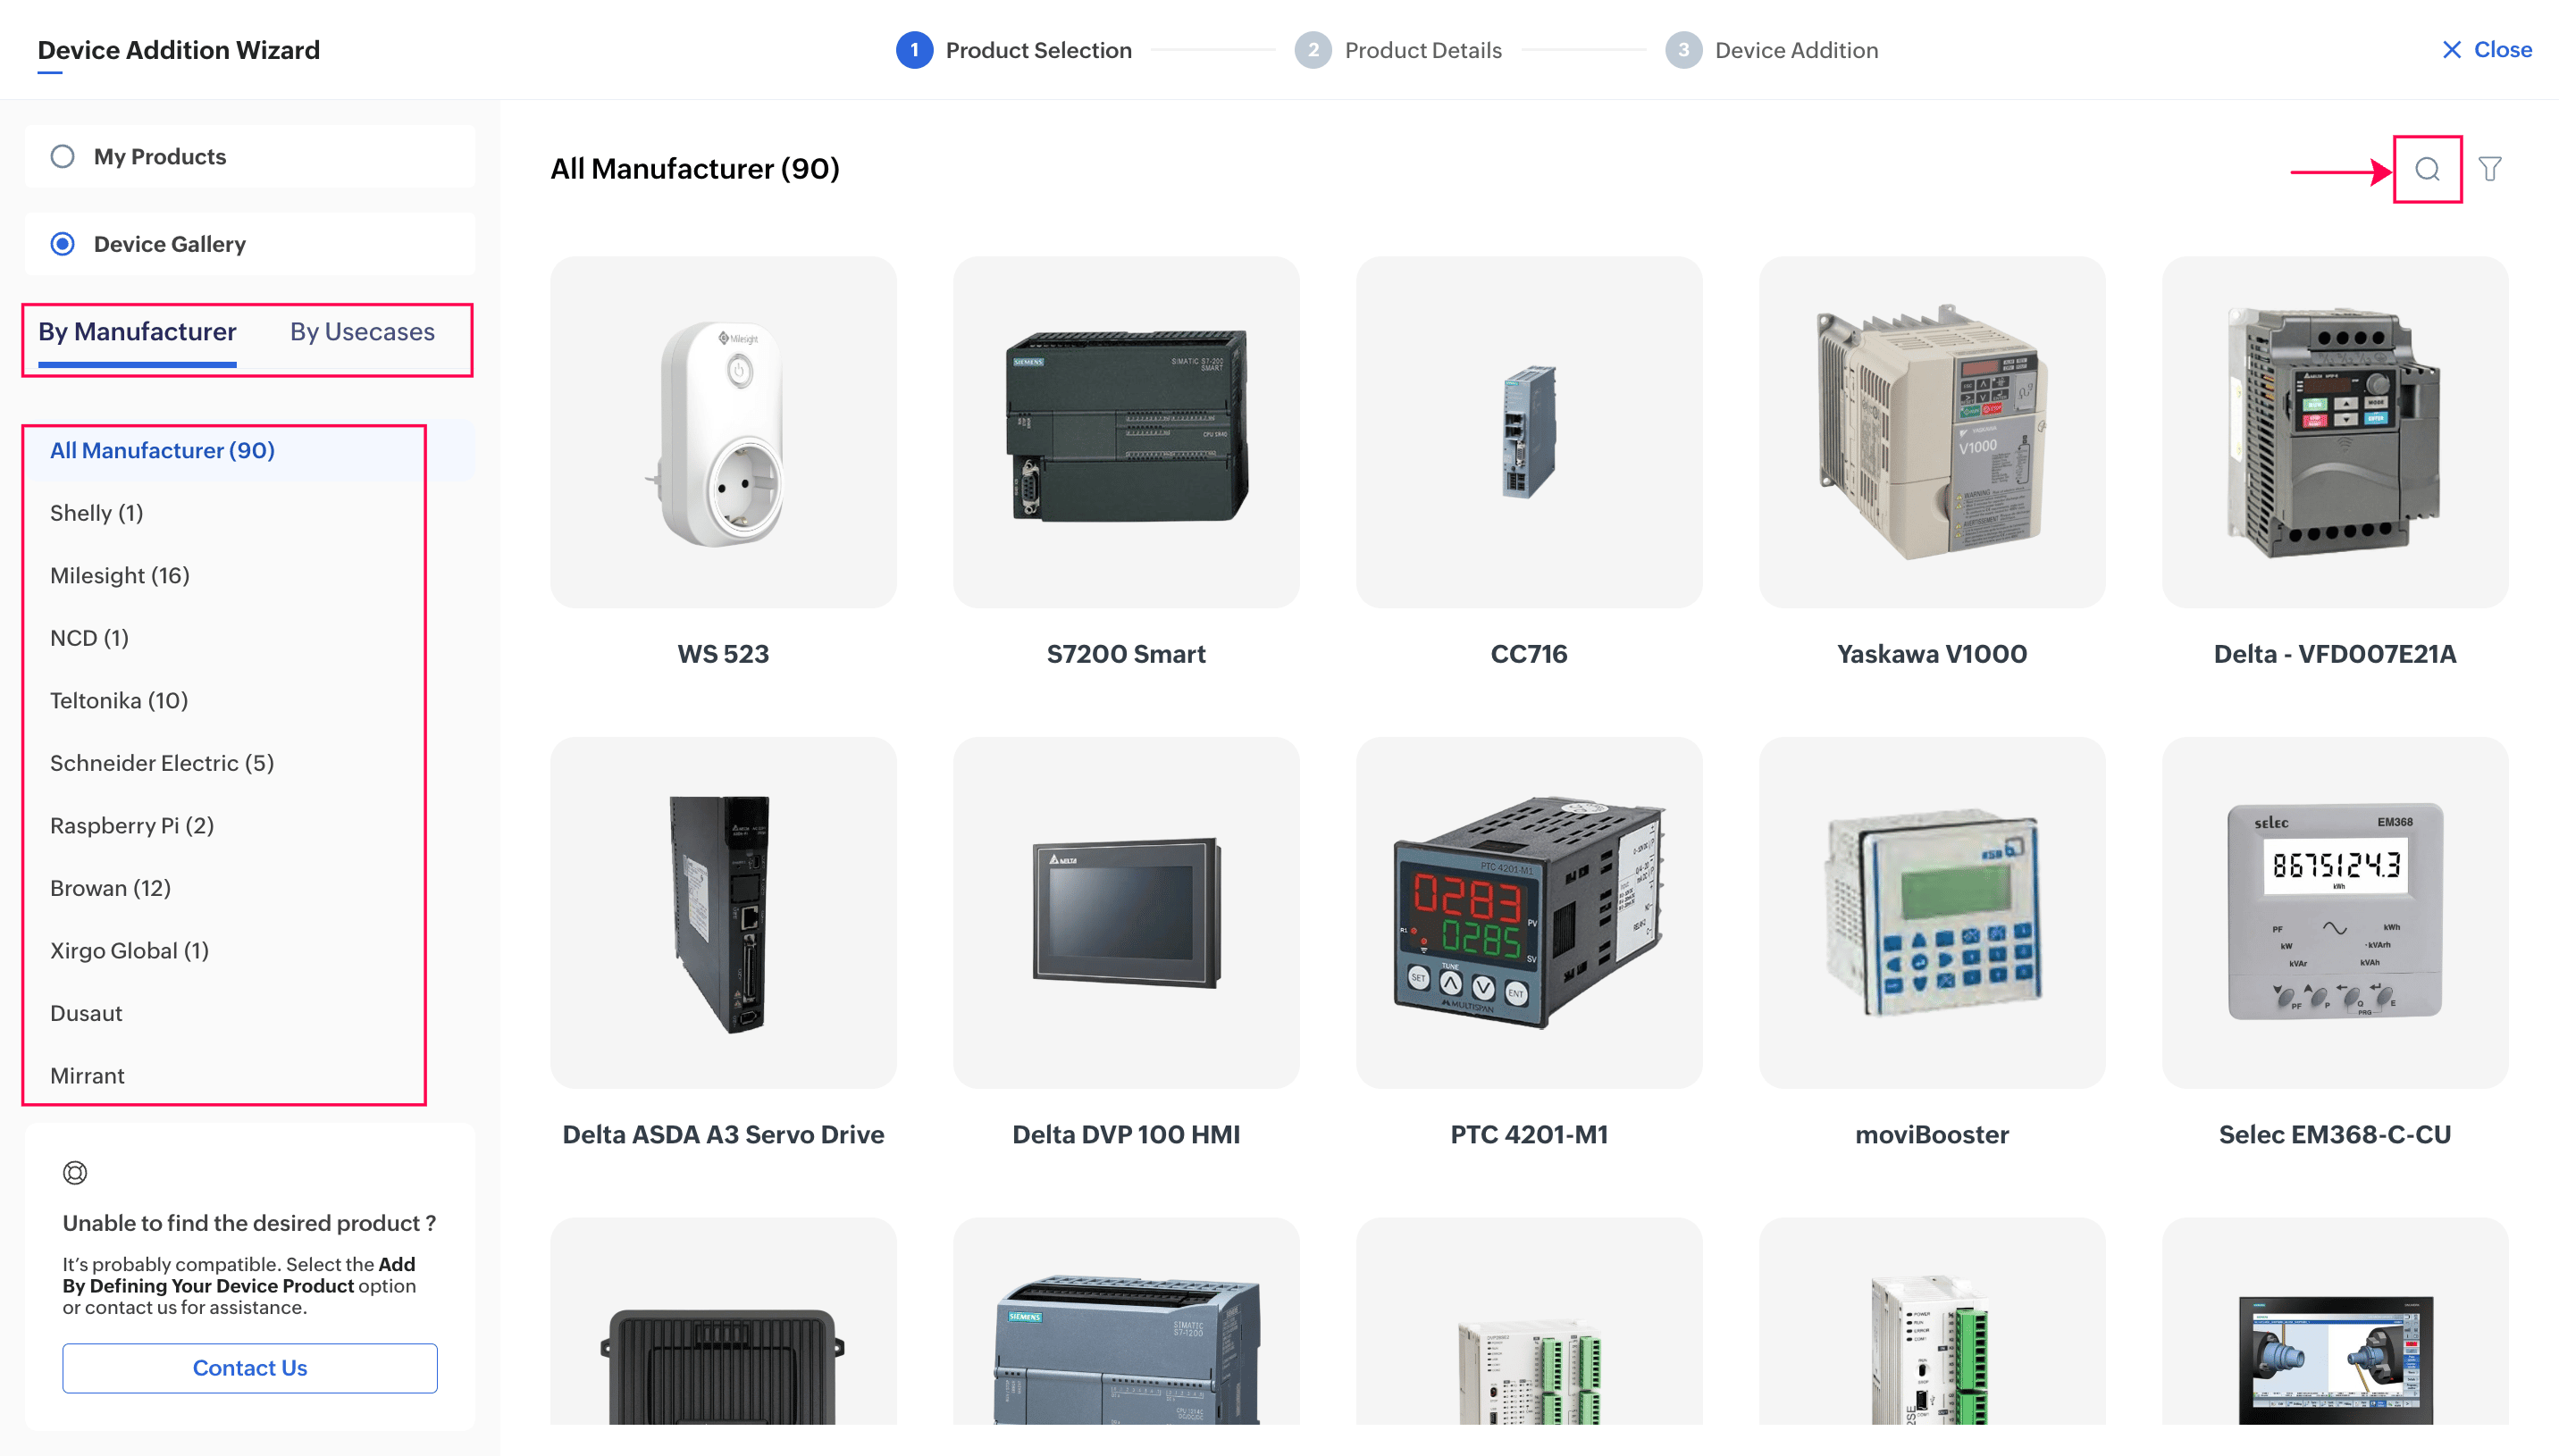
vi. Search for, browse, or filter your LoRa device.
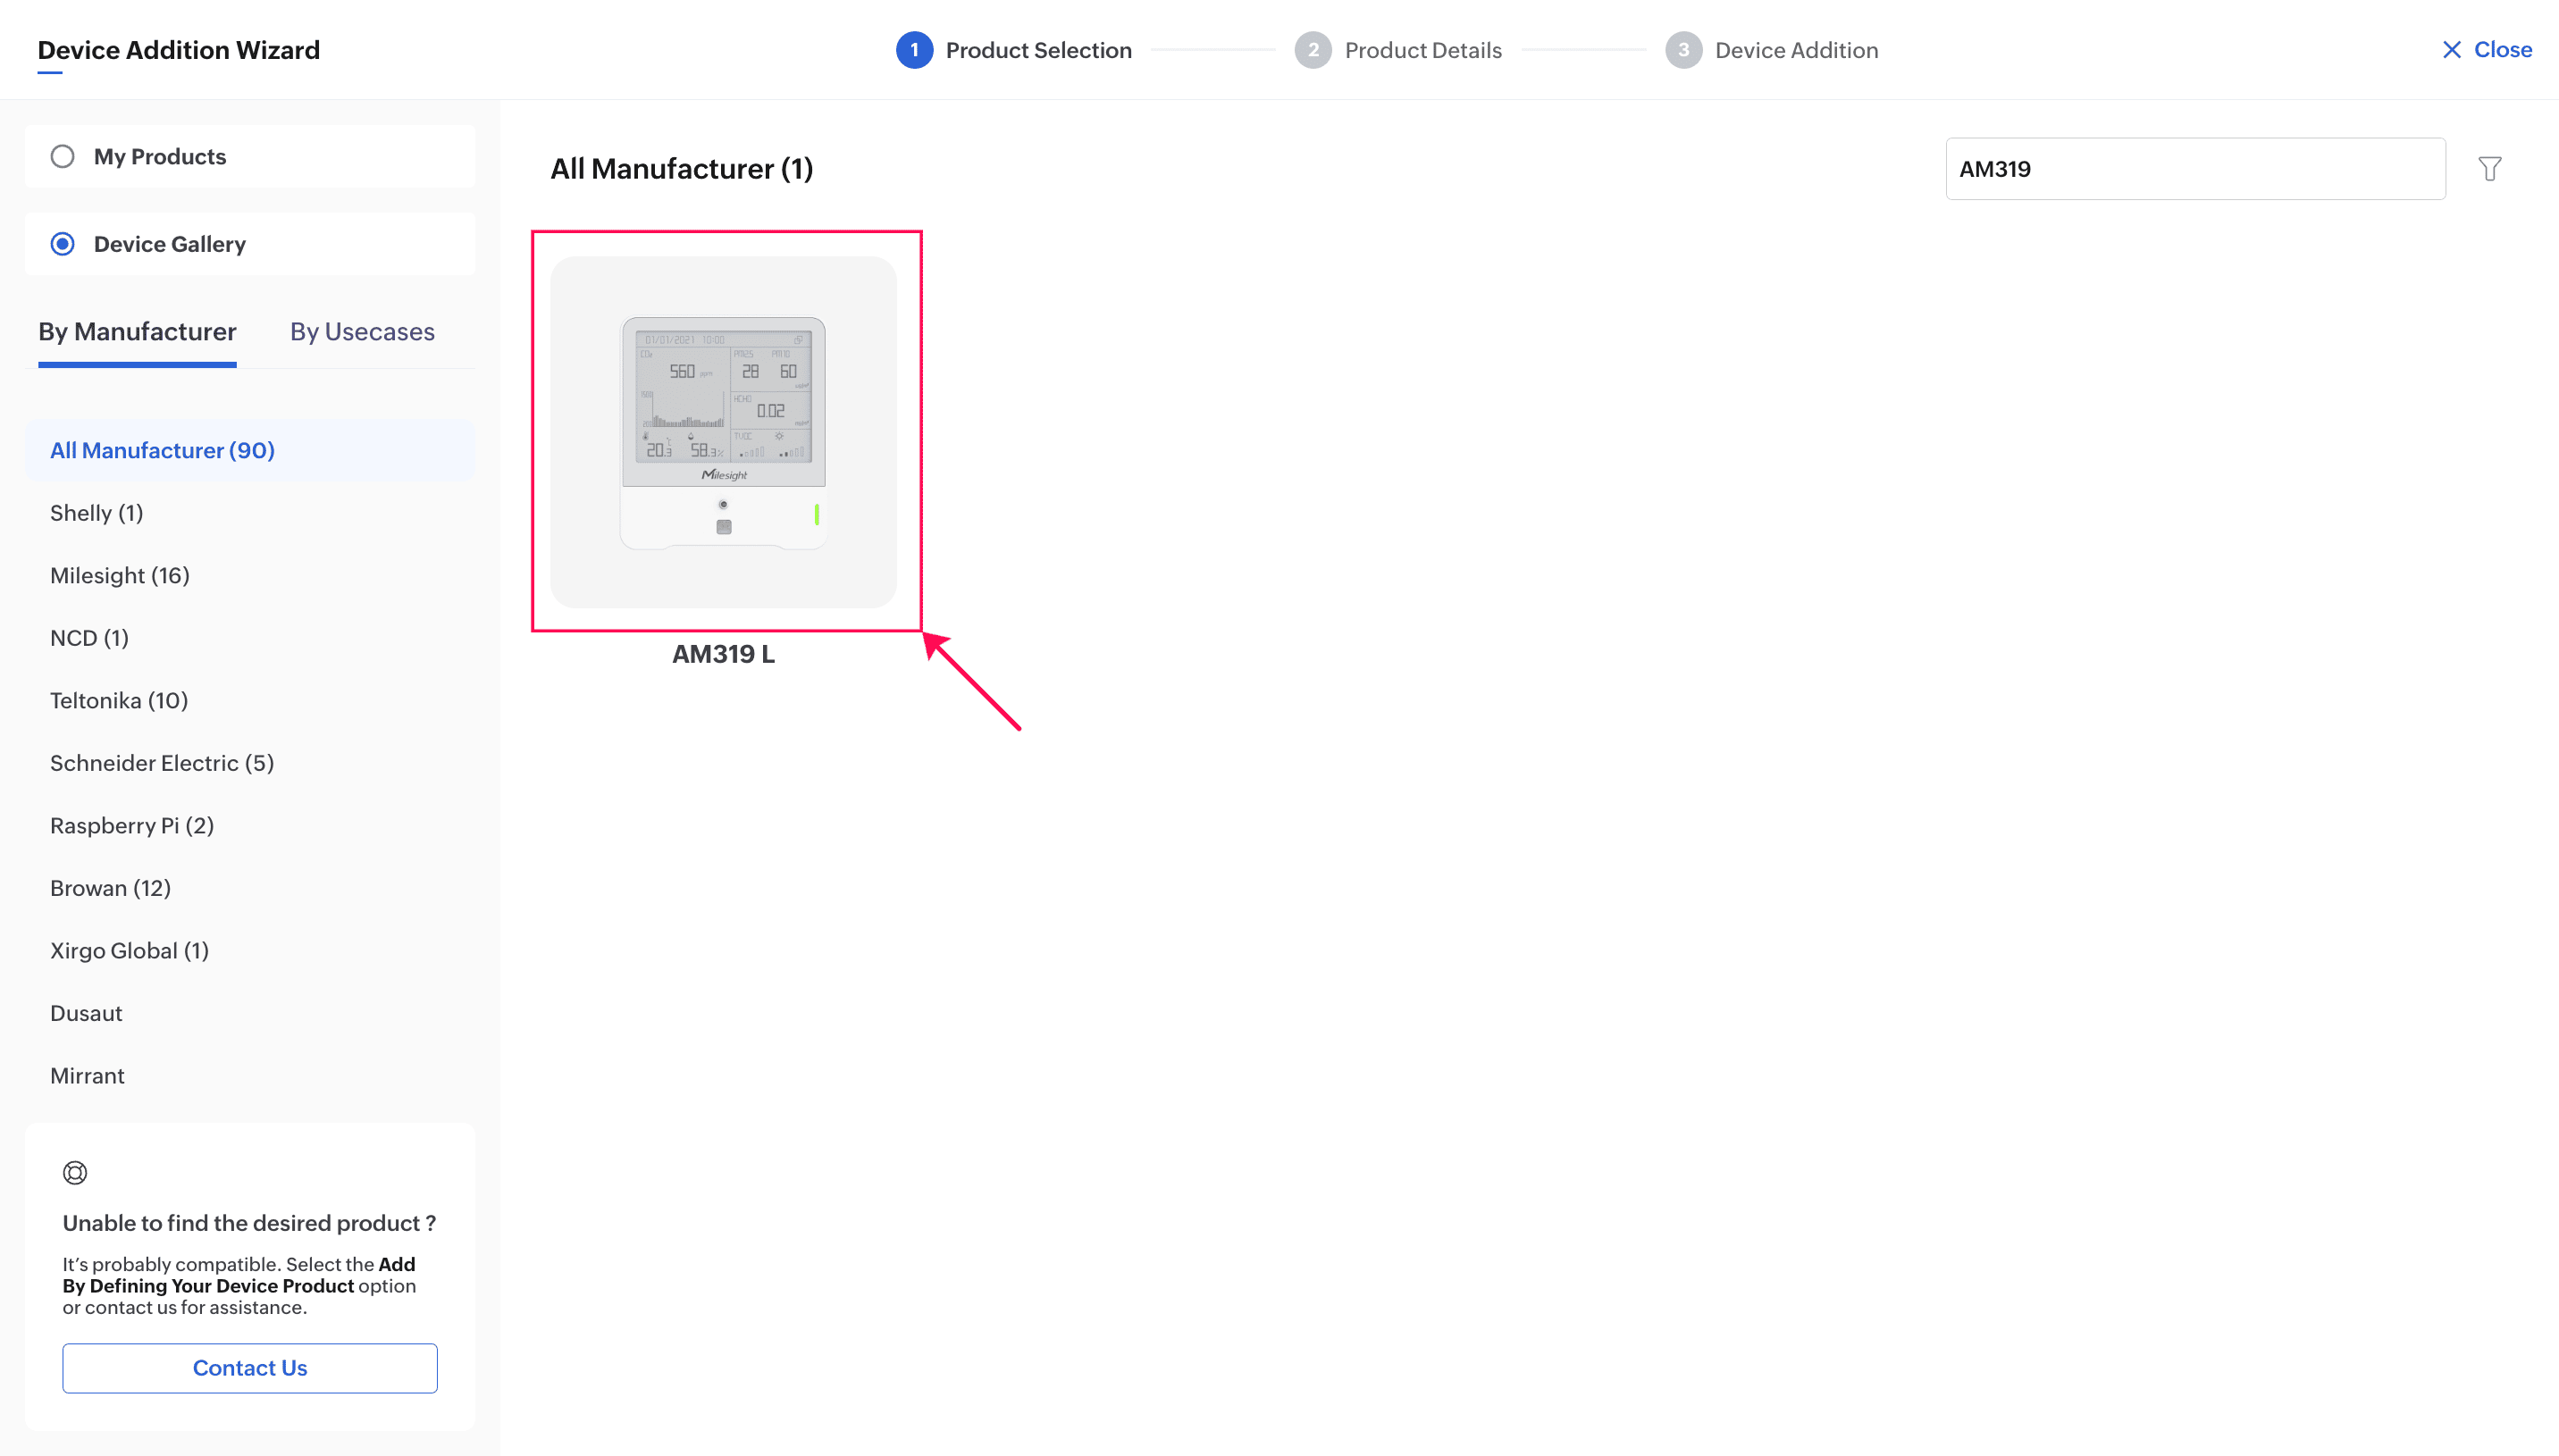
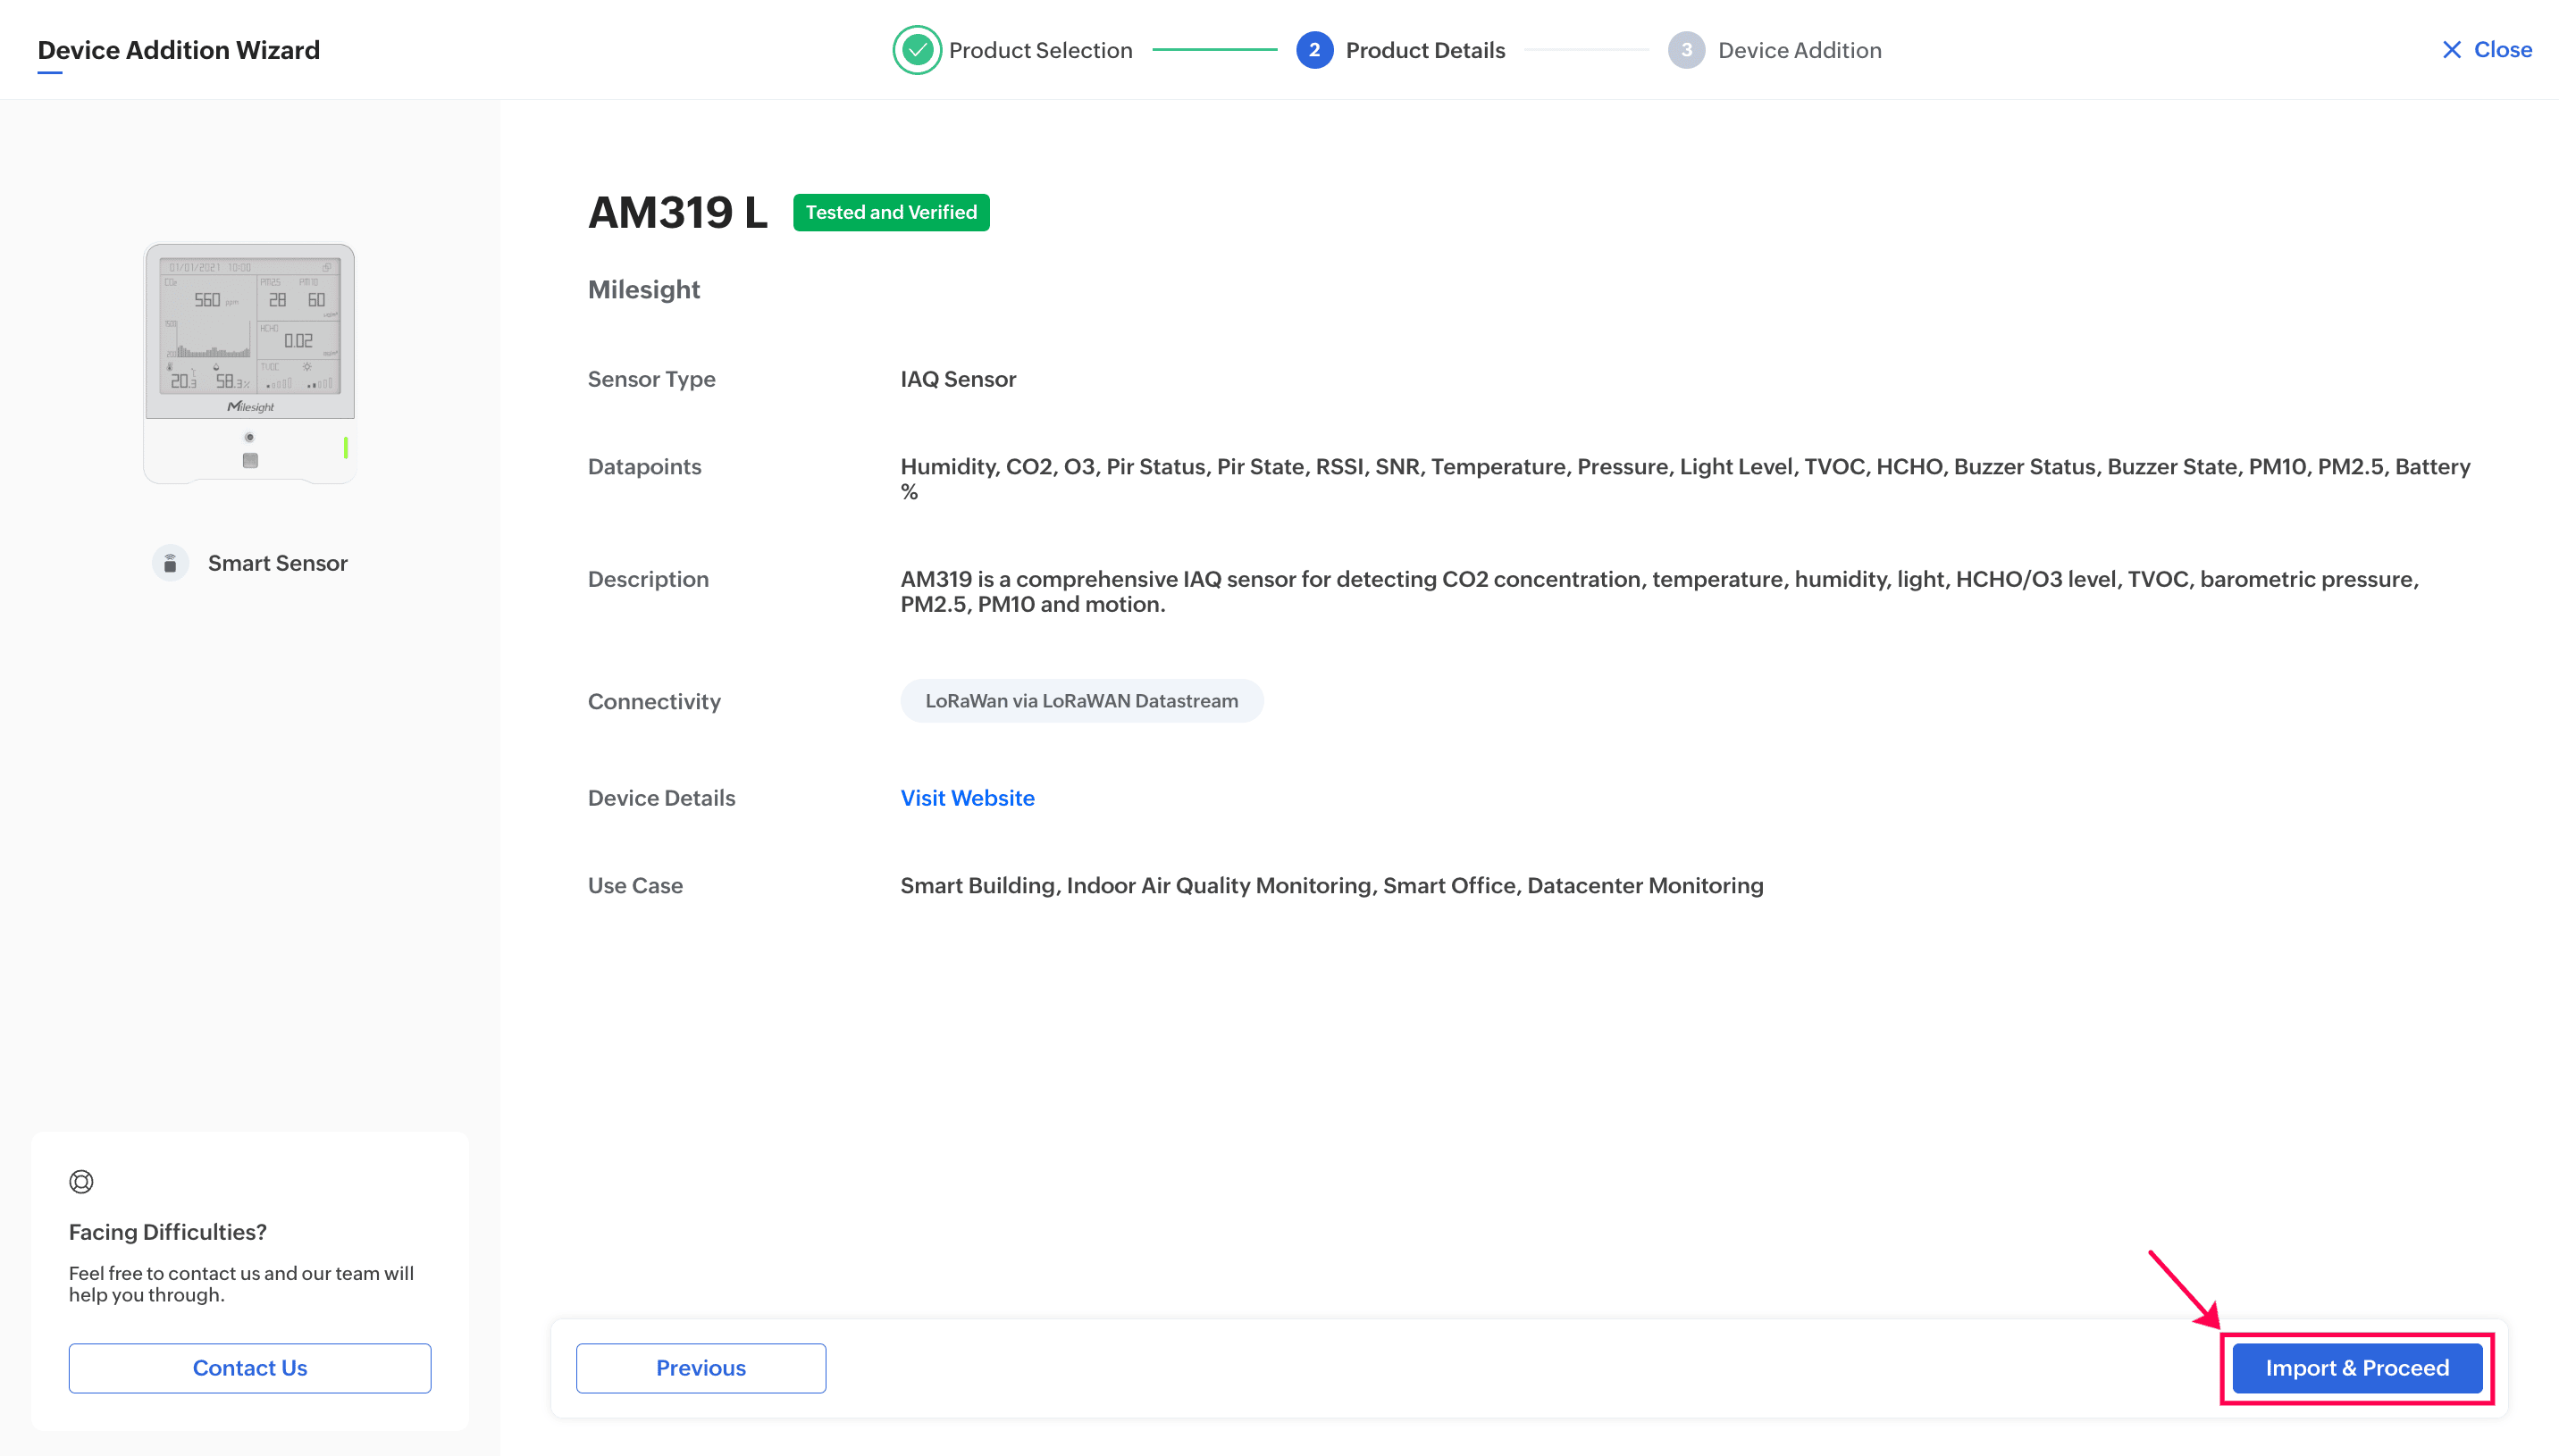
vii. Click the required device. For this example, the AM319 L device is selected.
viii. In the device product information page, click Import and Proceed.
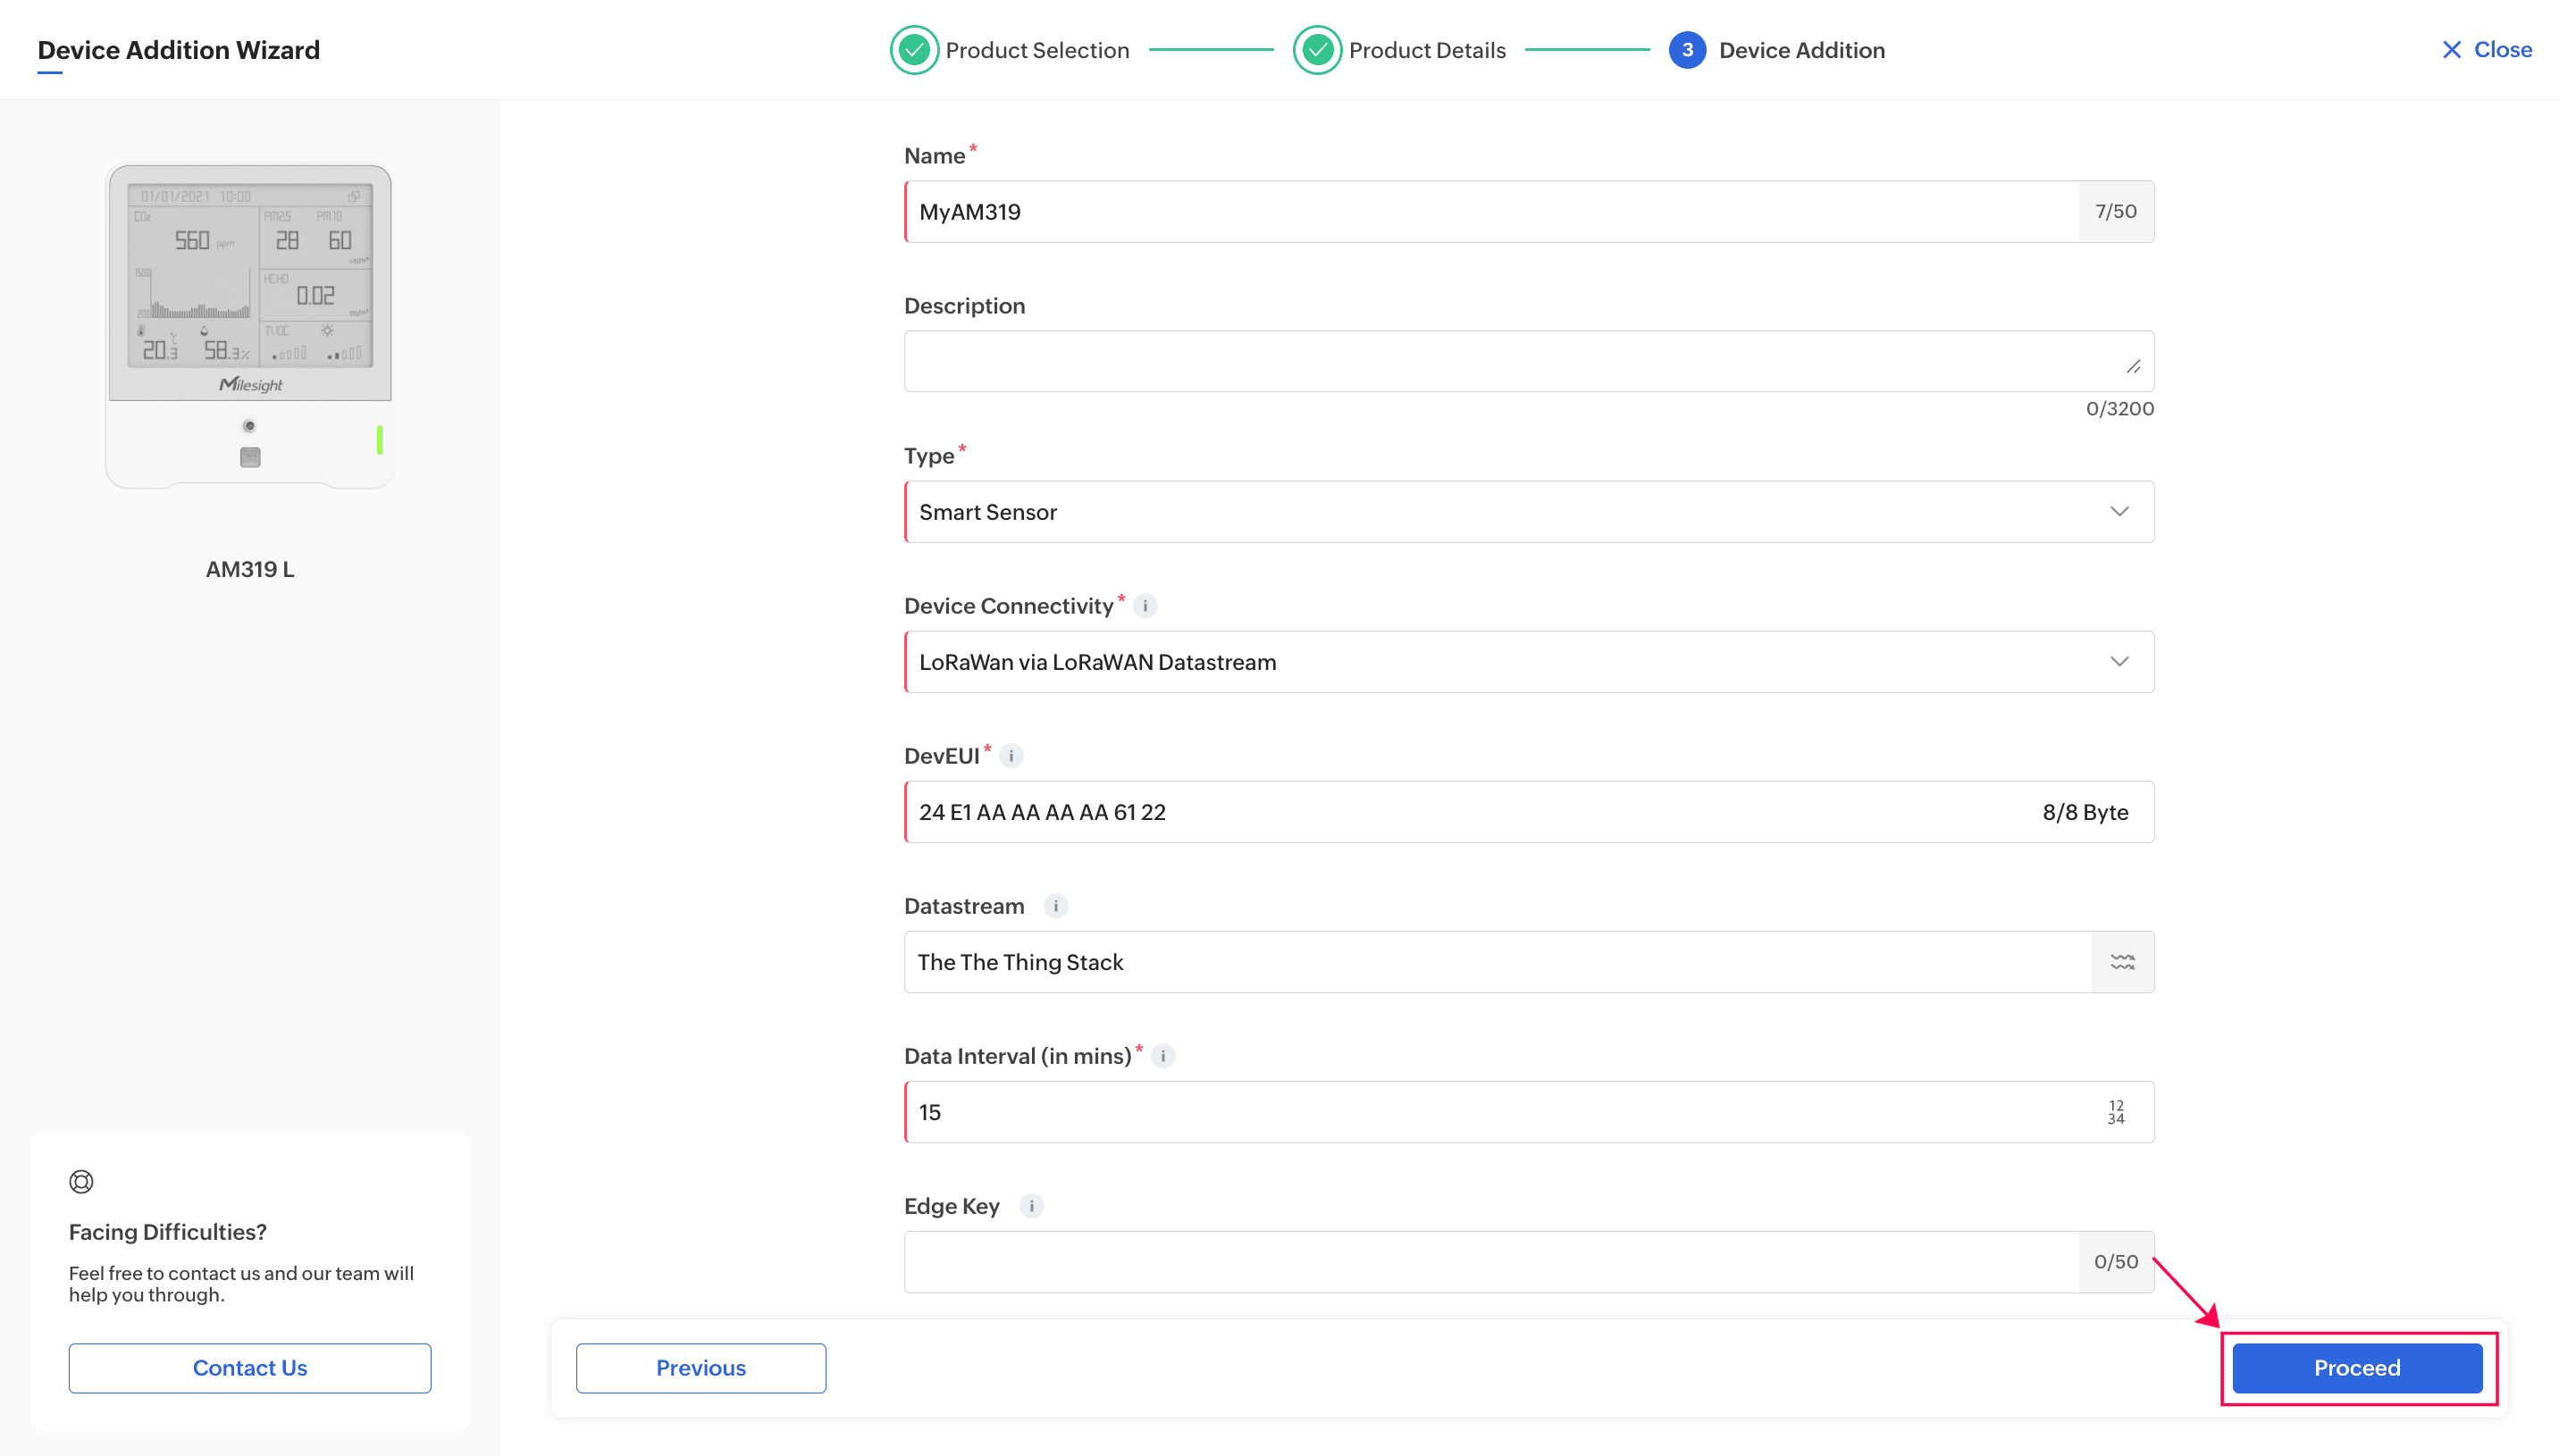
ix. Enter the required details in the fields provided. Here’s an example set of values you can refer to:
- Model Type: Create New Model
- Model Name: Parking IAQ
- Name: MyAM319L
- Type: Smart Sensor
- Device Connectivity: LoRaWAN via LoRaWAN Datastream
- DevEUI: 2E4xxxxxxxxxxx7F3 (the 16-digit DevEUI of your device; this is how Zoho IoT identifies which payload belongs to which device)
- Data Stream: The Things Stack (select the data stream you integrated earlier)
- Keep Alive Interval: 10 minutes

x. Click Proceed. The device will now be added to the Zoho IoT application.
xi. Click View Device to open the added device’s information page.
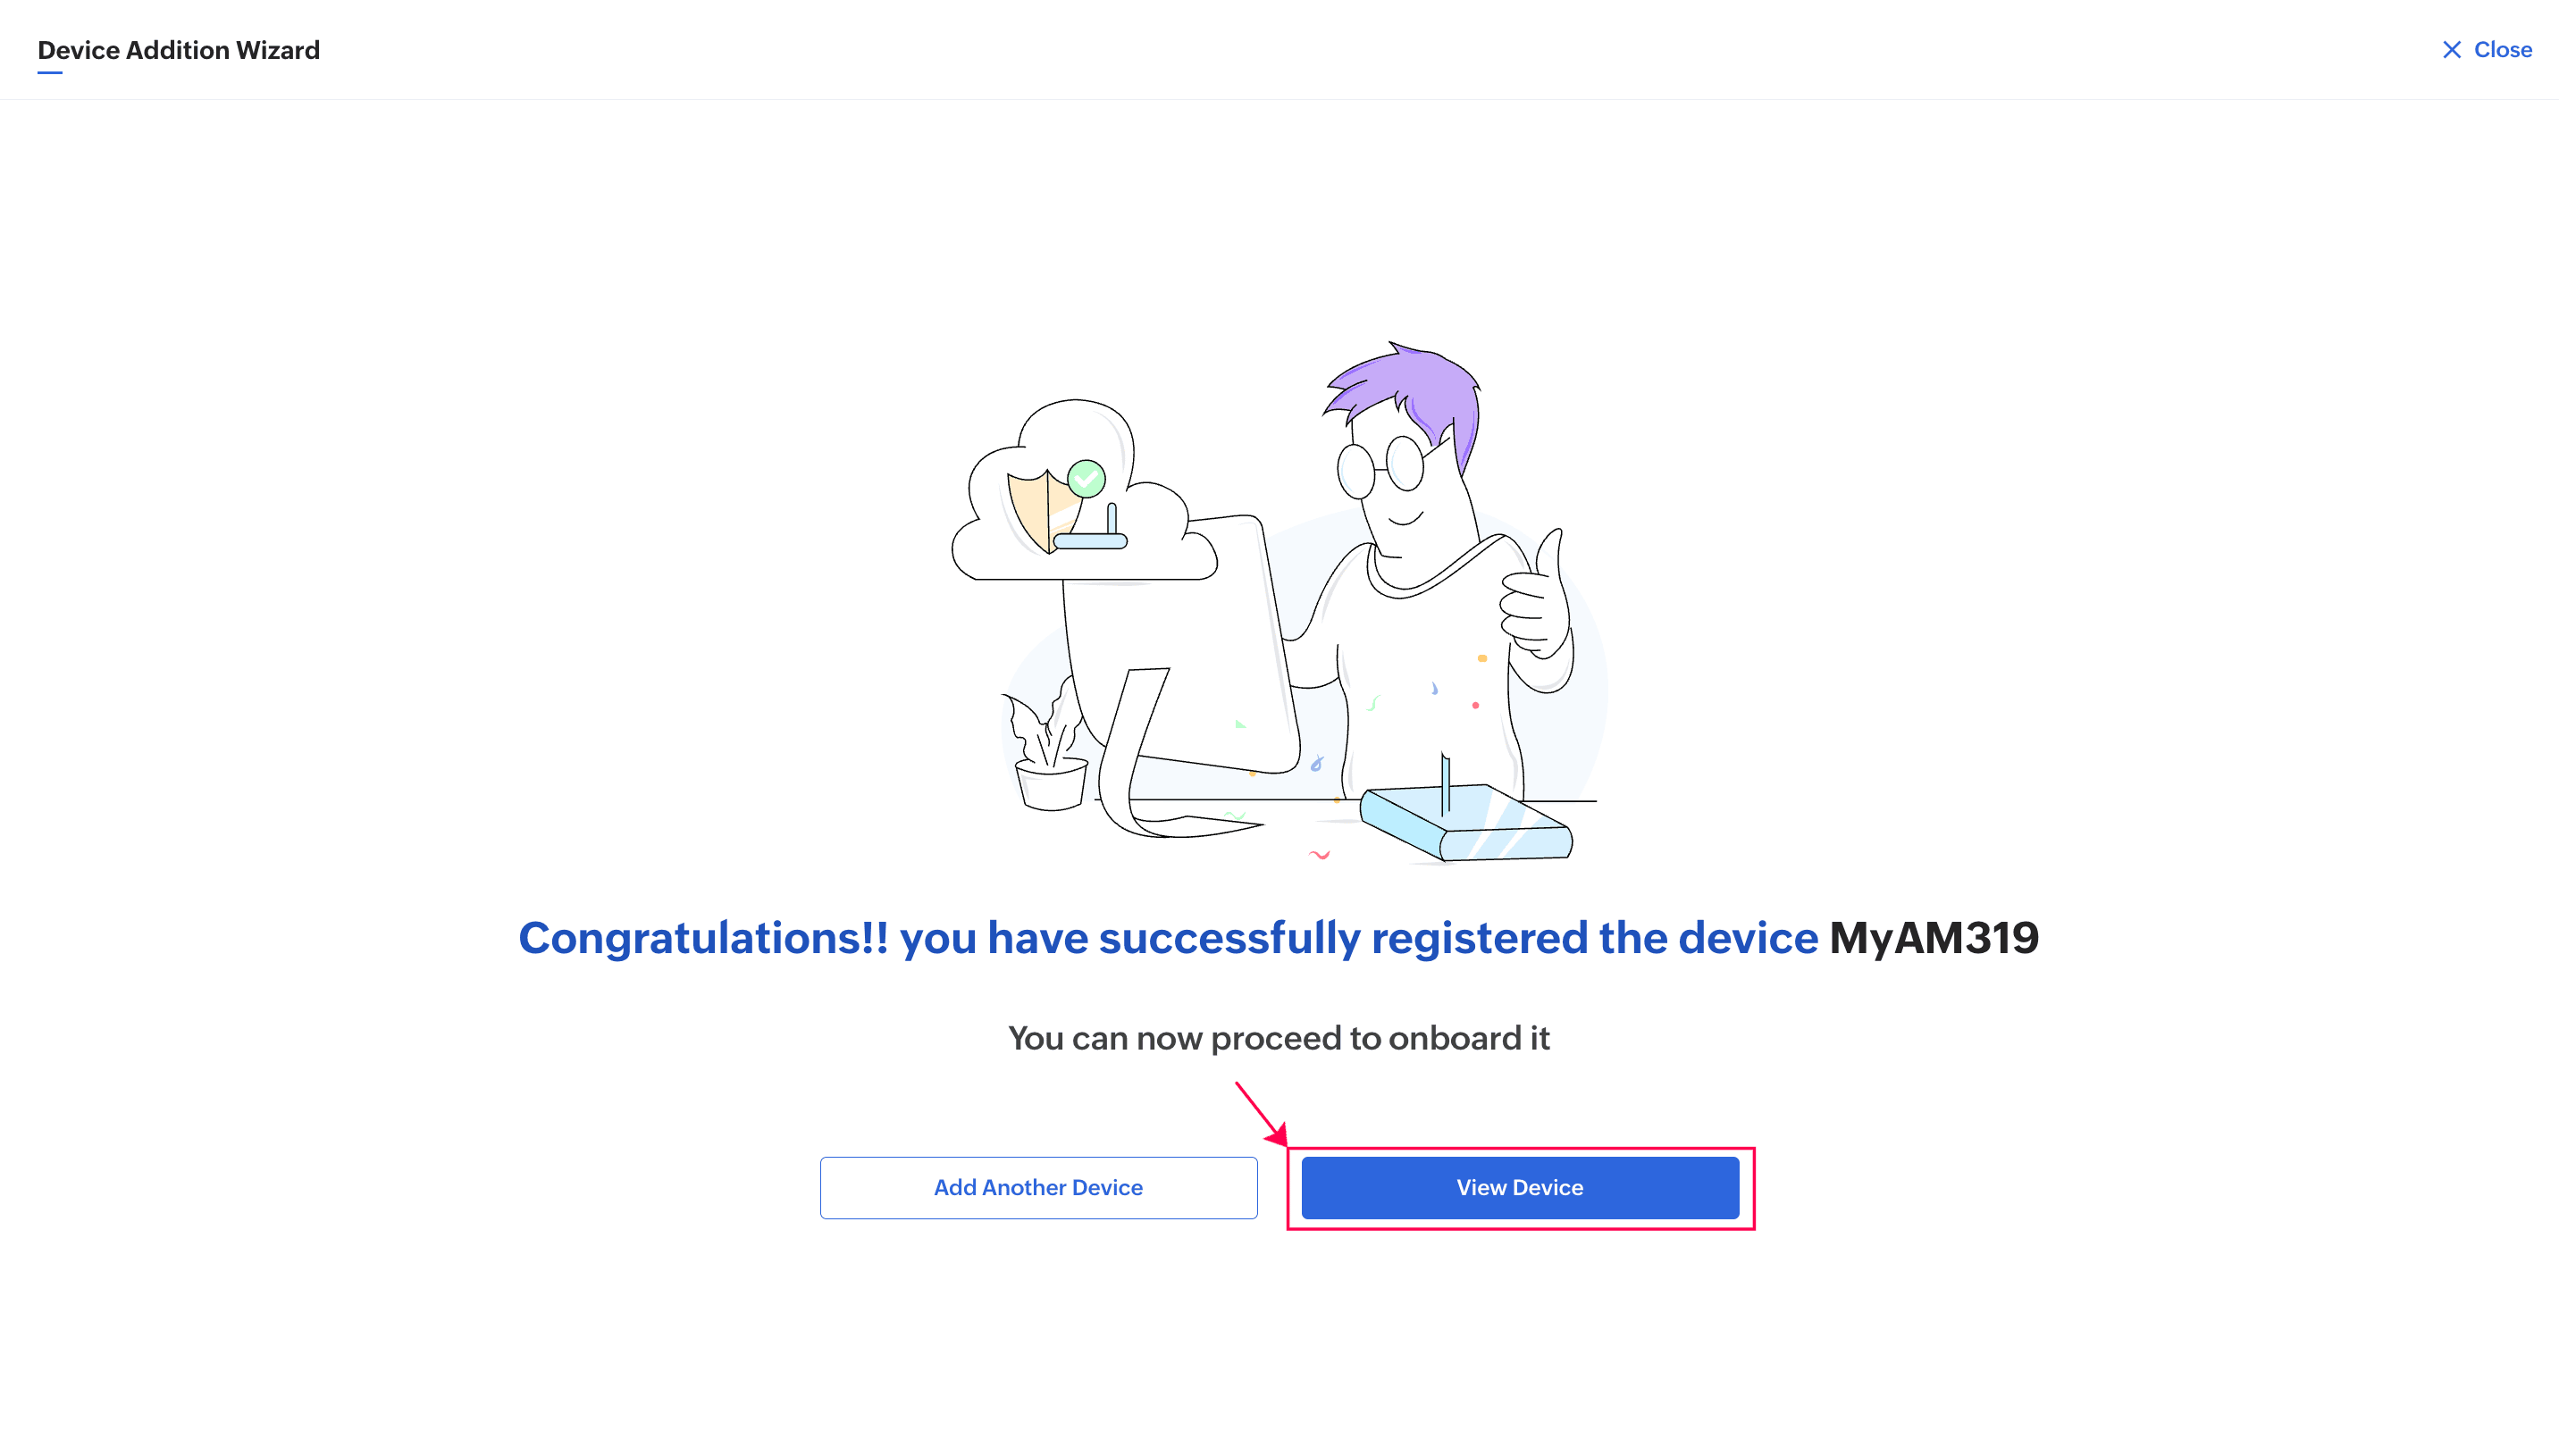
The device is now added. It will extract and store its data from the payload forwarded by The Things Stack.
Step 5: Visualizing the Data.
With the data now stored in the device, you can begin visualising it in Zoho IoT.
Using the Data Explorer
The Data Explorer lets you view and analyse the datapoints stored for a device.
To view data using the Data Explorer:
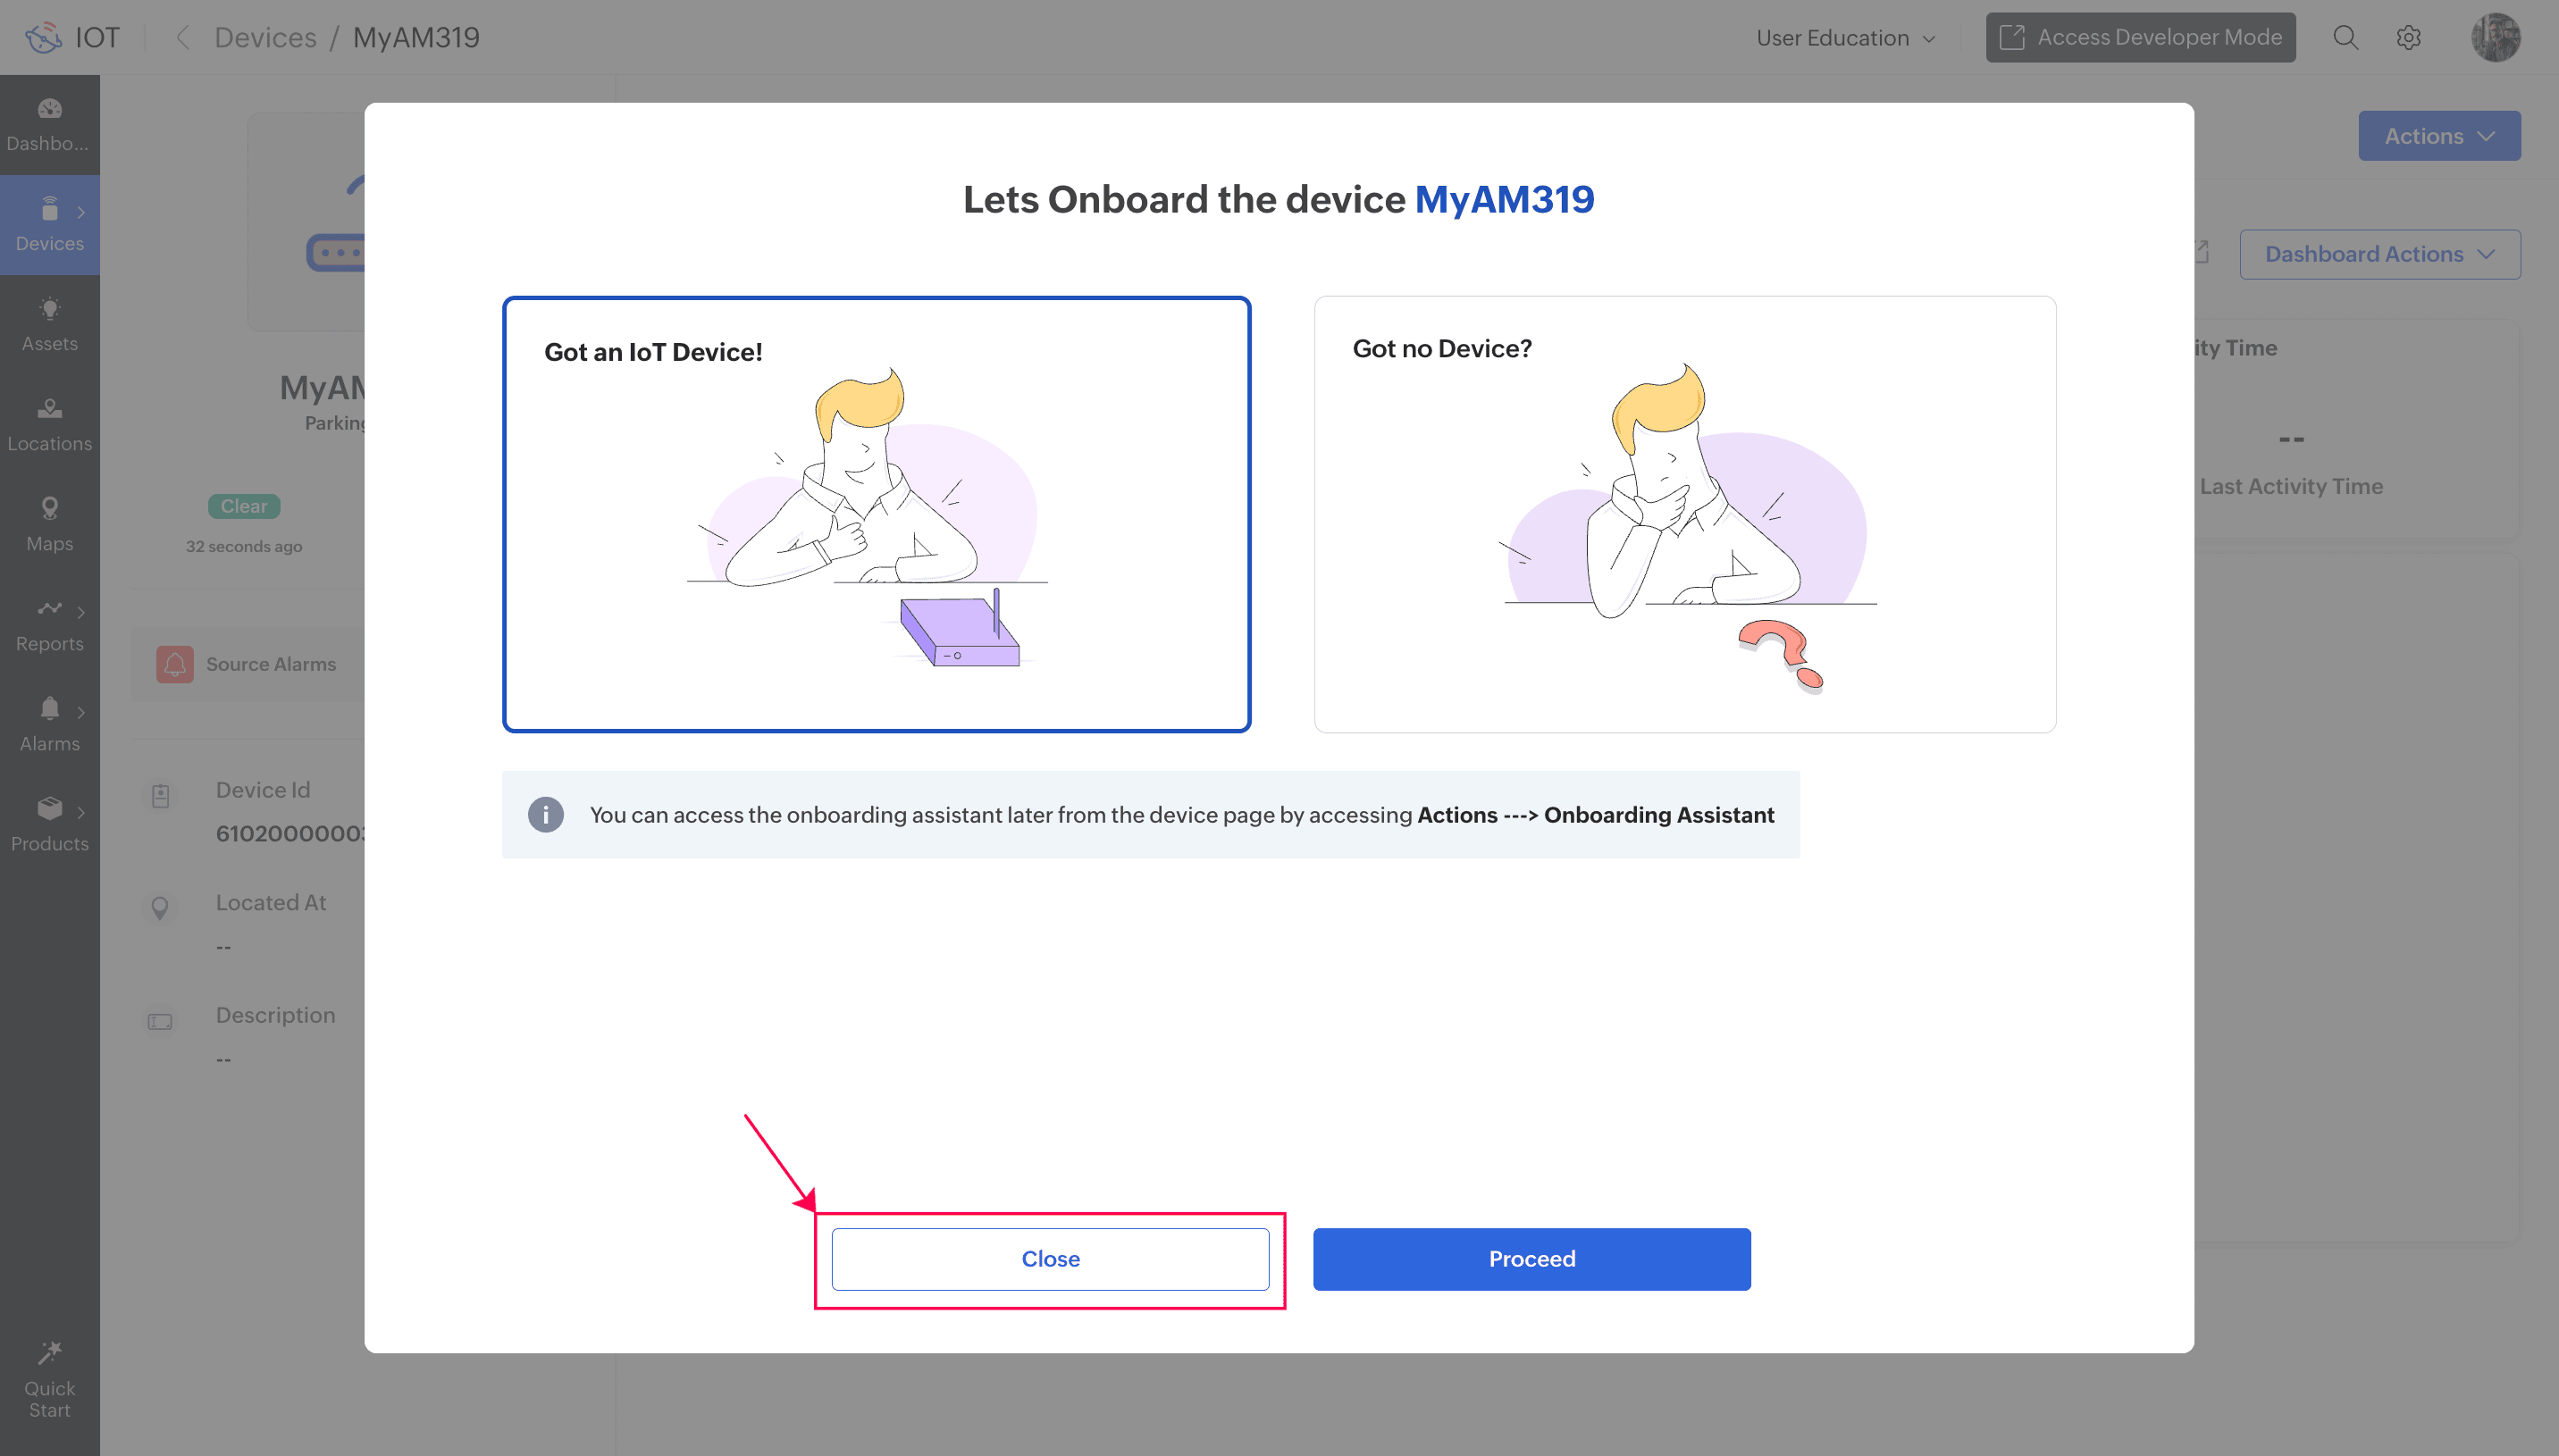
i. On the device information page, Close the Onboarding Assistant.
ii. Select the Data Explorer tab.
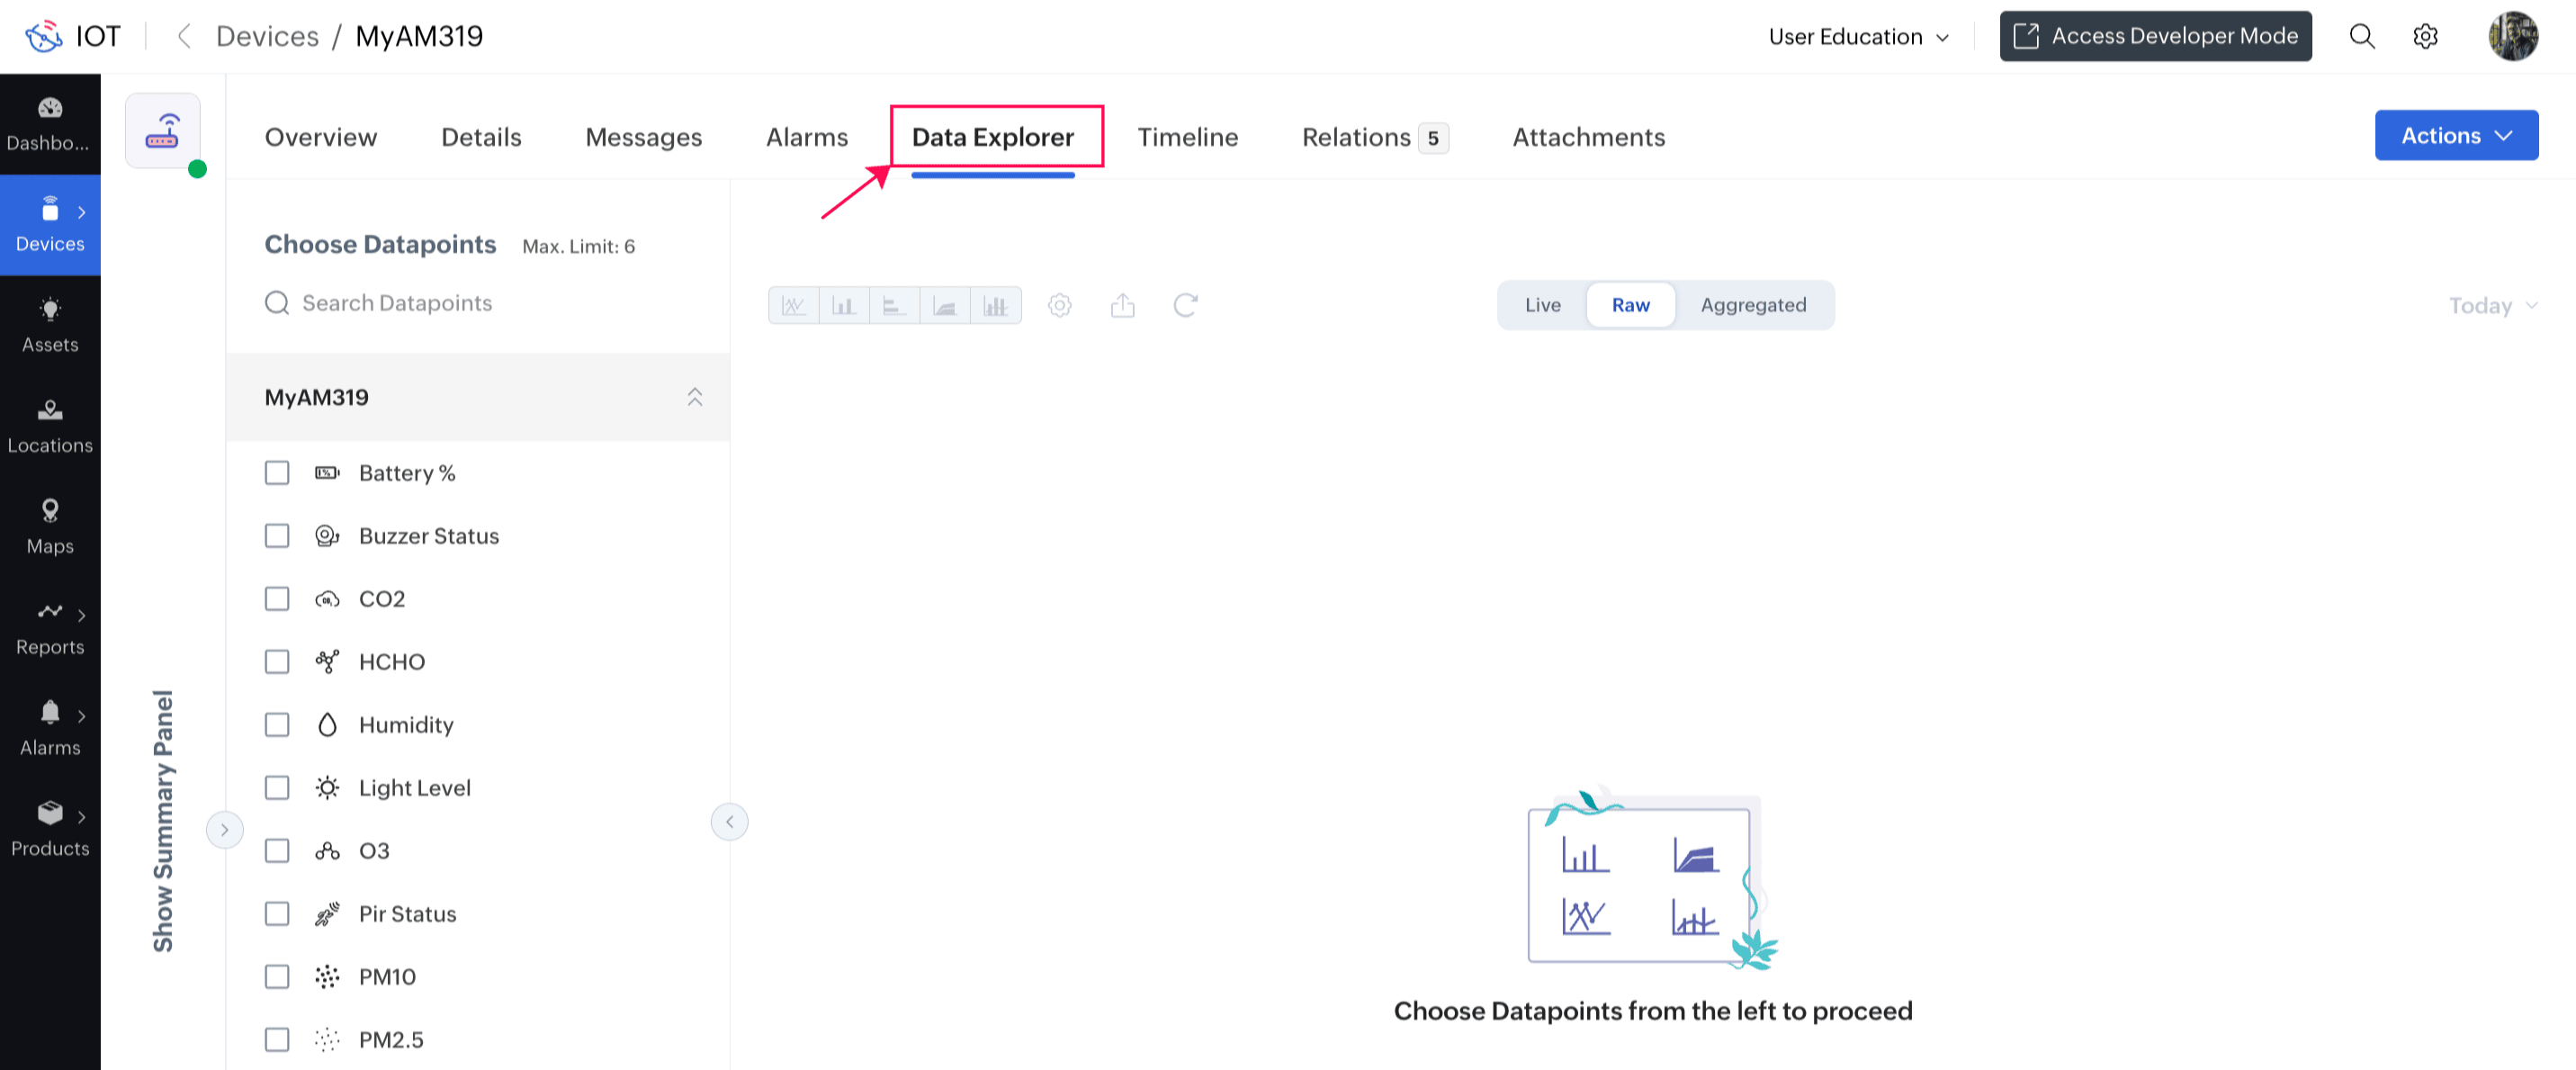
iii. In the left pane, choose the datapoints you want to visualise. For example, select PM10, Temperature, CO₂, and Humidity.
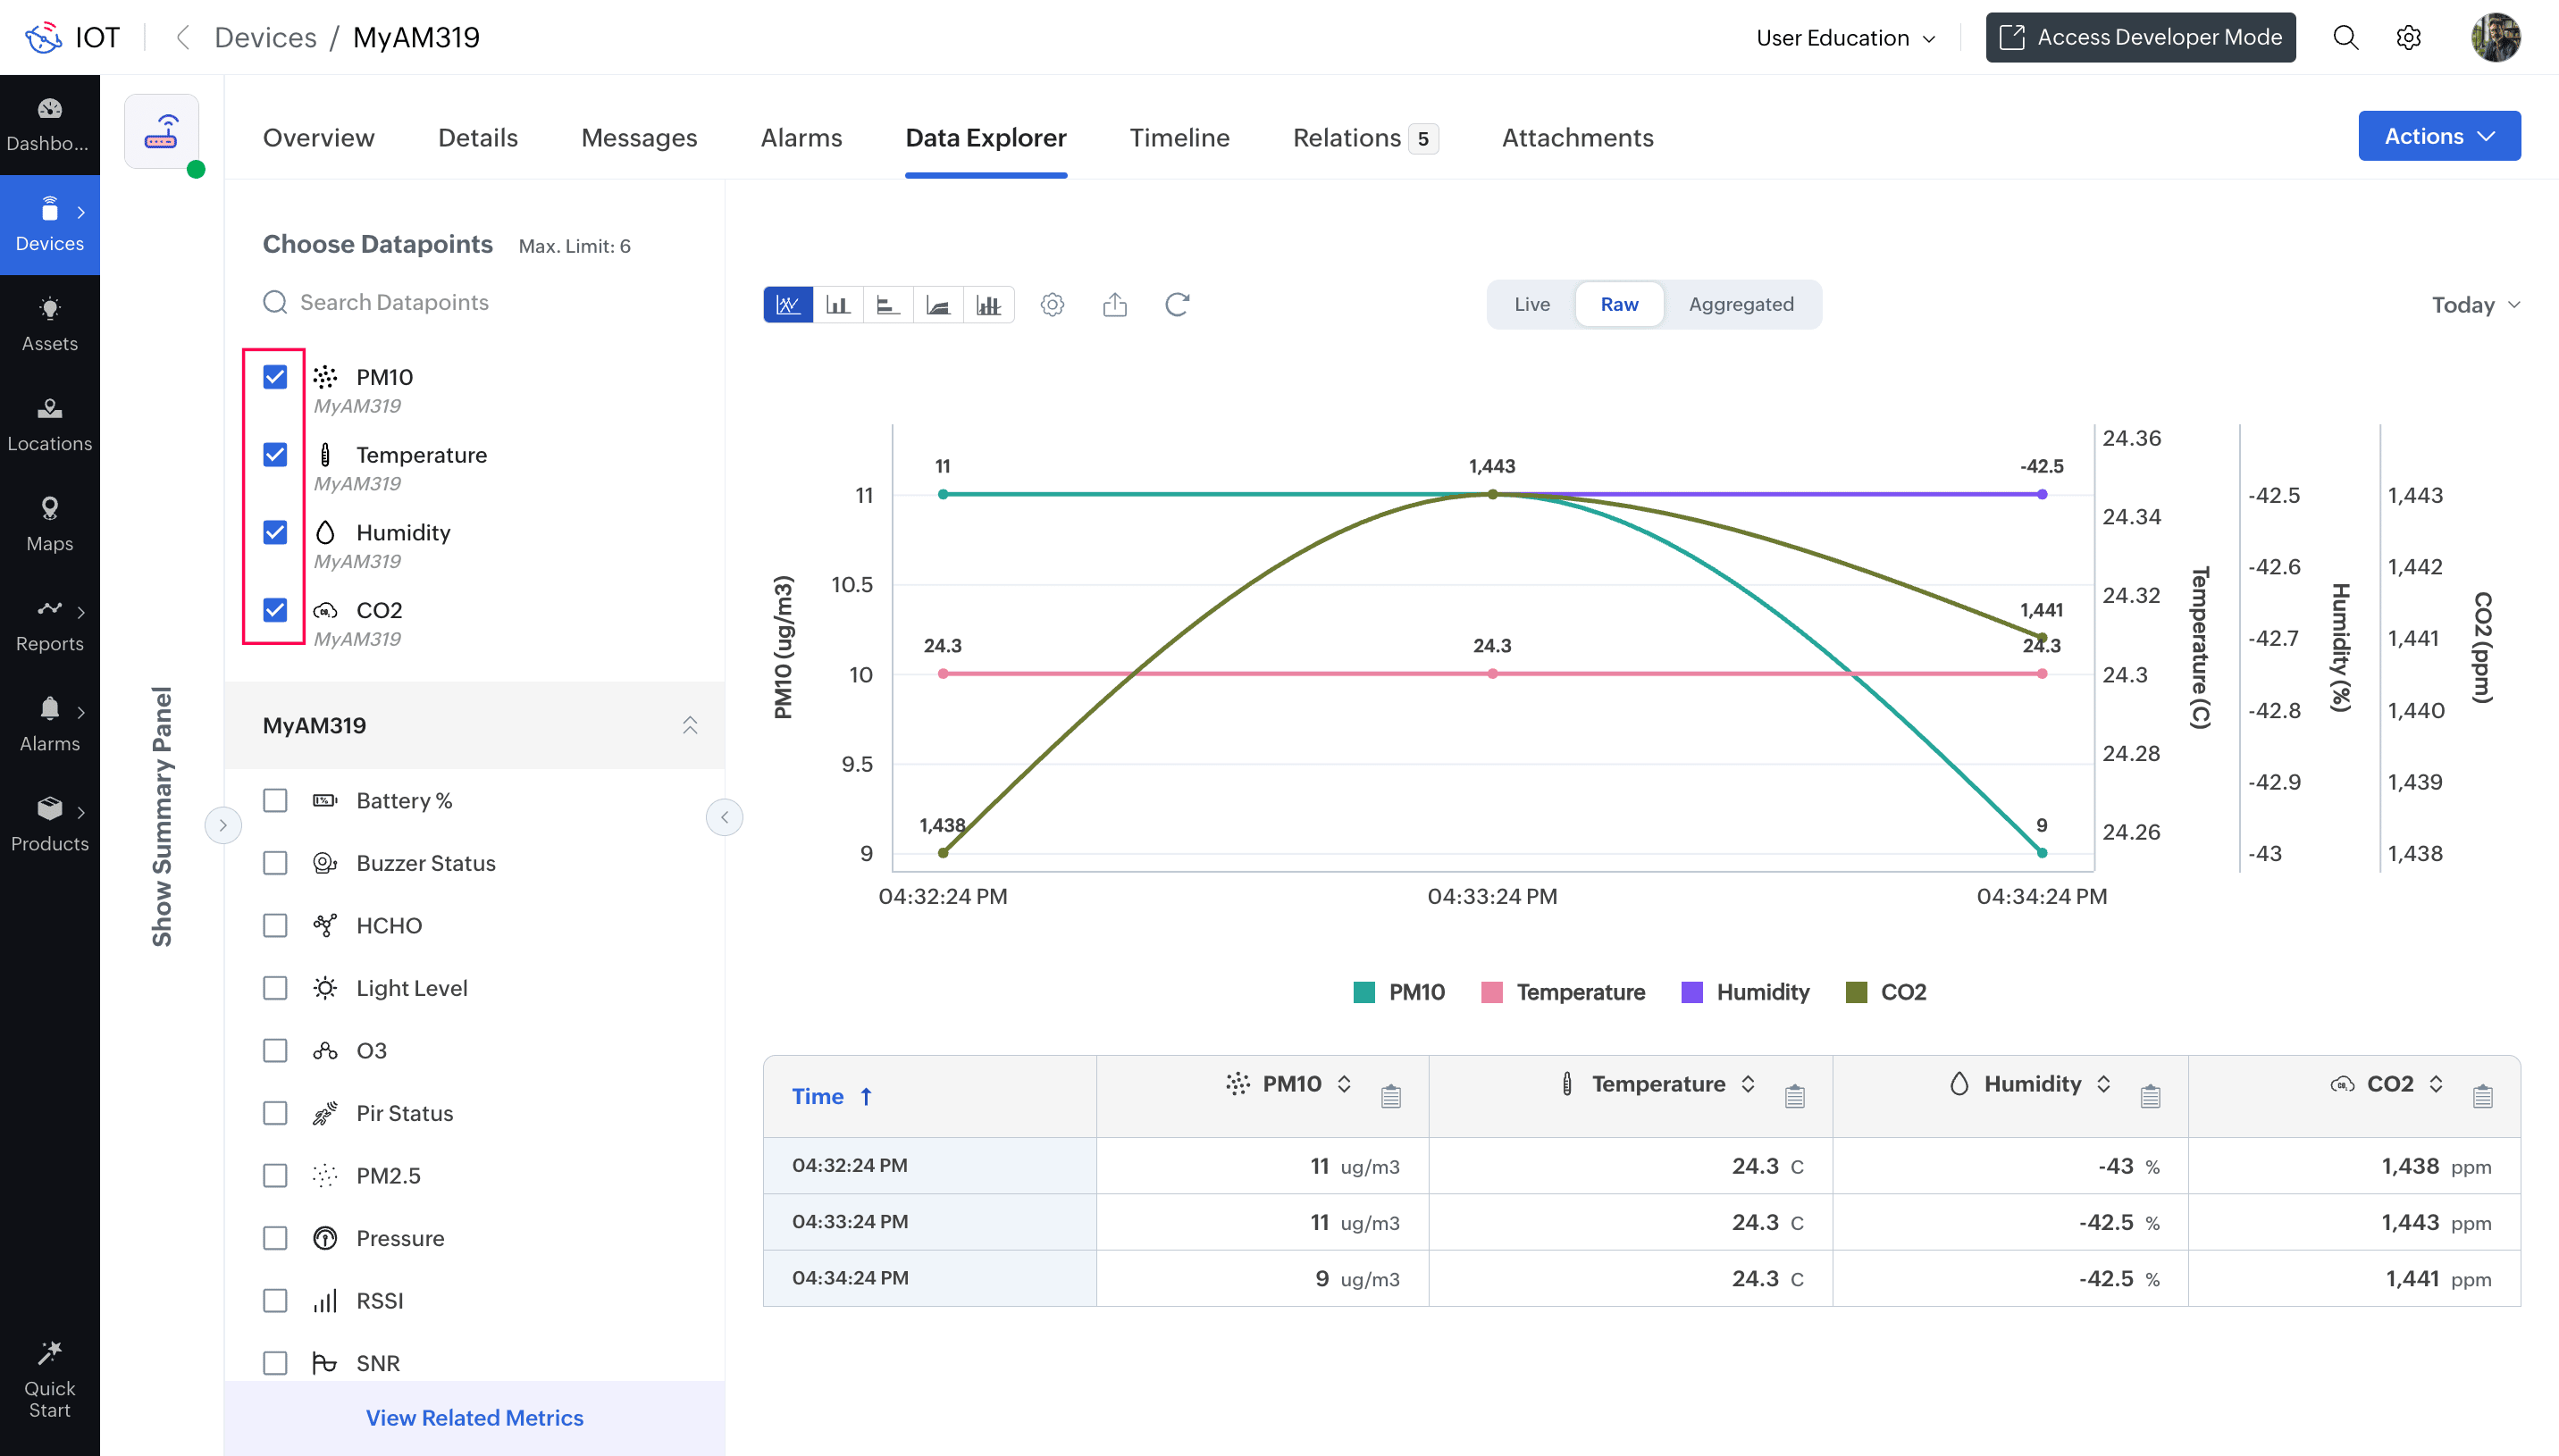
The graph will update automatically based on the data forwarded from The Things Stack for these datapoints.
Using the Global Dashboard
Since the device data is now stored as datapoints, you can also create a global dashboard to monitor multiple parameters at once. This allows you to build visualisations similar to the example shown below.

Follow this guide to learn how to create dashboards in Zoho IoT.