Cloud Studio is an IoT software company that developed an IoT platform which enables monitoring, control and automation of facilities. This platform is code-less and highly customizable, allowing enterprise and government entities to easily manage it in their unique way.
Under Cloud Studio, you can find three IoT application sub-platforms: Gear Studio, Beam Studio and Bespoke Projects. For integrating The Things Stack with Cloud Studio, we use Gear Studio.
Prerequisites
Setup Gear Studio
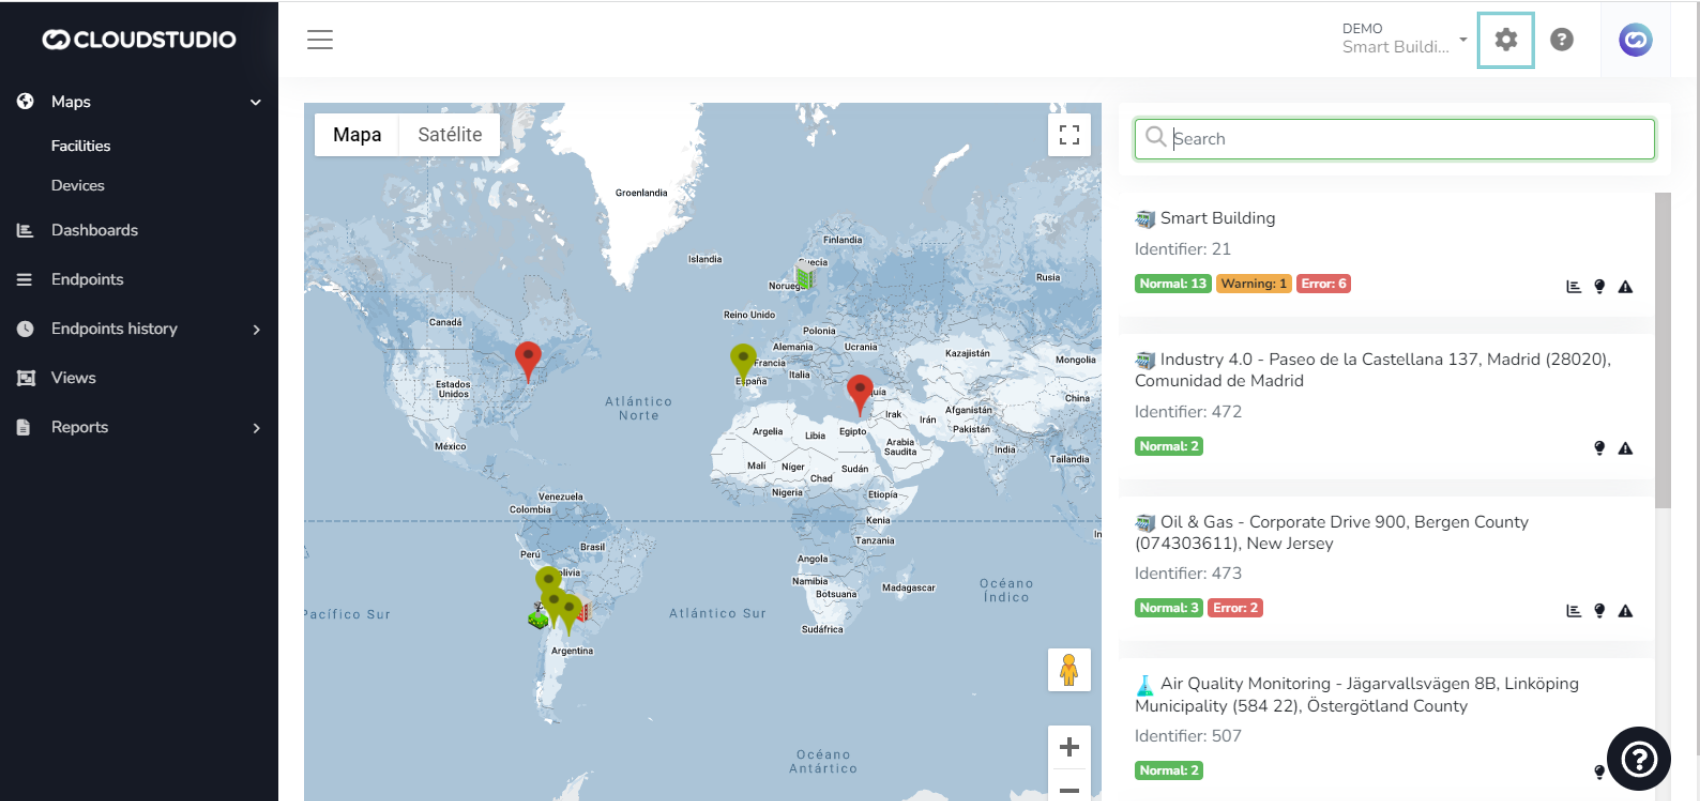
When you log in to the Gear Studio, you first go through the procedure of creating a Facility and then you are presented with the dashboard in the Monitoring mode.
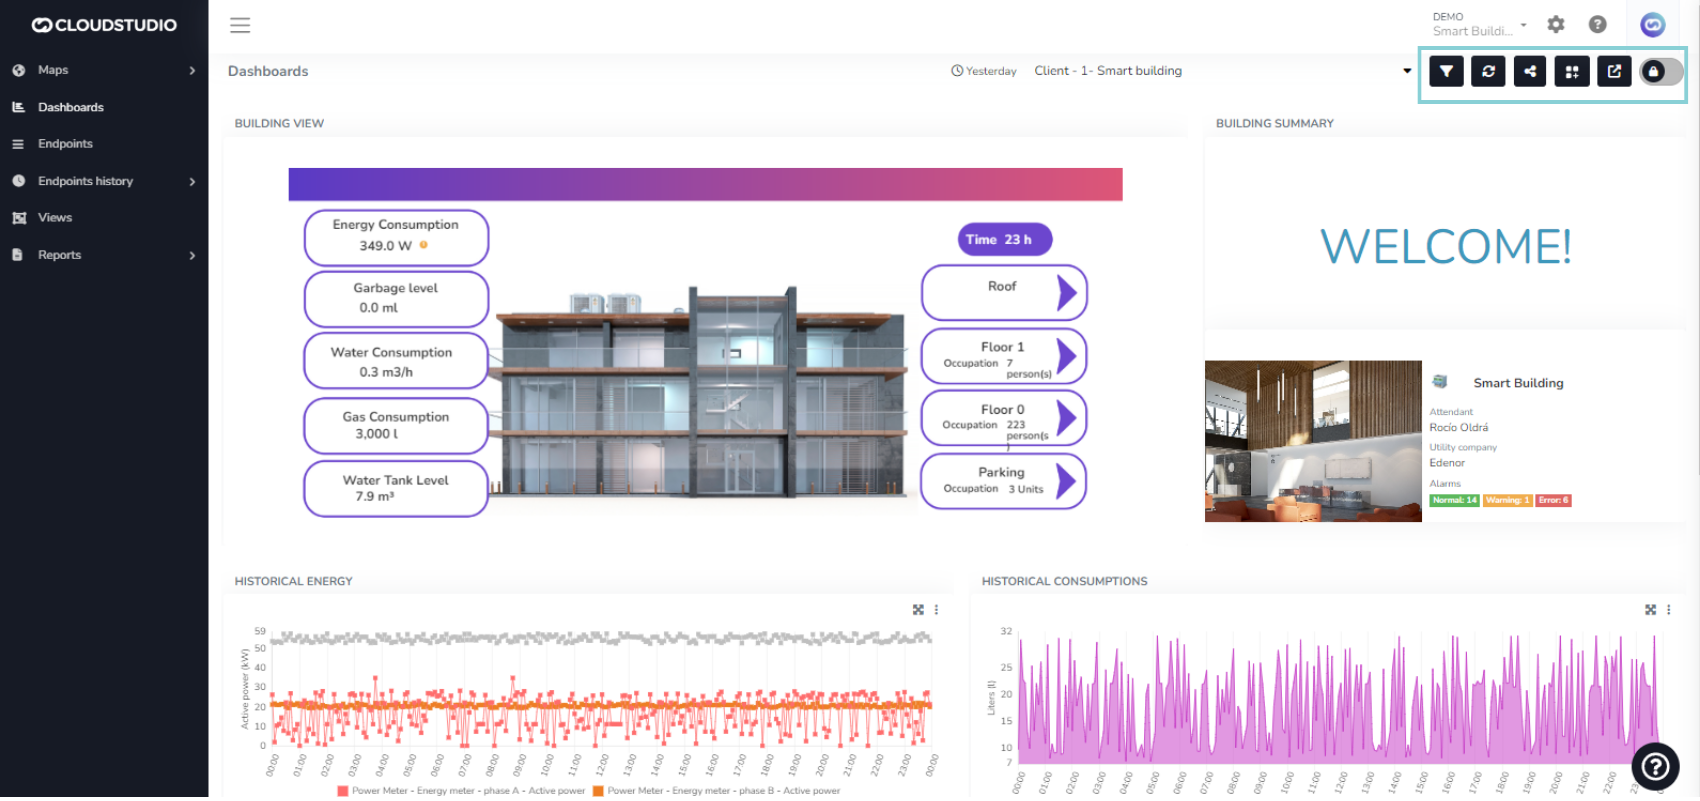
To be able to make changes to the Gear Studio setup, you first need to switch to the Settings mode by clicking on the nut icon in the upper left, as shown on the image below.
Create a Custom Device Model
When adding a new device in Gear Studio, you need to provide your device’s Model. Some device models are predefined in Gear Studio, but there is also a possibility of creating a custom model. See Cloud Studio documentation on creating custom device models
In this guide, we show how to create a custom Seeeduino LoRaWAN model. If your device’s model is already defined in Gear Studio, you can skip this subsection and go directly to Add a New Device subsection below.
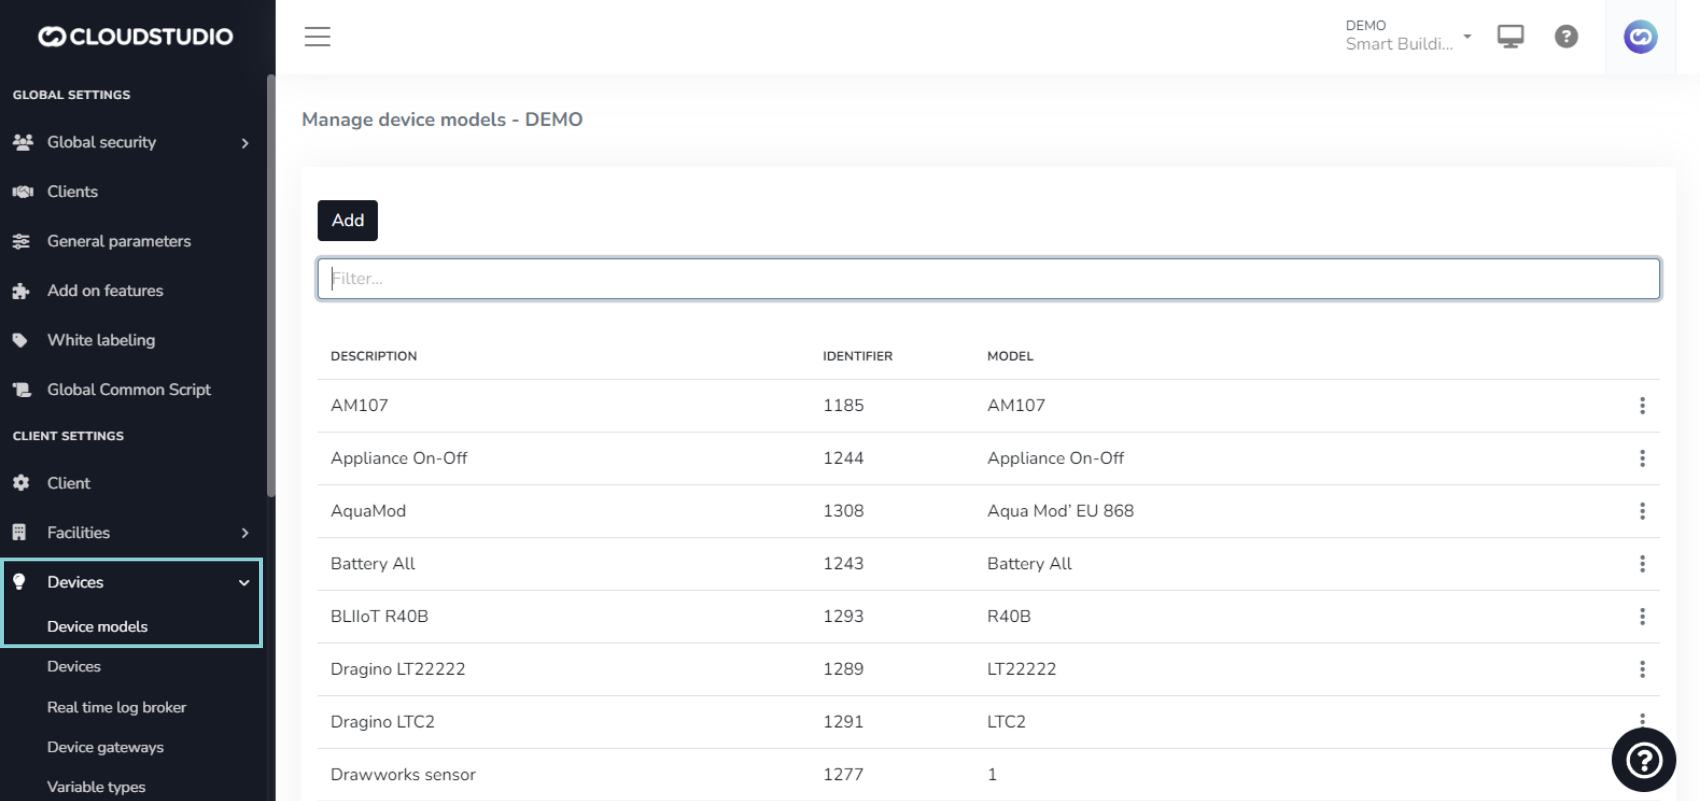
To create a new device model, in the Settings mode, navigate to Devices → Device models and click Add.
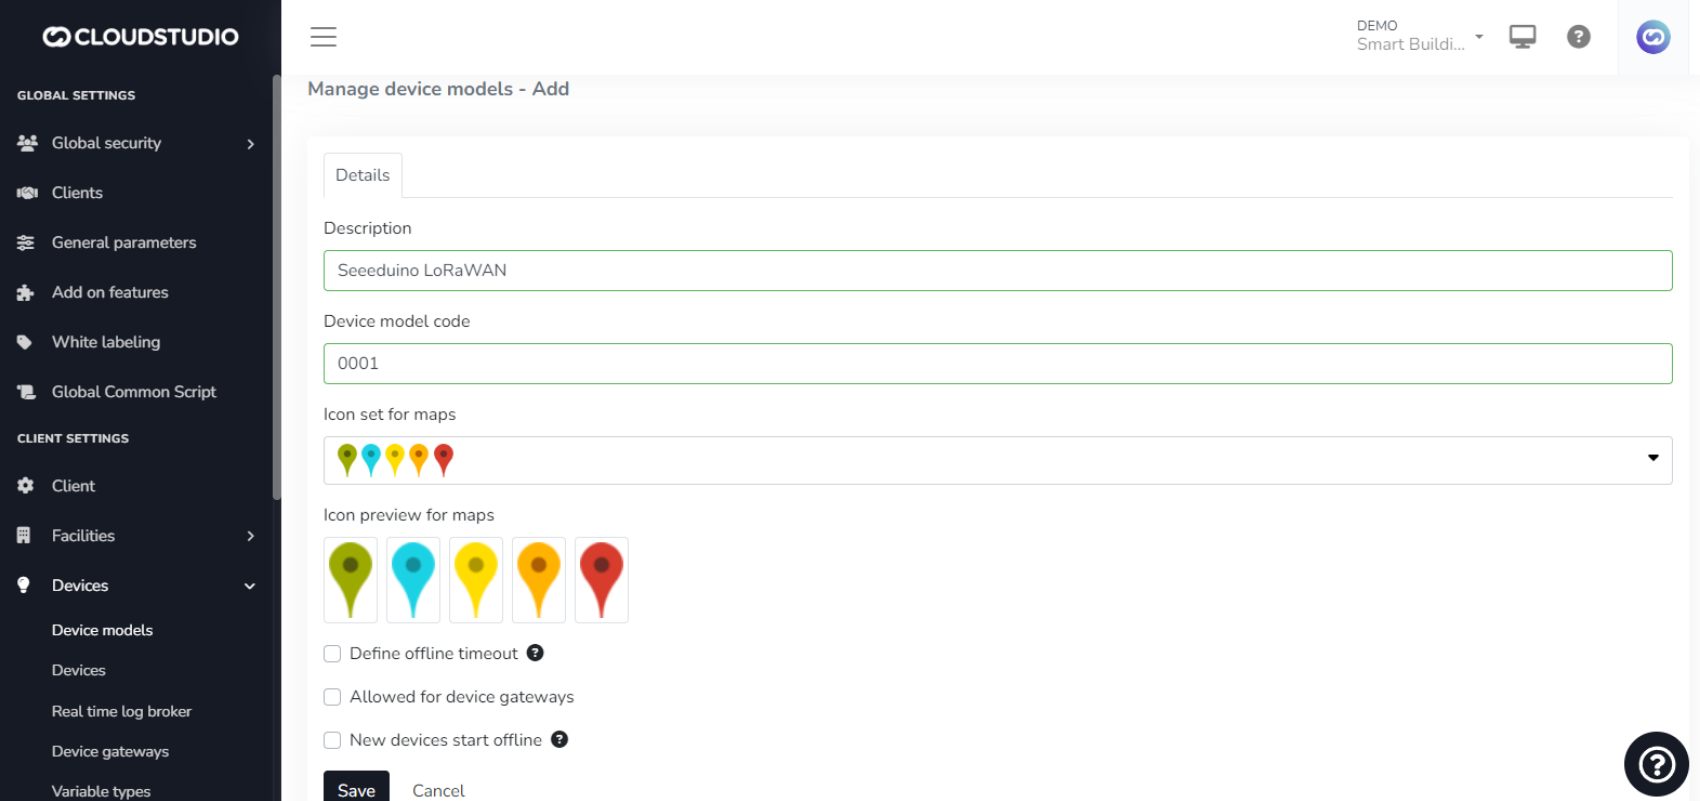
In the Details tab, provide a Description of your model, and an arbitrary Device model code. Finish with Save.
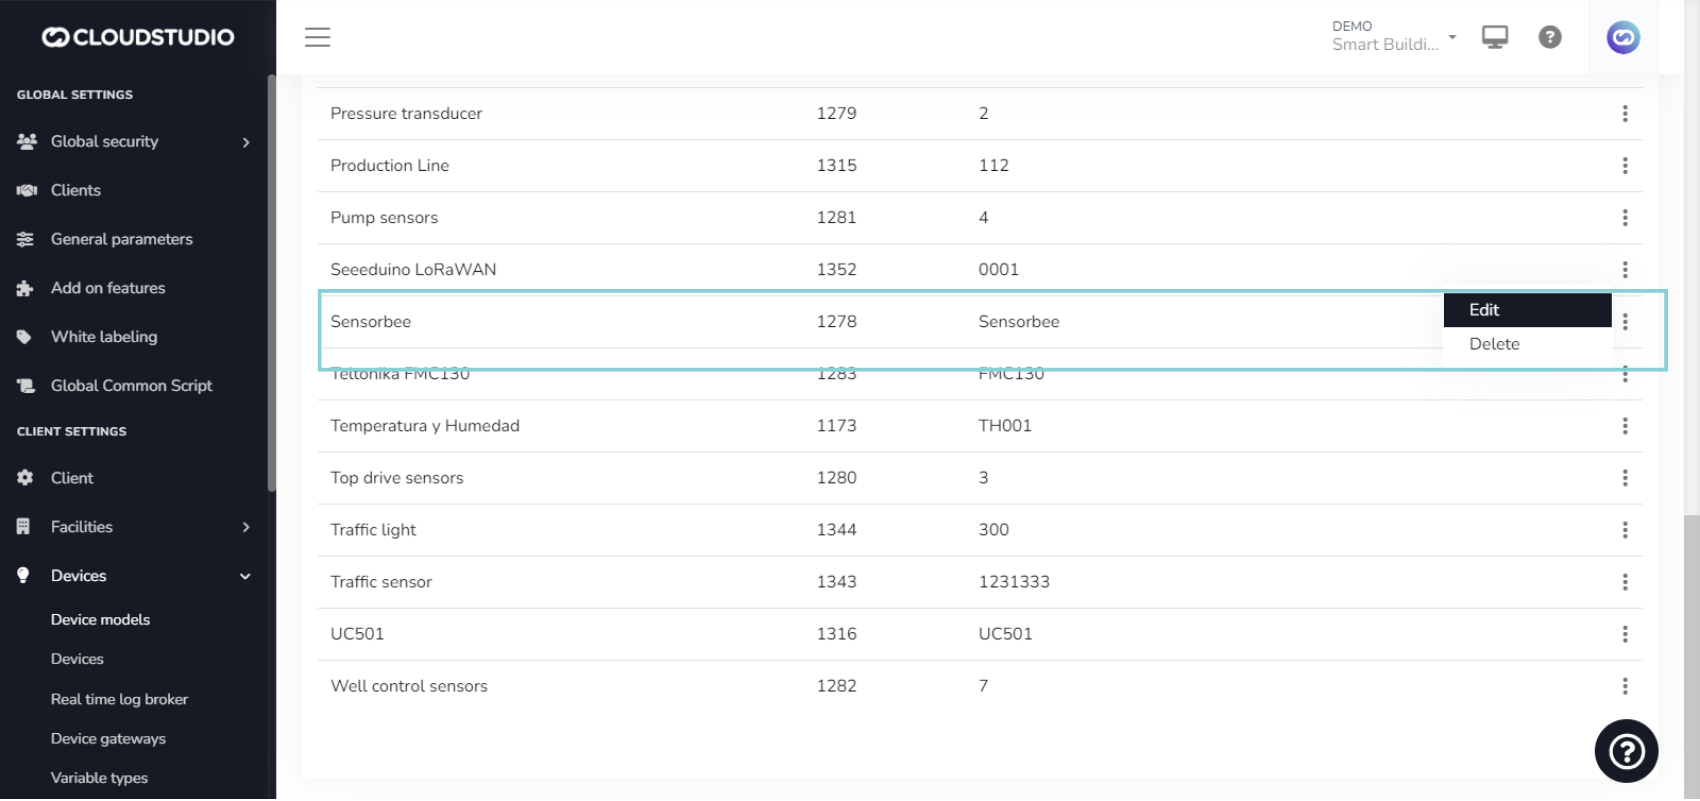
Next, you need to edit this model. Click on three dots next to your newly created model in the device models list and select Edit, as shown on the image below.
Switch to the Scripts tab.
Next, you need to define a device configuration script for your upcoming Gear Studio device.
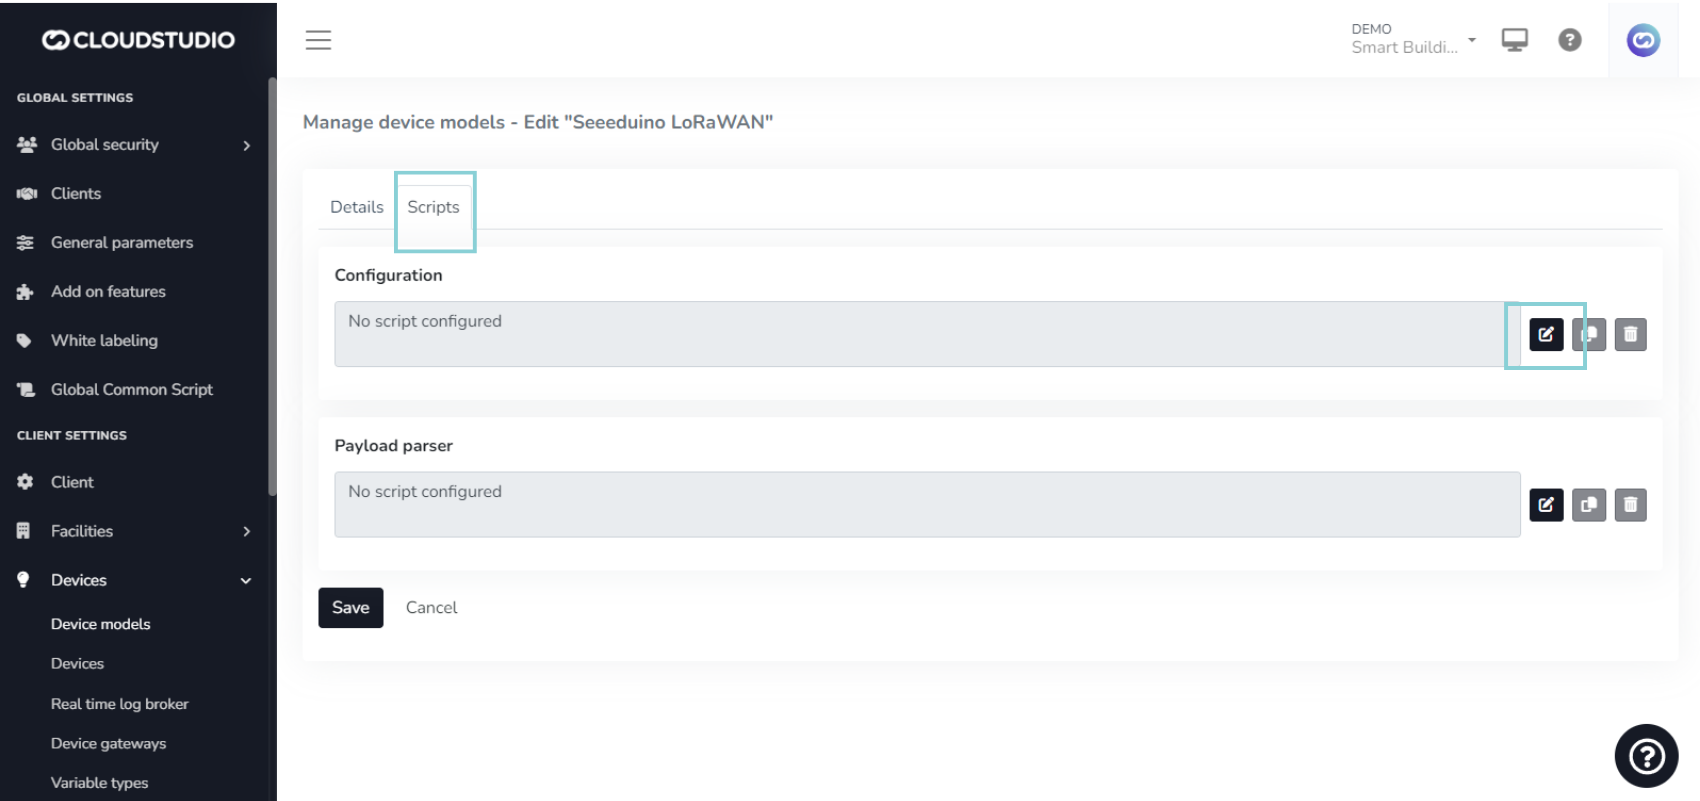
Click the Edit button next to the Configuration window and paste the following content:
function getConfiguration(config)
{
  config.addressLabel = {en: "DevEUI", es: "DevEUI"};
}

function getEndpoints(deviceAddress, endpoints)
{
  endpoints.addEndpoint("1", "Temperature sensor", endpointType.temperatureSensor);
  endpoints.addEndpoint("2", "humidity sensor", endpointType.humiditySensor);
}
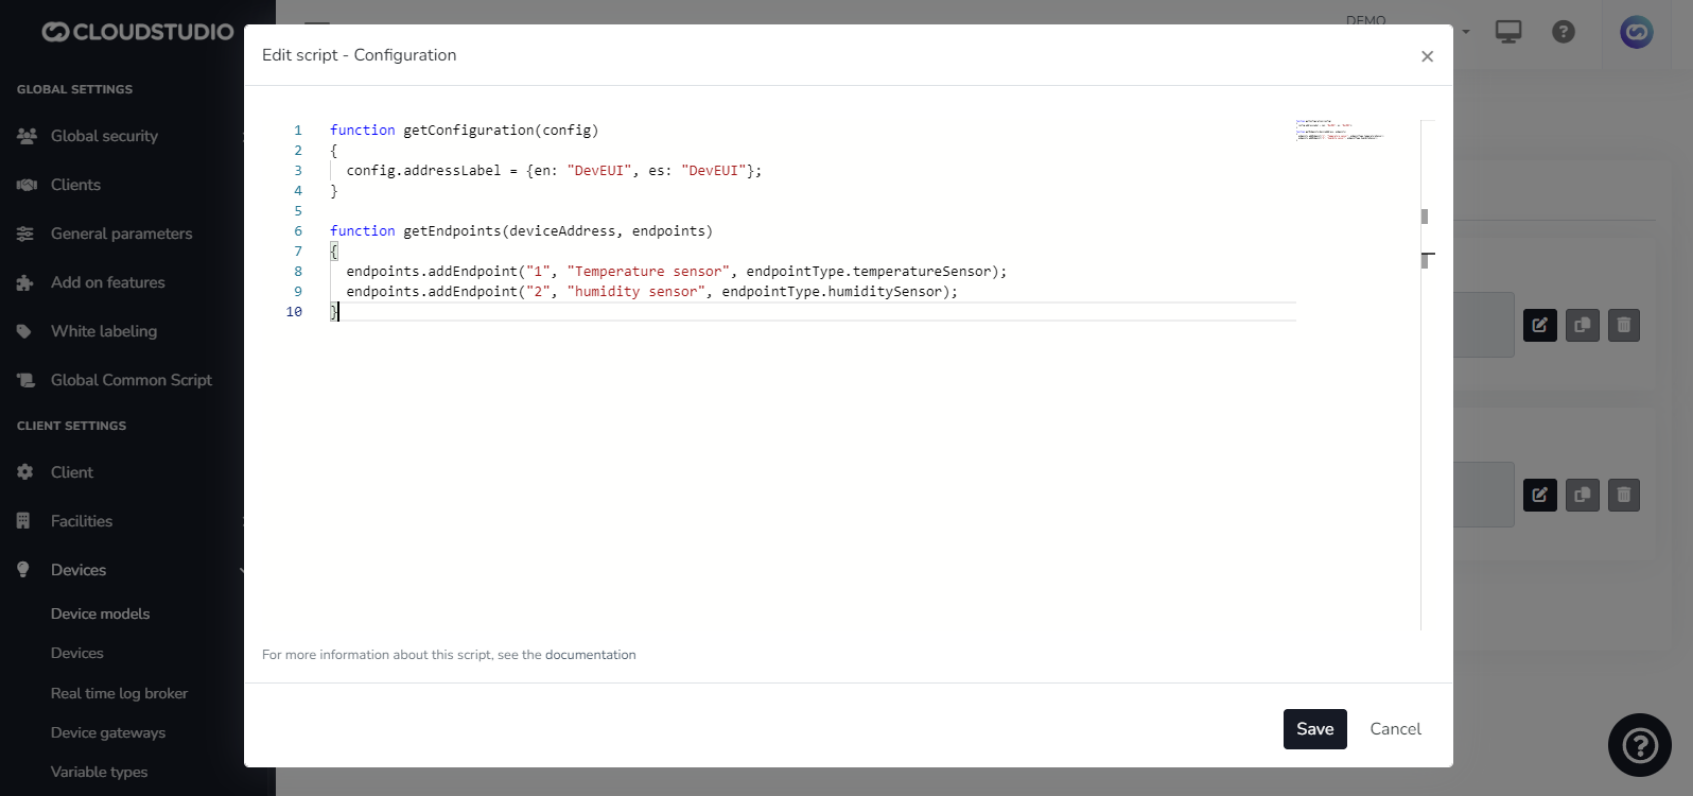
The example configuration script above shows how to define device’s address label, and how to define endpoints that will receive sensor values. See Cloud Studio documentation for more info about device configuration scripts
You also need to define a payload parser script, in order for Gear Studio to be able to properly parse the data coming from your end device on The Things Stack.
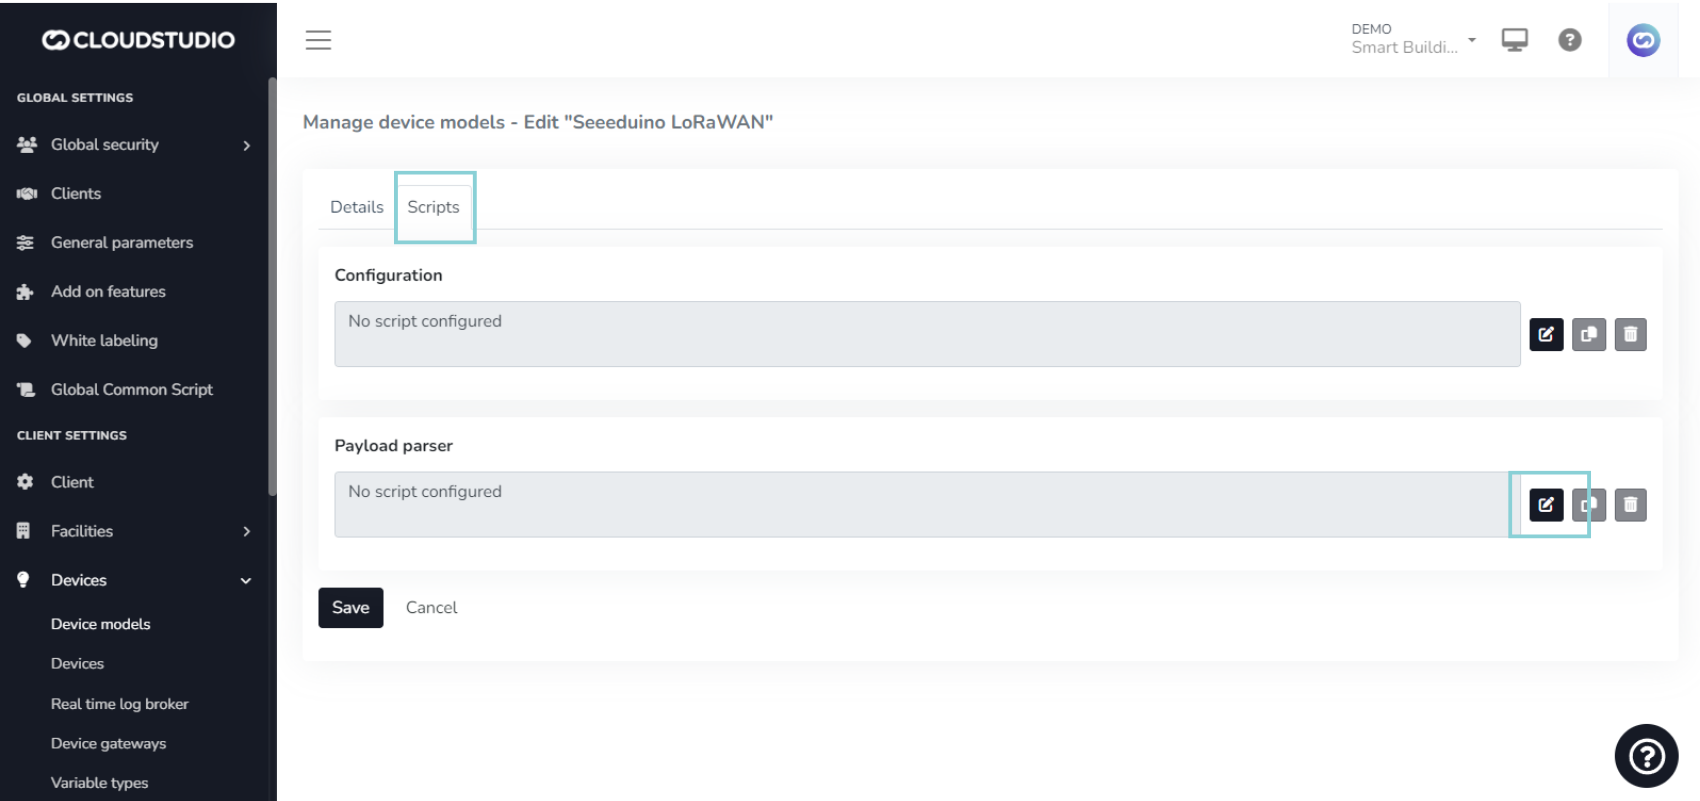
Click on the Edit button next to the Payload parser window and paste the following content:
function parseUplink(device, payload)
{
    var parsed = payload.asParsedObject();
    env.log(parsed);

    var temperatureSensor = device.endpoints.byType(endpointType.temperatureSensor);
    if (temperatureSensor != null){
        temperatureSensor.updateTemperatureSensorStatus(parsed.temperature);
    }

    var humiditySensor = device.endpoints.byType(endpointType.humiditySensor);
    if (temperatureSensor != null){
        humiditySensor.updateHumiditySensorStatus(parsed.humidity);
    }
}
Gear Studio allows parsing data coming from The Things Stack as bytes, strings and JSON objects, but it also allows reading data that is already parsed and decoded on The Things Stack using Payload Formatters.
The example payload parser script above shows how to extract temperature and humidity values from the decoded_payload JSON object nested in The Things Stack uplink data message, i.e. from a message that already contains decoded sensor data, and how to send the extracted data to the endpoints defined in the device configuration script. See Cloud Studio documentation for more info about payload parsing scripts
Finish by clicking Save.
Add a New Device
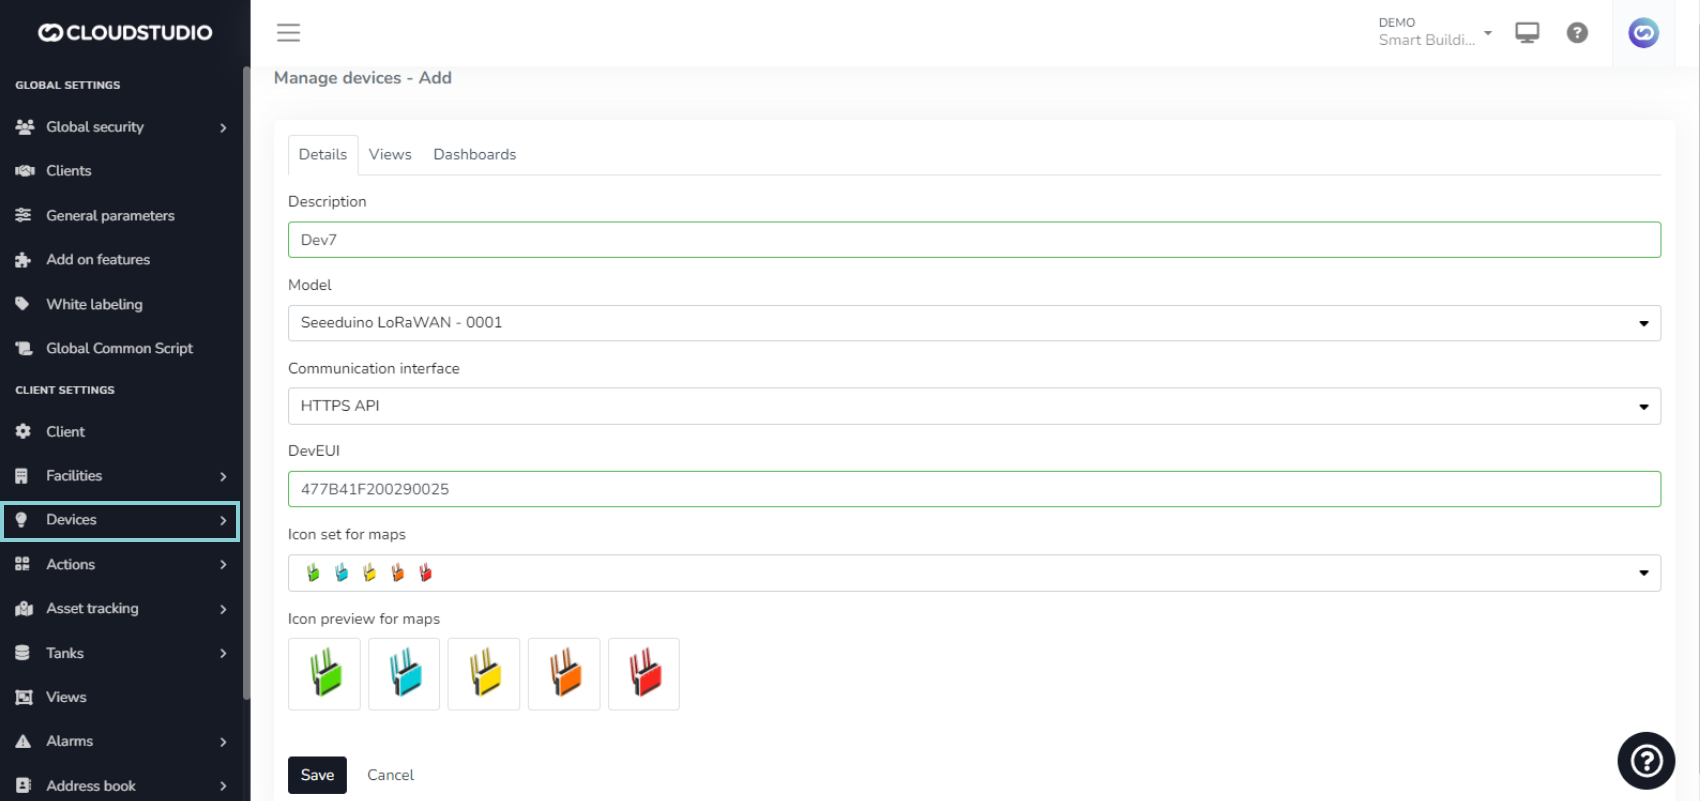
To add a new device, navigate to Devices → Devices on the left hand menu and select the Add button.
Enter a Description, select the device Model (predefined or the one you created following the Create a Custom Device Model subsection), select The Things Network (TTN) interface as a Communication interface and provide the DevEUI of your end device. Finish with Save.
Create an Access Token
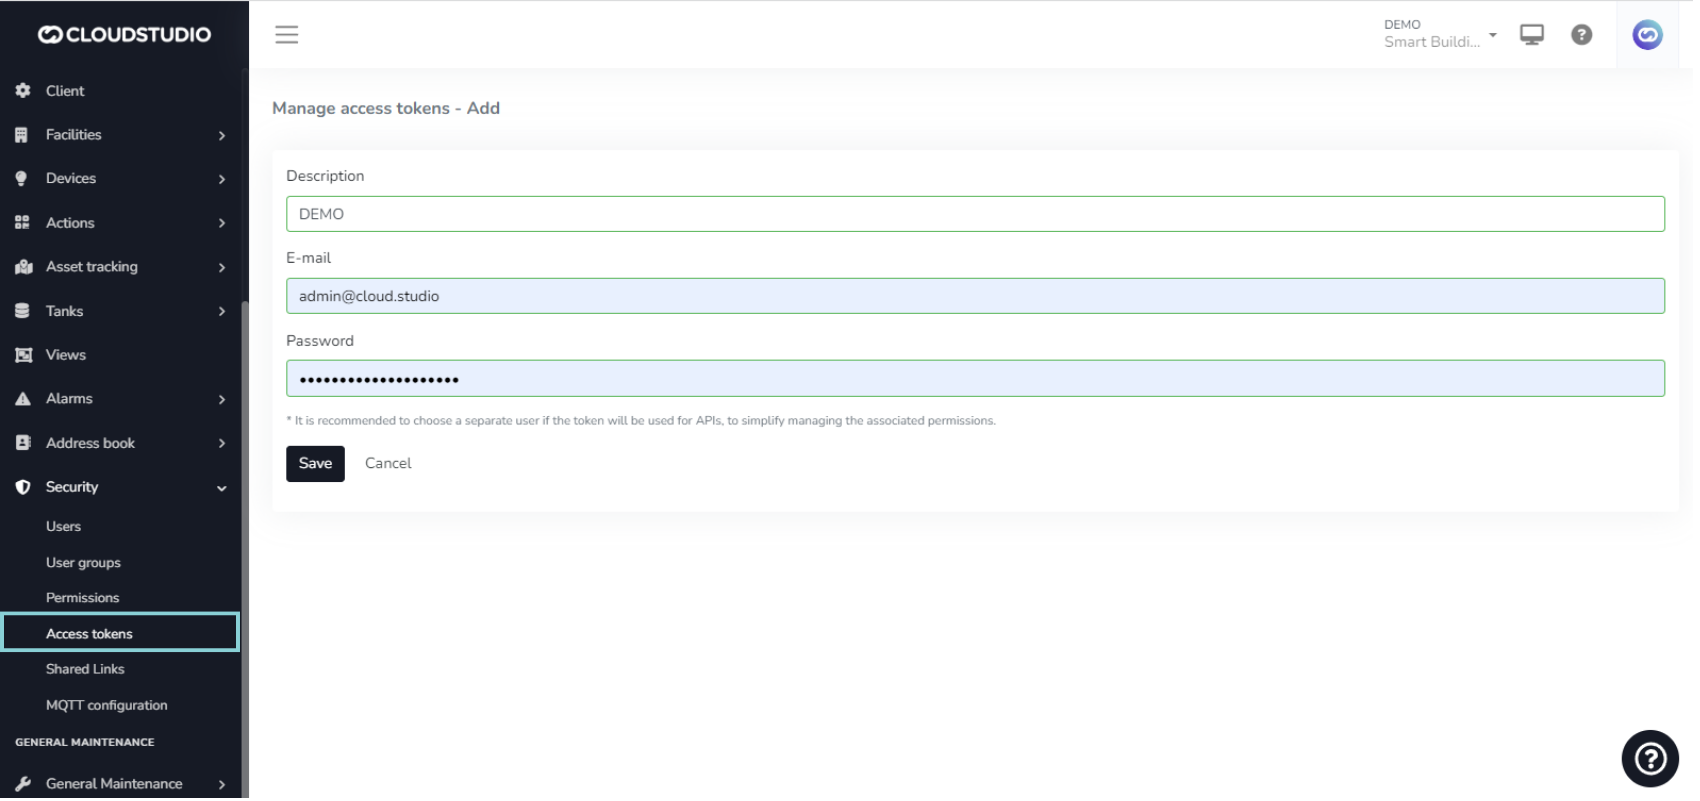
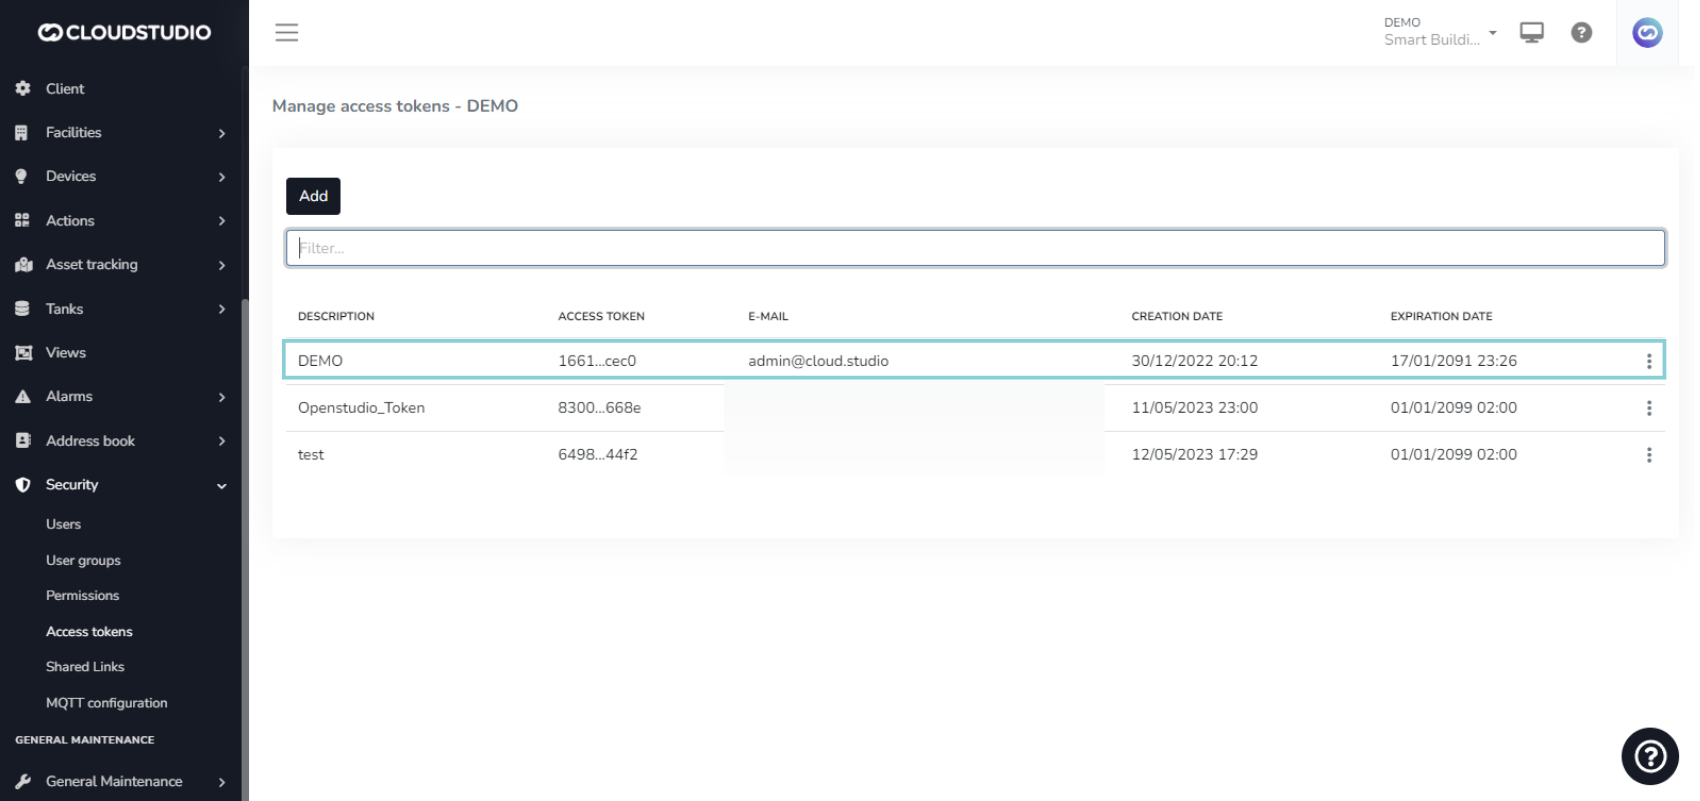
To complete the integration on The Things Stack, in the next step you will need an access token. You can create an access token by navigating to Security → Access tokens and clicking on the Add button.
Provide a Description for your token, enter your E-mail and set your Password. Finish with Save, copy the token and store it in a safe place.
Configure The Things Stack
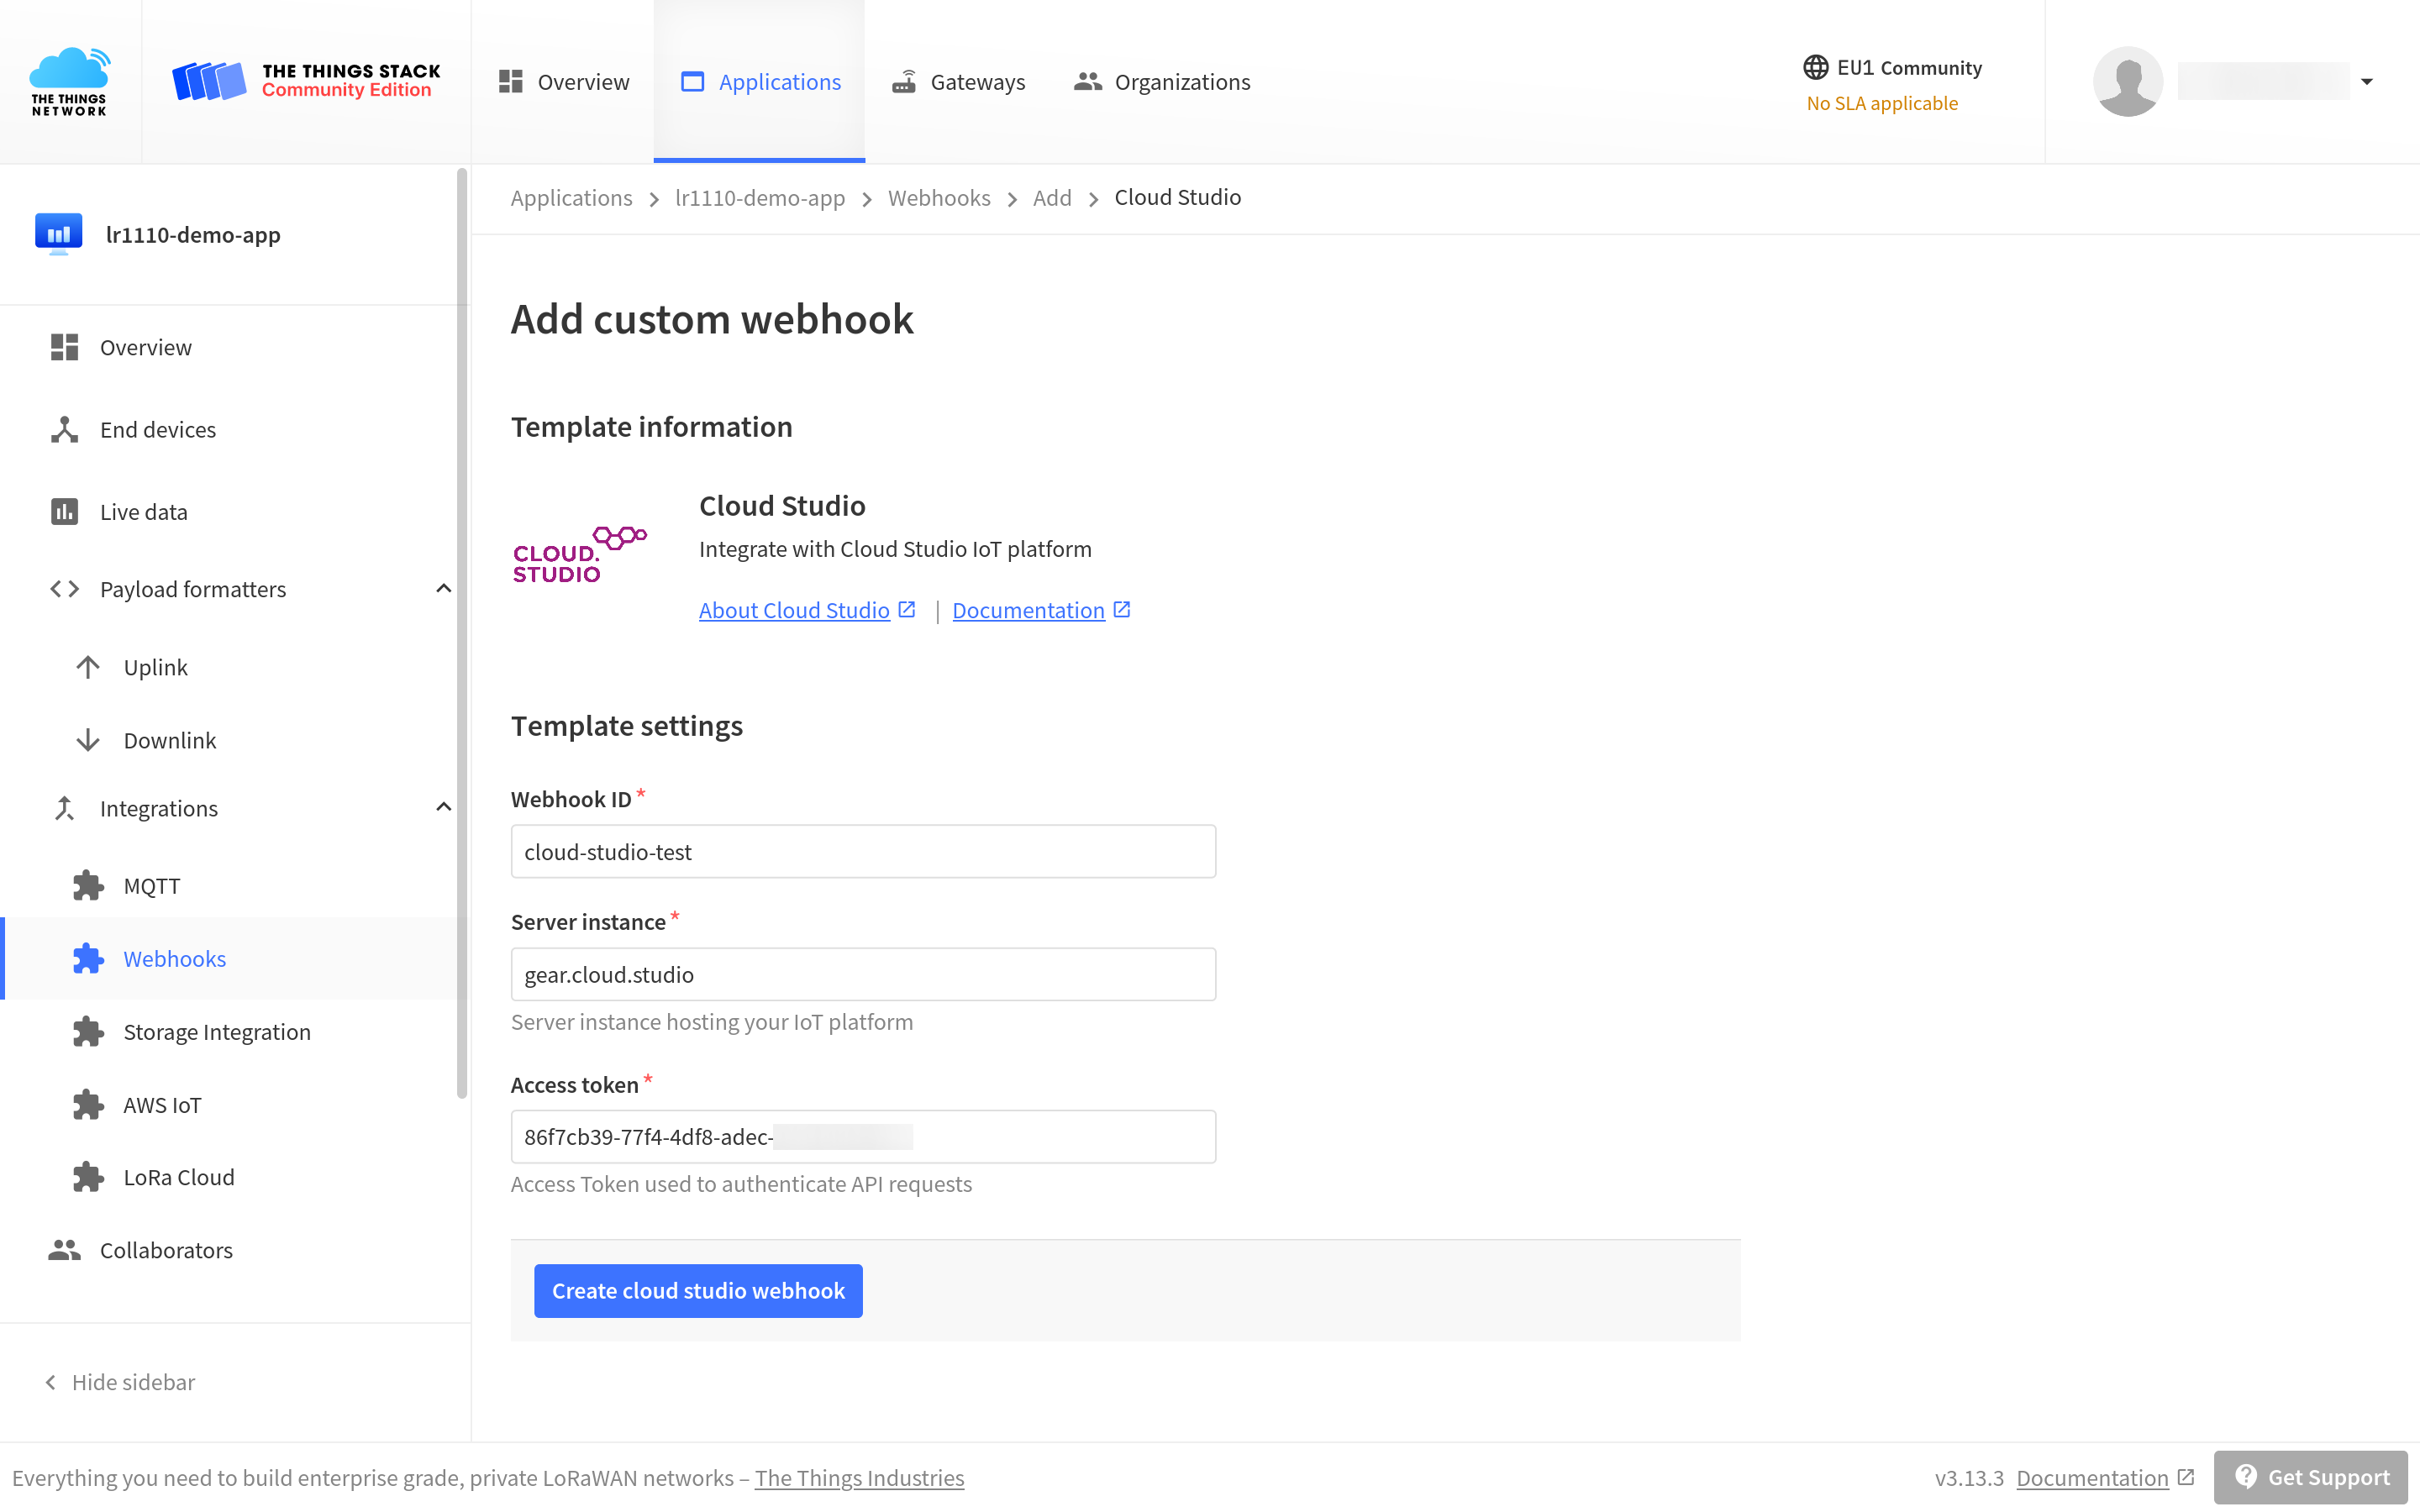
After finishing Gear Studio setup, use the Cloud Studio Webhook template to create a Webhook integration on The Things Stack.
First, fill in the Webhook ID.
Then you need to provide a Gear Studio Server instance that is hosting your Gear Studio IoT platform. This depends on your Gear Studio subscription. The default value is gear.cloud.studio that is commonly used for free subscriptions. See Cloud Studio documentation for detailed information on other server instances, depending on your subscription plan.
As the last step, paste the access token you copied from Gear Studio in the Access token field.
To see the values of all parameters of the Cloud Studio integration, click on the integration after you created it with the Webhook template.
Monitor Your Data
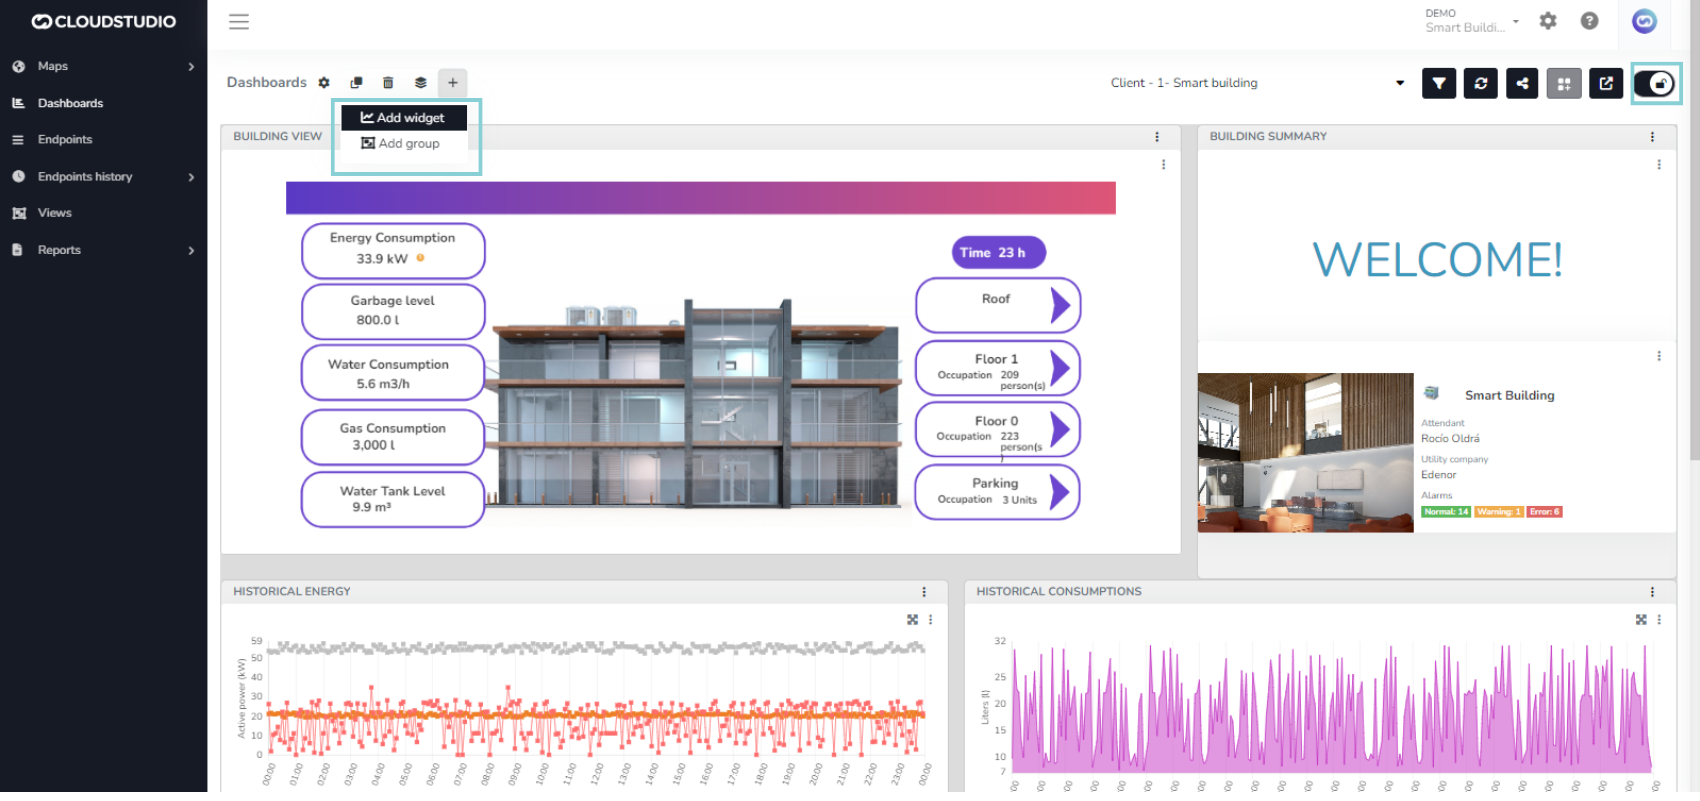
To create a dashboard in Gear Studio, in Settings mode, navigate to Dashboards → Dahboards on the left hand menu. Click the Add button.
Add a Description and Comments, and select Add Group. Under group settings, add a Title and select Add widget.
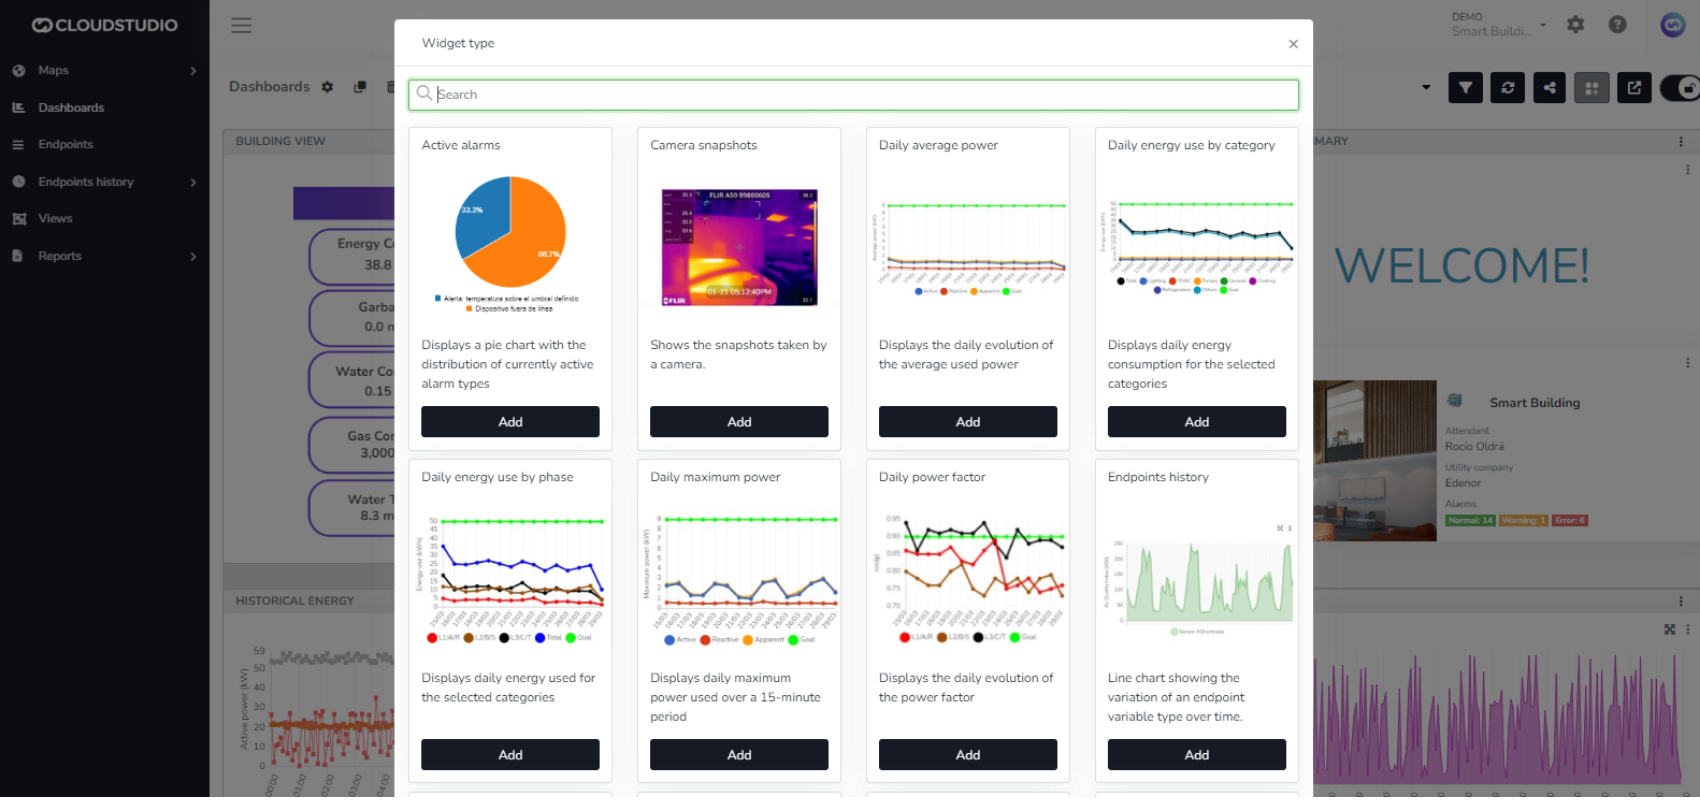
Choose the desired widget type, adjust Minimum and Maximum values according to your data values range, choose the Variable you wish to monitor, and select a Device you want to monitor it from.
Now, go back to the Monitoring mode in Gear Studio, navigate to Dashboards on the left hand menu and start monitoring your sensor data!
To read about available Cloud Studio features, cool ways to customize your devices, dashboards and much more, check the official Gear Studio documentation site.