

Single sign-on (also known as Federated Authentication) allows network administrators to use the already existing identity providers in order to authenticate users, instead of manually creating and managing the accounts in The Things Stack. The Things Stack supports OpenID Connect for single sign-on.
This section contains instructions for connecting an OpenID provider to your The Things Stack deployment to allow users to sign in with their existing credentials.
How does it work?
Federated Authentication delegates the task of authenticating the user to an external Authentication Provider, allowing the user to present an identity token back to the Identity Server after the procedure is done. The Identity Server then checks the validity of the token with the Authentication Provider and if the token is deemed valid, allows the user to login in The Things Stack.
OpenID Connect
OpenID Connect 1.0 is a simple identity layer on top of the OAuth 2.0 protocol. It allows the Identity Server to verify the identity of the End-User based on the authentication performed by an Authorization Server, as well as to obtain basic profile information about the End-User in an interoperable and REST-like manner.
Requirements
A new OAuth 2.0 client must be created in the provider and the client ID and client secret must be noted down. While creating the OAuth2 client, you will be asked to provide a redirect URL, which should have the following format:
https://thethings.example.com/oauth/login/<oidc-provider-id>/callback
Replace <oidc-provider-id> with the ID that you have chosen for this OpenID Connect provider, for example my-oidc-provider.
Registering an Authentication Provider
We first define some user parameters used below:
OIDC_PROVIDER_ID="my-oidc-provider"
OIDC_PROVIDER_NAME="My OIDC Provider"
OIDC_CLIENT_ID="client123"
OIDC_CLIENT_SECRET="secret123"
OIDC_PROVIDER_URL="https://oidc.example.com"
Make sure you modify these according to your setup and use the following command to register the provider.
$ tti-lw-cli ap create $OIDC_PROVIDER_ID \
    --name $OIDC_PROVIDER_NAME \
    --allow-registrations true \
    --configuration.provider.oidc.client-id $OIDC_CLIENT_ID \
    --configuration.provider.oidc.client-secret $OIDC_CLIENT_SECRET \
    --configuration.provider.oidc.provider-url OIDC_PROVIDER_URL
Generating Usernames
External users are being automatically registered when they login using the OpenID Connect provider. Their username is automatically generated based on the information provided by the provider. The following username variants are used:
- The preferred username (
preferred_usernamein the OIDC claim token). - The email address local-part. This means that a user whose email is
j.doe@example.comwill receive the usernamej-doe. - The concatenation of the given and family name. This means that a user called
John Doewill receive the usernamejohn-doe. - The email address local-part concatenated with the provider ID. Following the above example with the address
j.doe@example.com, the resulting username isj-doe-my-oidc-provider. - The concatenation of the given name, family name and the provider ID. Following the example with the user
John Doe, the resulting username isjohn-doe-my-oidc-provider.
Excepting the preferred username, the stack will attempt to concatenate up to 5 random characters at the end of the username in order to obtain a unique username.
You may have also observed that the . used in the email addresses was converted into a -. This is intended, and is part of the normalization process of the stack, which ensures that generated usernames are valid. The procedure is as follows:
- Turn every character into its lowercase variant. This means
John.Doebecomesjohn.doe. - Replace all of the non-alphanumeric characters with
-. This means thatjohn.doebecomesjohn-doe. - Remove all of the duplicate
-. This means thatjohn---doebecomesjohn-doe. - Remove any leading or trailing
-. This means that-john-becomesjohn.
Configuration Steps
Command-line interface only
The instructions below use the command-line interface (CLI).
Requirements
- Access to an OpenID Connect provider such as Google or Amazon Cognito
- Administrator access to your The Things Stack deployment
tti-lw-cli
Configure Your OpenID Connect Provider
First, you must configure your OpenID Connect Provider to accept login requests from The Things Stack and to forward authentication to the callback address of your The Things Stack deployment.
The Things Stack requires the following from the OpenID Connect Provider:
- OpenID Discovery Address
- Client ID
- Client Secret
And you must enter the following in the OpenID Connect Provider configuration:
- Callback URL
See instructions for configuring Google and Amazon Cognito OpenID Connect Providers.
Callback URL
The callback URL (or Redirect URI in Google terminology) of your The Things Stack deployment is the Server Address followed by the OAuth endpoint, which includes an Authentication Provider ID of your choosing:
/oauth/login/<authentication-provider-id>/callback
You will actually create the Authentication Provider in The Things Stack using this Authentication Provider ID, so remember it.
For example, with a tenant tenant1 in the eu1 cluster and an Authentication Provider ID of auth-provider, the OAuth Callback URL is:
https://tenant1.eu1.cloud.thethings.industries/oauth/login/auth-provider/callback
Configure The Things Stack for SSO
Once your OpenID Connect provider is configured, you can configure The Things Stack.
Use the following command (note that Authentication Provider commands are only available in tti-lw-cli):
$ tti-lw-cli authentication-providers create <authentication-provider-id> \
--allow-registrations \
--configuration.provider.oidc.client-id <client-id> \
--configuration.provider.oidc.client-secret <client-secret> \
--configuration.provider.oidc.provider-url <provider-url> \
--name <display-name>
The name is what will appear on The Things Stack login screen. For example, to register a Google OpenID Authentication Provider, using the id goog and name Goog:
$ tti-lw-cli authentication-providers create goog \
--allow-registrations \
--configuration.provider.oidc.client-id xxxxx-vq3v4e2ha7c1668mr92iiqu0bd1spct2.apps.googleusercontent.com \
--configuration.provider.oidc.client-secret GOCSPX-Vxxxxxxx \
--configuration.provider.oidc.provider-url https://accounts.google.com \
--name Goog
A list of provider discovery URLs is available from AWS here.
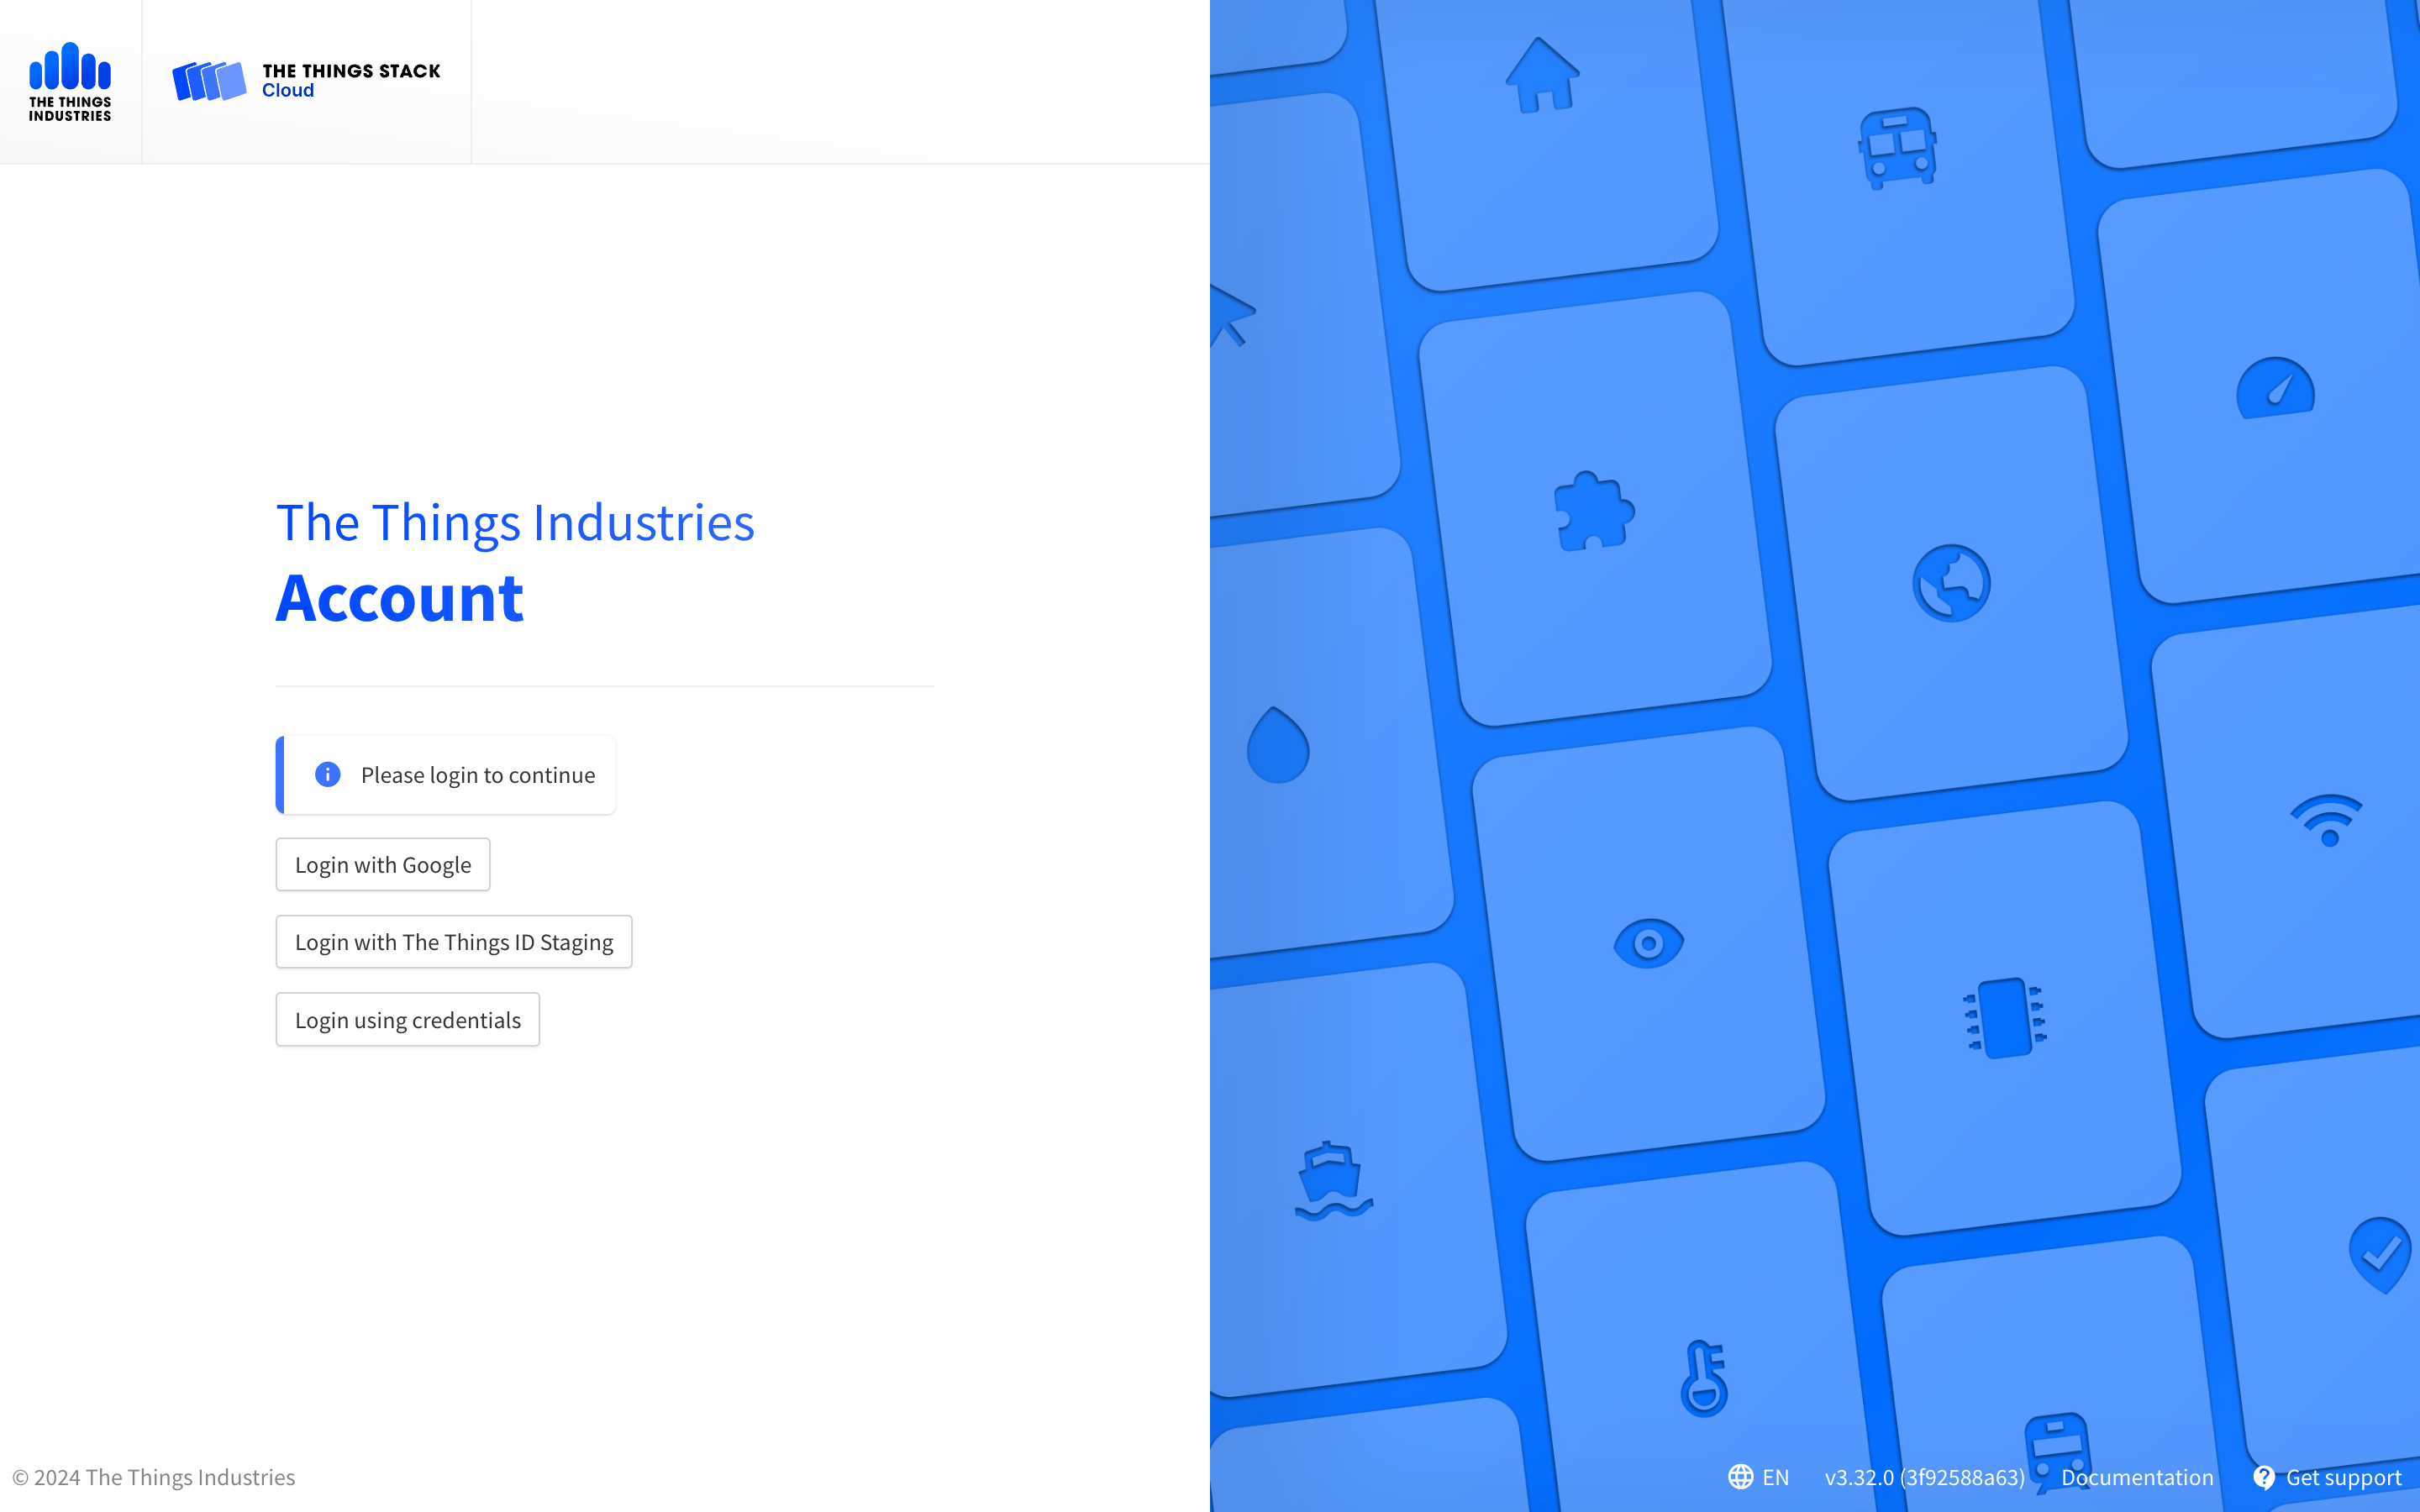
If succesful, tti-lw-cli will return a list of Authentication Providers. When you go to login, you will see the login option using the name you registered the Authentication Provider with.
Troubleshooting
I get the email not verified error when logging in using SSO.
The Things Stack checks if the email address included in the JWT token has been verified by the OIDC provider (e.g. The Things ID or SSO DB), so the JWT token that the OIDC provider provides should contain the email_verified field. If this field is not present, the user might face the following error upon logging in with SSO:
{
"code": 7,
"message": "error:pkg/account/oidc:unverified_email (email not verified)",
"details": [
    {
        "@type": "type.googleapis.com/ttn.lorawan.v3.ErrorDetails",
        "namespace": "pkg/account/oidc",
        "name": "unverified_email",
        "message_format": "email not verified",
        "correlation_id": "43c2ea63620d4487b64723d03195953e",
        "code": 7
    }]
}
To fix this error, users should ask their OIDC provider to include the email_verified field in the JWT token to be used with The Things Stack SSO.