This section provides instructions for scheduling downlinks using HTTP Webhooks.
You can schedule downlink messages using webhooks. This requires an API key with traffic writing rights, which can be created using the Console.
Create an API Key
In your application, select API Keys on the left menu and click the + Add API Key button. Fill in the Name and the Rights of your API key.
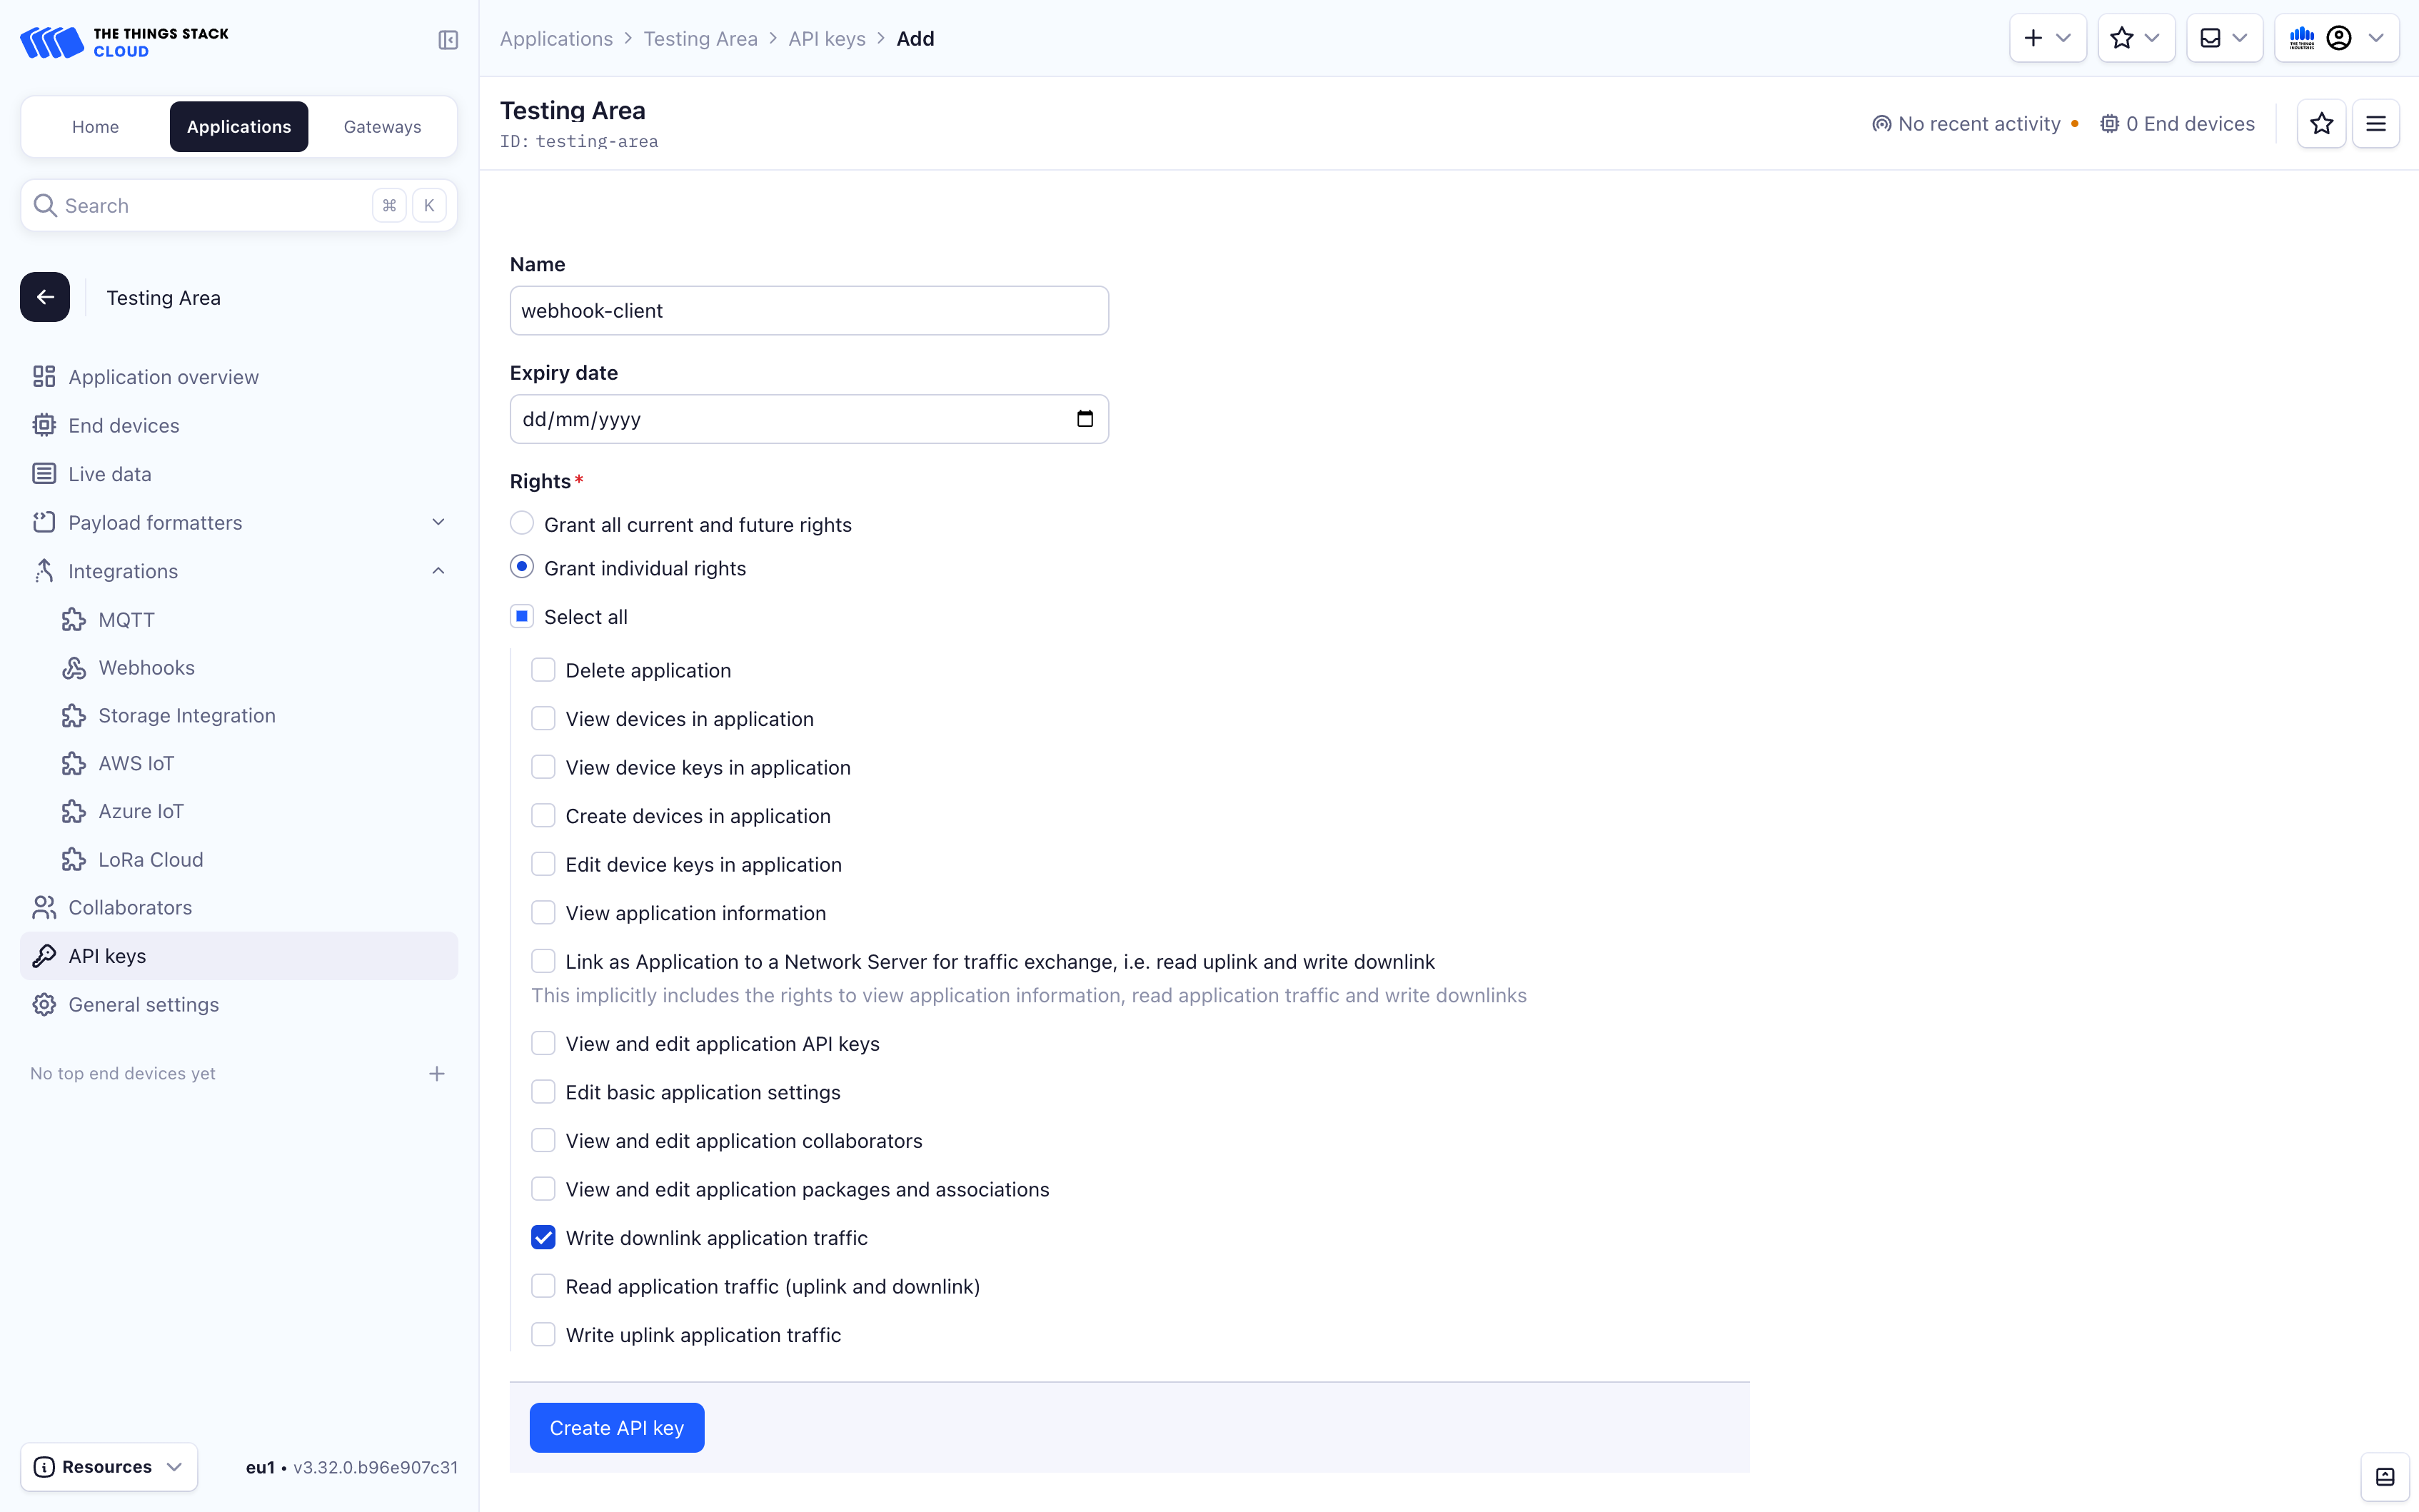
Click on the Create API Key button in order to create the API key. This will open the API key information screen.
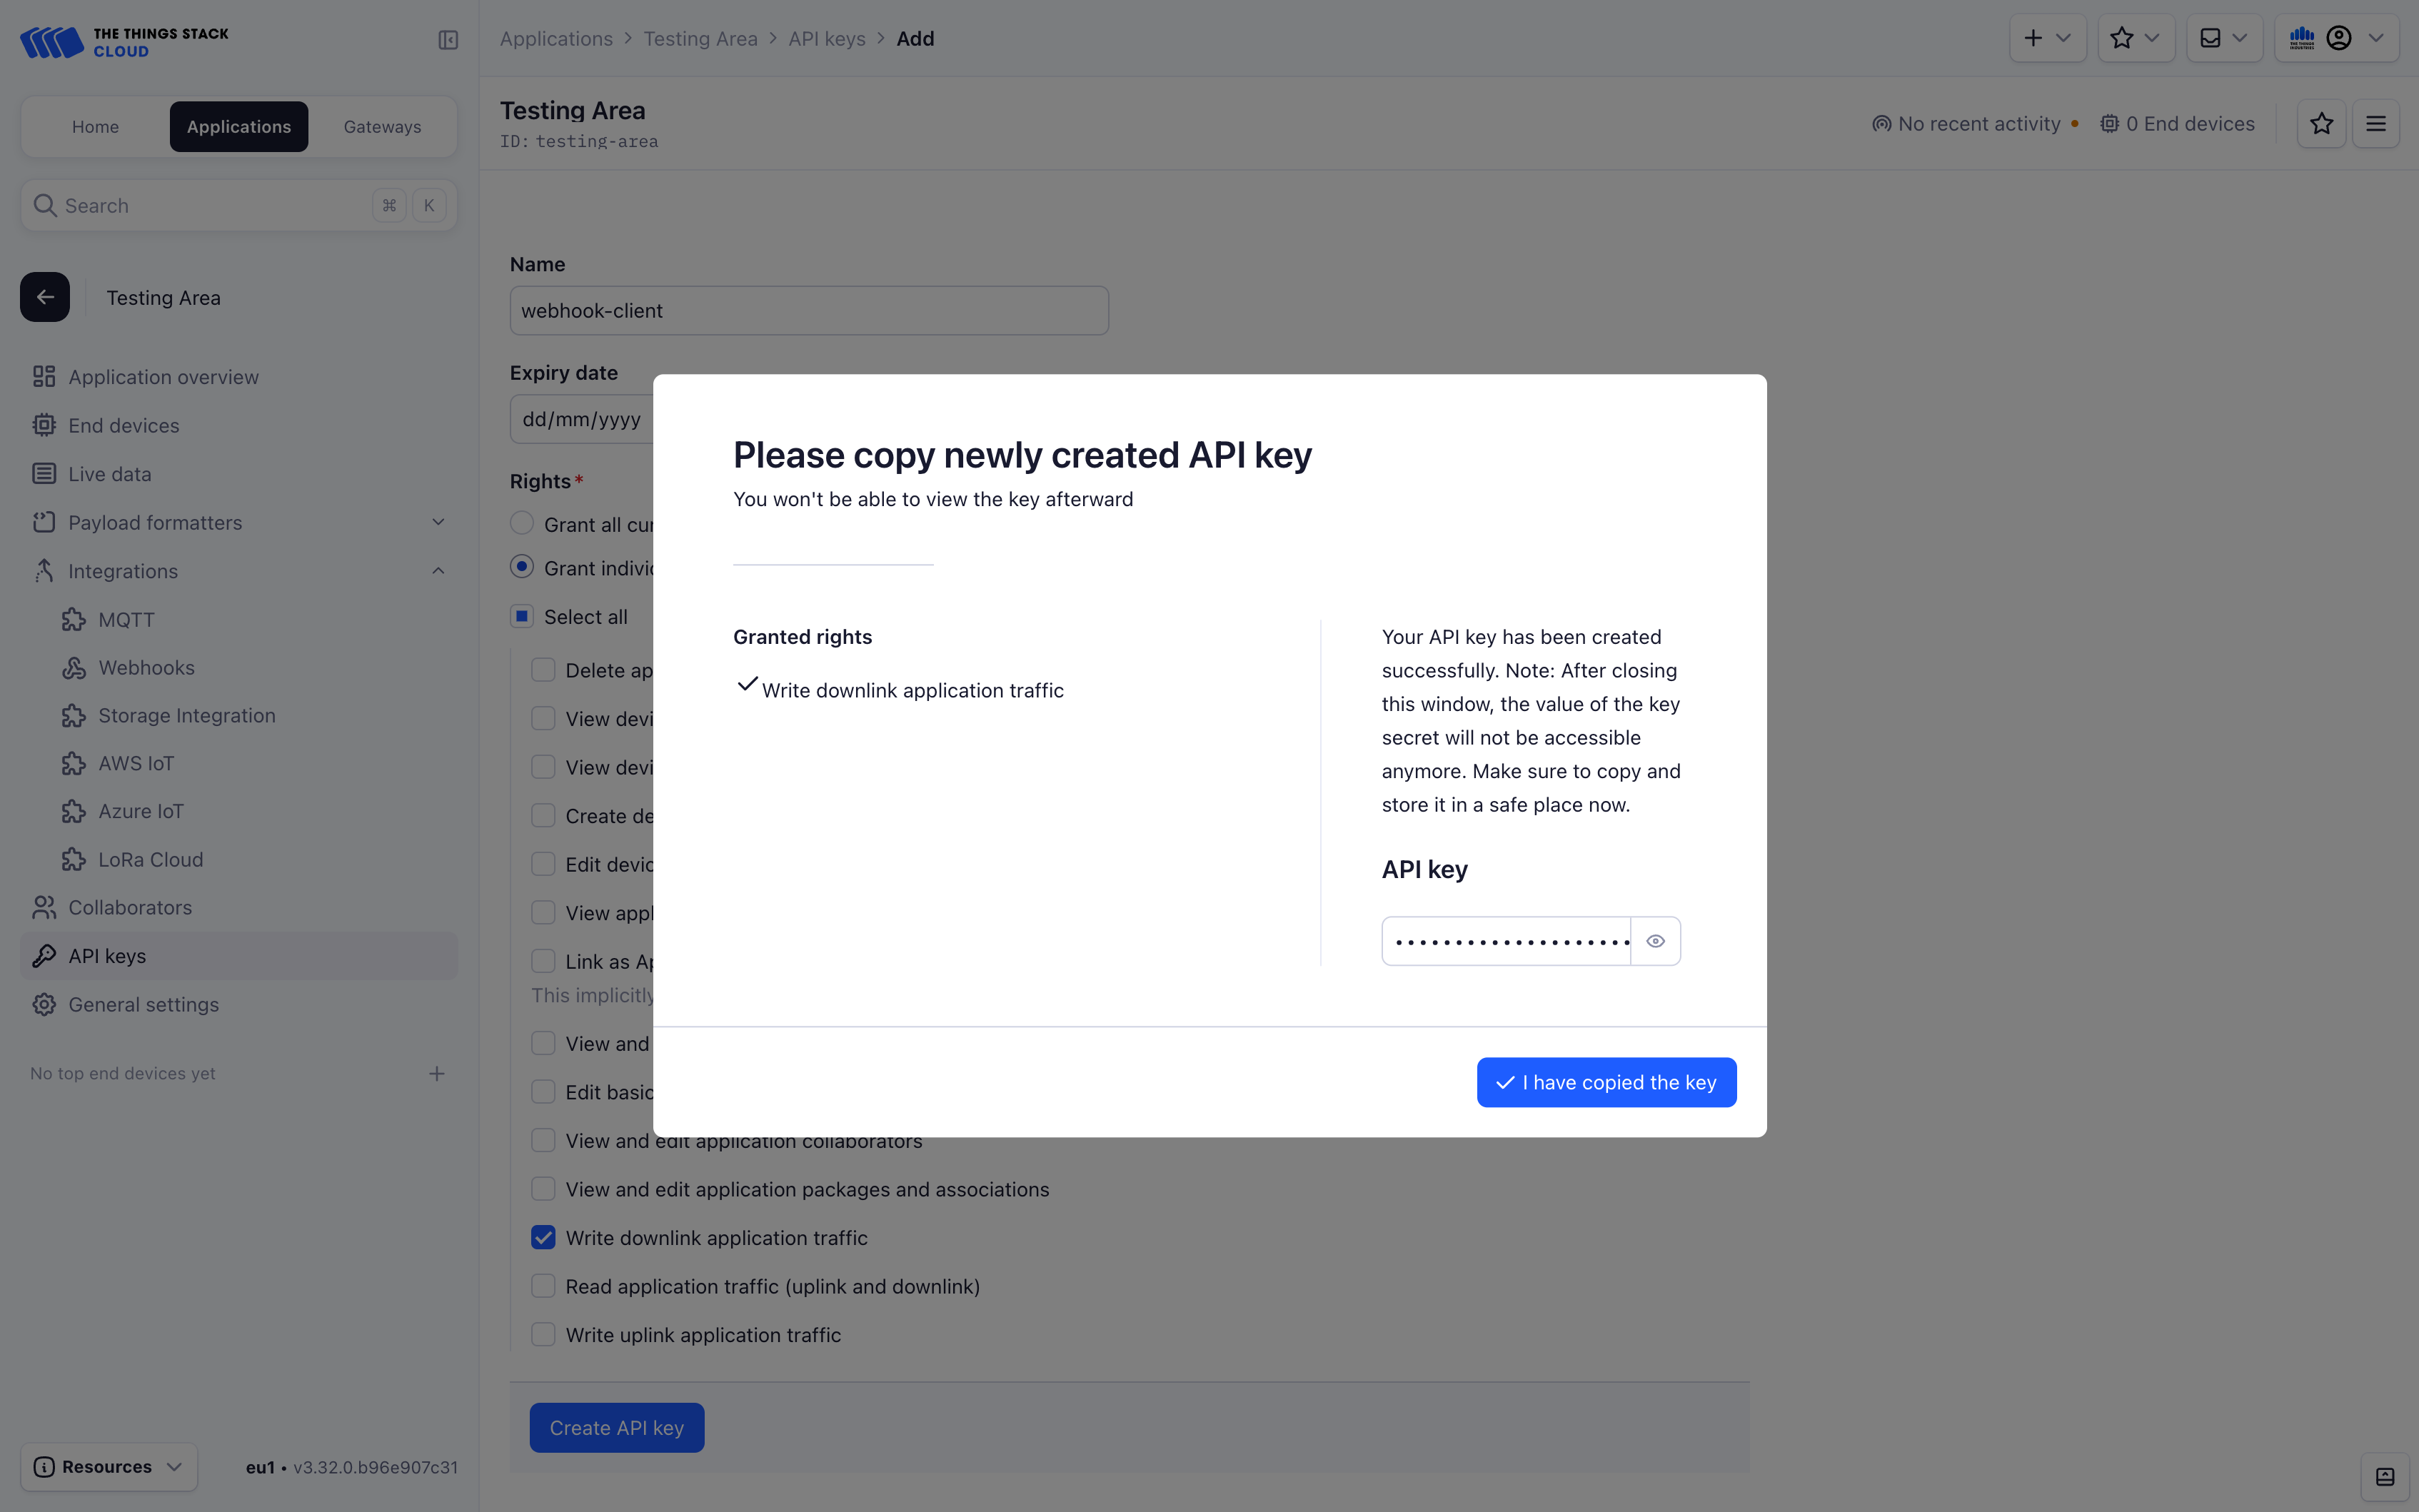
Note:
Make sure to save your API key at this point, since it will no longer be retrievable after you leave the page.You can now pass the API key as bearer token on the Authorization header.
Scheduling Downlinks
The downlink queue operation paths are:
- For push:
/api/v3/as/applications/{application_id}/webhooks/{webhook_id}/devices/{device_id}/down/push - For replace:
/api/v3/as/applications/{application_id}/webhooks/{webhook_id}/devices/{device_id}/down/replace
For example, to push a downlink to the end device dev1 of the application app1 using the webhook wh1:
curl --location \
  --header 'Authorization: Bearer NNSXS.XXXXXXXXX' \
  --header 'Content-Type: application/json' \
  --header 'User-Agent: my-integration/my-integration-version' \
  --request POST \
  --data '{"downlinks":[{
      "frm_payload":"vu8=",
      "f_port":15,
      "priority":"NORMAL"
    }]
  }' \
  'https://thethings.example.com/api/v3/as/applications/app1/webhooks/wh1/devices/dev1/down/push'
To schedule a human readable downlink to the same device using a downlink Payload Formatter:
curl --location \
  --header 'Authorization: Bearer NNSXS.XXXXXXXXX' \
  --header 'Content-Type: application/json' \
  --header 'User-Agent: my-integration/my-integration-version' \
  --request POST \
  --data '{"downlinks":[{
      "decoded_payload": {
        "bytes": [1, 2, 3]
      }
    }]
  }' \
  'https://thethings.example.com/api/v3/as/applications/app1/webhooks/wh1/devices/dev1/down/push'
Note:
Downlinks scheduled using thedecoded_payload Payload Formatter field are encrypted in the Application Server, and the content will not be comprehensible in the Network Server’s frm_payload field when viewing events.
You can also save the API key in the webhook configuration page using the the Downlink API Key field. The Application Server will provide it to your endpoint using the X-Downlink-Apikey header and the push and replace operations paths using the X-Downlink-Push and X-Downlink-Replace headers.
The Things Stack keeps a queue of downlink messages per device. This queue can be replaced with a list of downlink messages. The queue can also be cleared by replacing it with an empty array.
To clear the queue of downlink messages for an end device dev1 of the application app1 using the webhook wh1:
curl --location \
  --header 'Authorization: Bearer NNSXS.XXXXXXXXX' \
  --header 'Content-Type: application/json' \
  --header 'User-Agent: my-integration/my-integration-version' \
  --request POST \
  --data '{"downlinks":[]}' \
  'https://thethings.example.com/api/v3/as/applications/app1/webhooks/wh1/devices/dev1/down/replace'