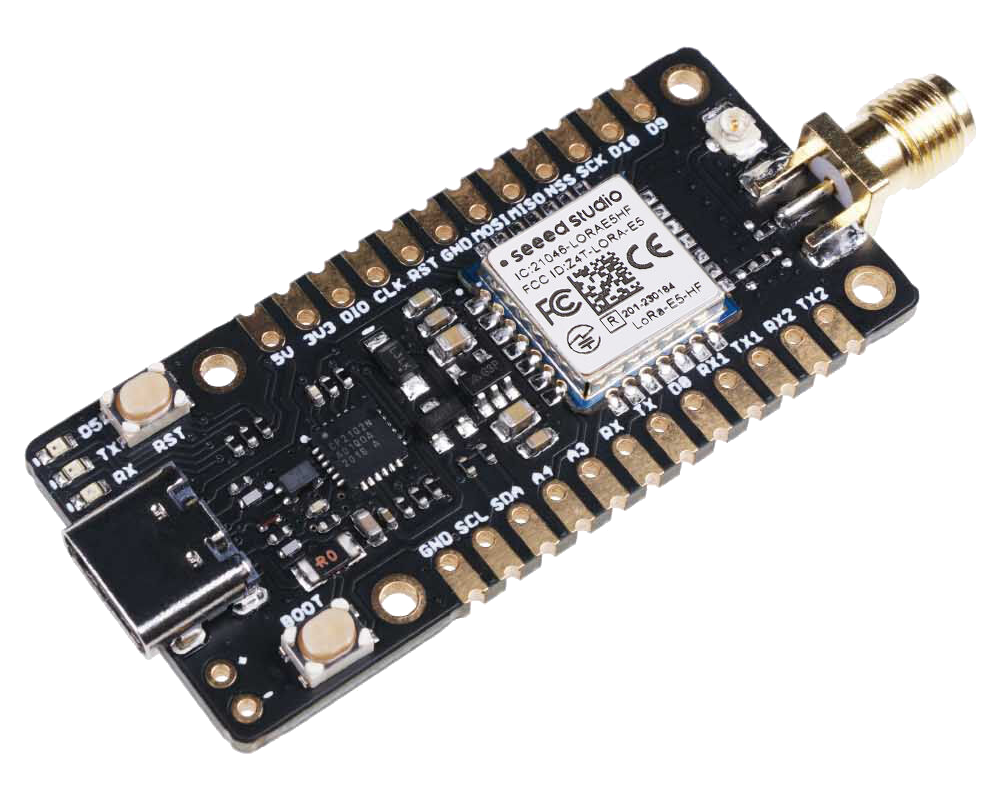
The Seeed Studio Wio-E5 module is embedded with the ST system-level package chip STM32WLE5JC, ARM Cortex M4 ultra-low power MCU, and long range SX126X transceiver. It supports EU868, US915 and more frequency bands. It is suitable for wireless sensor networks and other battery-powered IoT devices that require low power consumption and long transmission range.
In this guide, the Wio-E5 mini board is used, but the onboarding process should be the same for other Wio-E5 boards as well.
AT Commands
First connect the Wio-E5 mini to your computer via a Type-C cable.
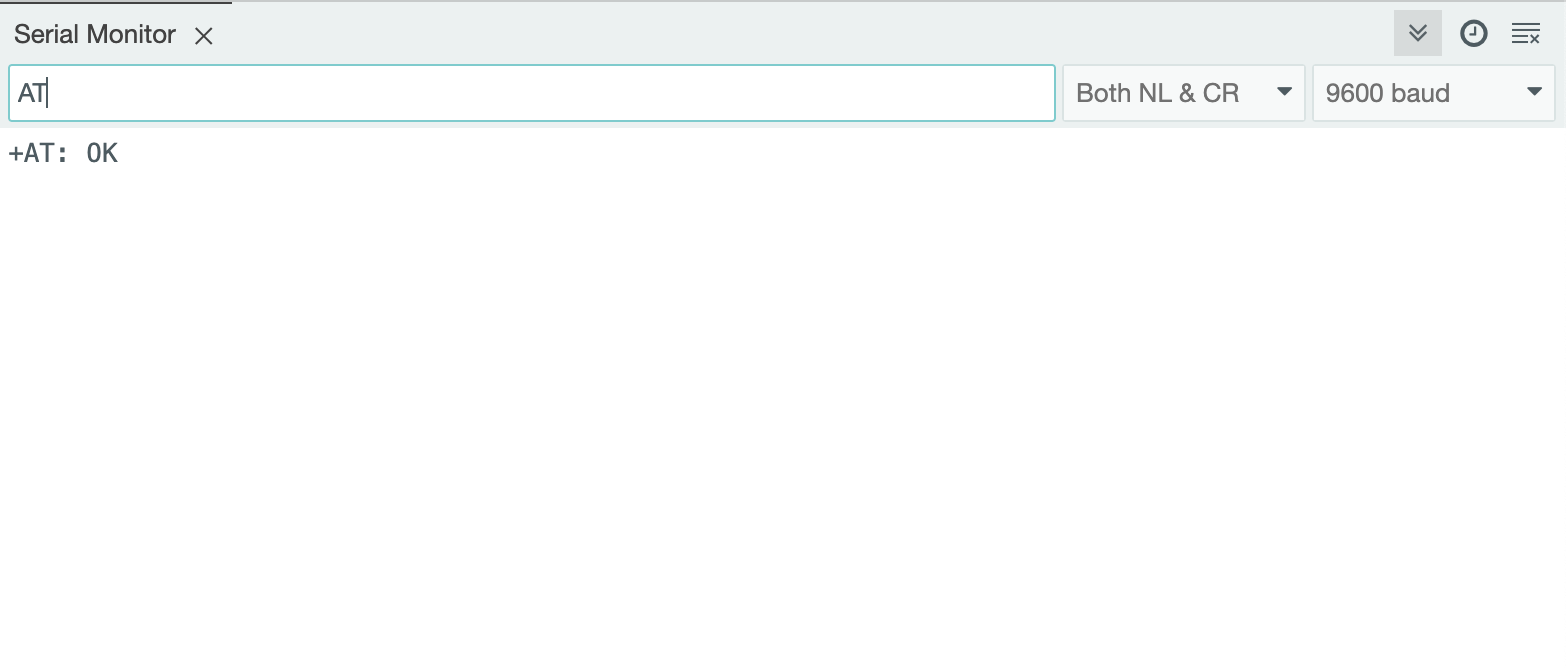
Then open a serial tool (for example the Arduino IDE’s Serial Monitor), select the correct COM port and set the baud rate to 9600.
In the serial monitor’s message field, type AT and press enter. You should see a response back.
Next step is to register the device on The Things Stack.
Onboarding to The Things Stack
The device can be onboarded using the Device Repository or manually.
The LoRaWAN® Device repository comprises over 800 end-device profiles, including the Wio-E5 mini, which enables quick and easy registration with The Things Stack.
To onboard with the Device Repository, in the End device type section, under Input method, select the Select the end device in the LoRaWAN Device Repository option. The Onboarding devices without QR codes section of the Adding Devices guide explains this procedure in detail. Following details are Wio-E5 mini-specific:
- End device brand: Seeed Technology Co., Ltd
- Model: Wio-E5 mini (STM32WLE5JC) Dev Board
- Hardware Ver.:
1.0 - Firmware Ver.:
1.0

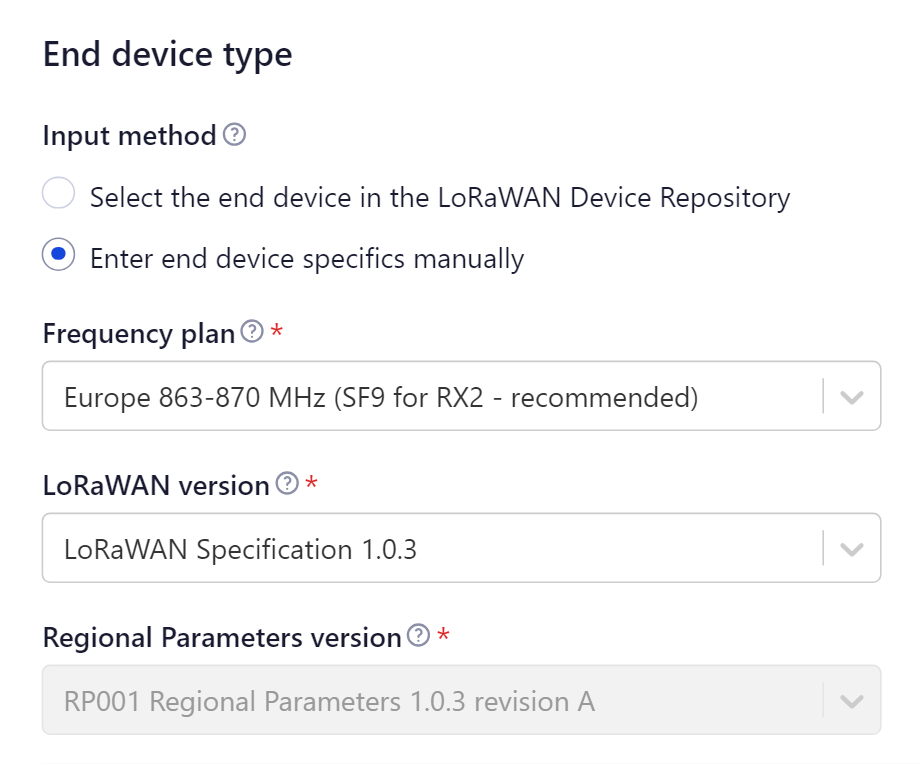
If you prefer onboarding manually, in the End device type section, under Input Method, select the Enter end device specifics manually option. The Manually adding devices and Over the Air Activation (OTAA) guides explain this procedure in detail. Following details are specific to the Wio-E5 mini:
- LoRaWAN version: LoRaWAN Specification 1.0.3
- Regional parameters version: RP001 Regional Parameters 1.0.3 revision A
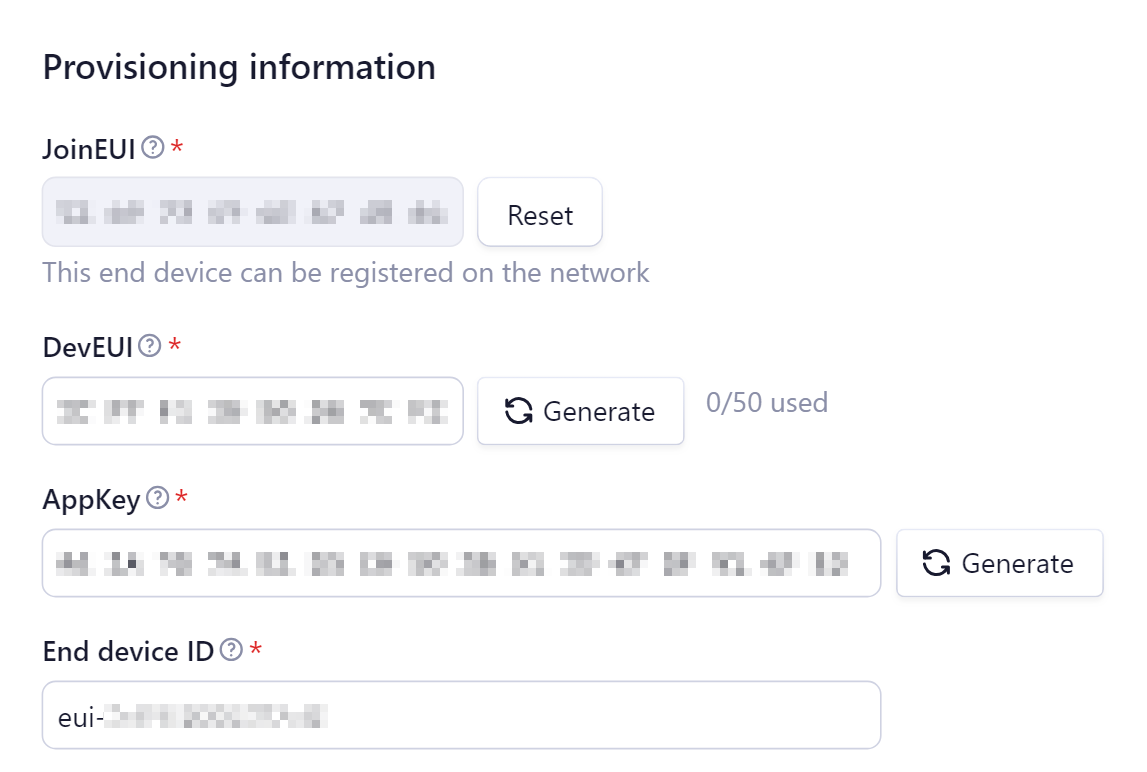
Now when you scroll down, you will see the Provisioning Information section where you need to enter some values; these values can be obtained from the device itself. To obtain this info from the device, go back to your serial monitor and send the following AT commands on the serial monitor:
AT+ID=DevEuito get your Device EUIAT+ID=AppEuito get your App EUI
The output will be as follows:
Tx: AT+ID=DevEui
Rx: +ID: DevEui, 2C:F7:F1:20:24:90:03:63
Tx: AT+ID=AppEui
Rx: +ID: AppEui, 80:00:00:00:00:00:00:07
Now return to The Things Stack and enter the details for your device.
Finally, you need to set the AppKey. To do this, you can generate an AppKey in The Things Stack and program it into the device. Click Generate next to the AppKey field in The Things Stack and copy it. Then run the following AT command to program this key into the device:
AT+KEY=APPKEY,"generated-appkey"to set the App Key
The output will be as follows:
Tx: AT+KEY=APPKEY,"2B7E151628AED2A6ABF7158809CF4F3C"
Rx: +KEY: APPKEY 2B7E151628AED2A6ABF7158809CF4F3C
After configuring your device, click the Register end device button.
Now the device is configured, but we still need to connect it to The Things Stack. To do so type the following AT commands:
// If you are using US915
AT+DR=US915
AT+CH=NUM,8-15

// If you are using EU868
AT+DR=EU868
AT+CH=NUM,0-2

// After running the region command
AT+MODE=LWOTAA
AT+JOIN
The output on serial monitor will be as follows:
Tx: AT+DR=EU868
Rx: +DR: EU868
Tx: AT+CH=NUM,0-2
Rx: +CH: NUM, 0-2

Tx: AT+MODE=LWOTAA
Rx: +MODE: LWOTAA

Tx: AT+JOIN
Rx: +JOIN: Start
+JOIN: NORMAL
+JOIN: Network joined
+JOIN: NetID 000013 DevAddr 26:01:5F:66
+JOIN: Done
If you see +JOIN: Network joined on your serial console, that means your device has successfully connected to The Things Stack!
This only explains the basics for connecting to The Things Stack. If you wish to know what other commands are available, check here, and if you wish to start developing with the Wio-E5, check the Seeed Studio Wiki.