This section explains how to modify personal settings in The Things Stack Console.
Profile Settings
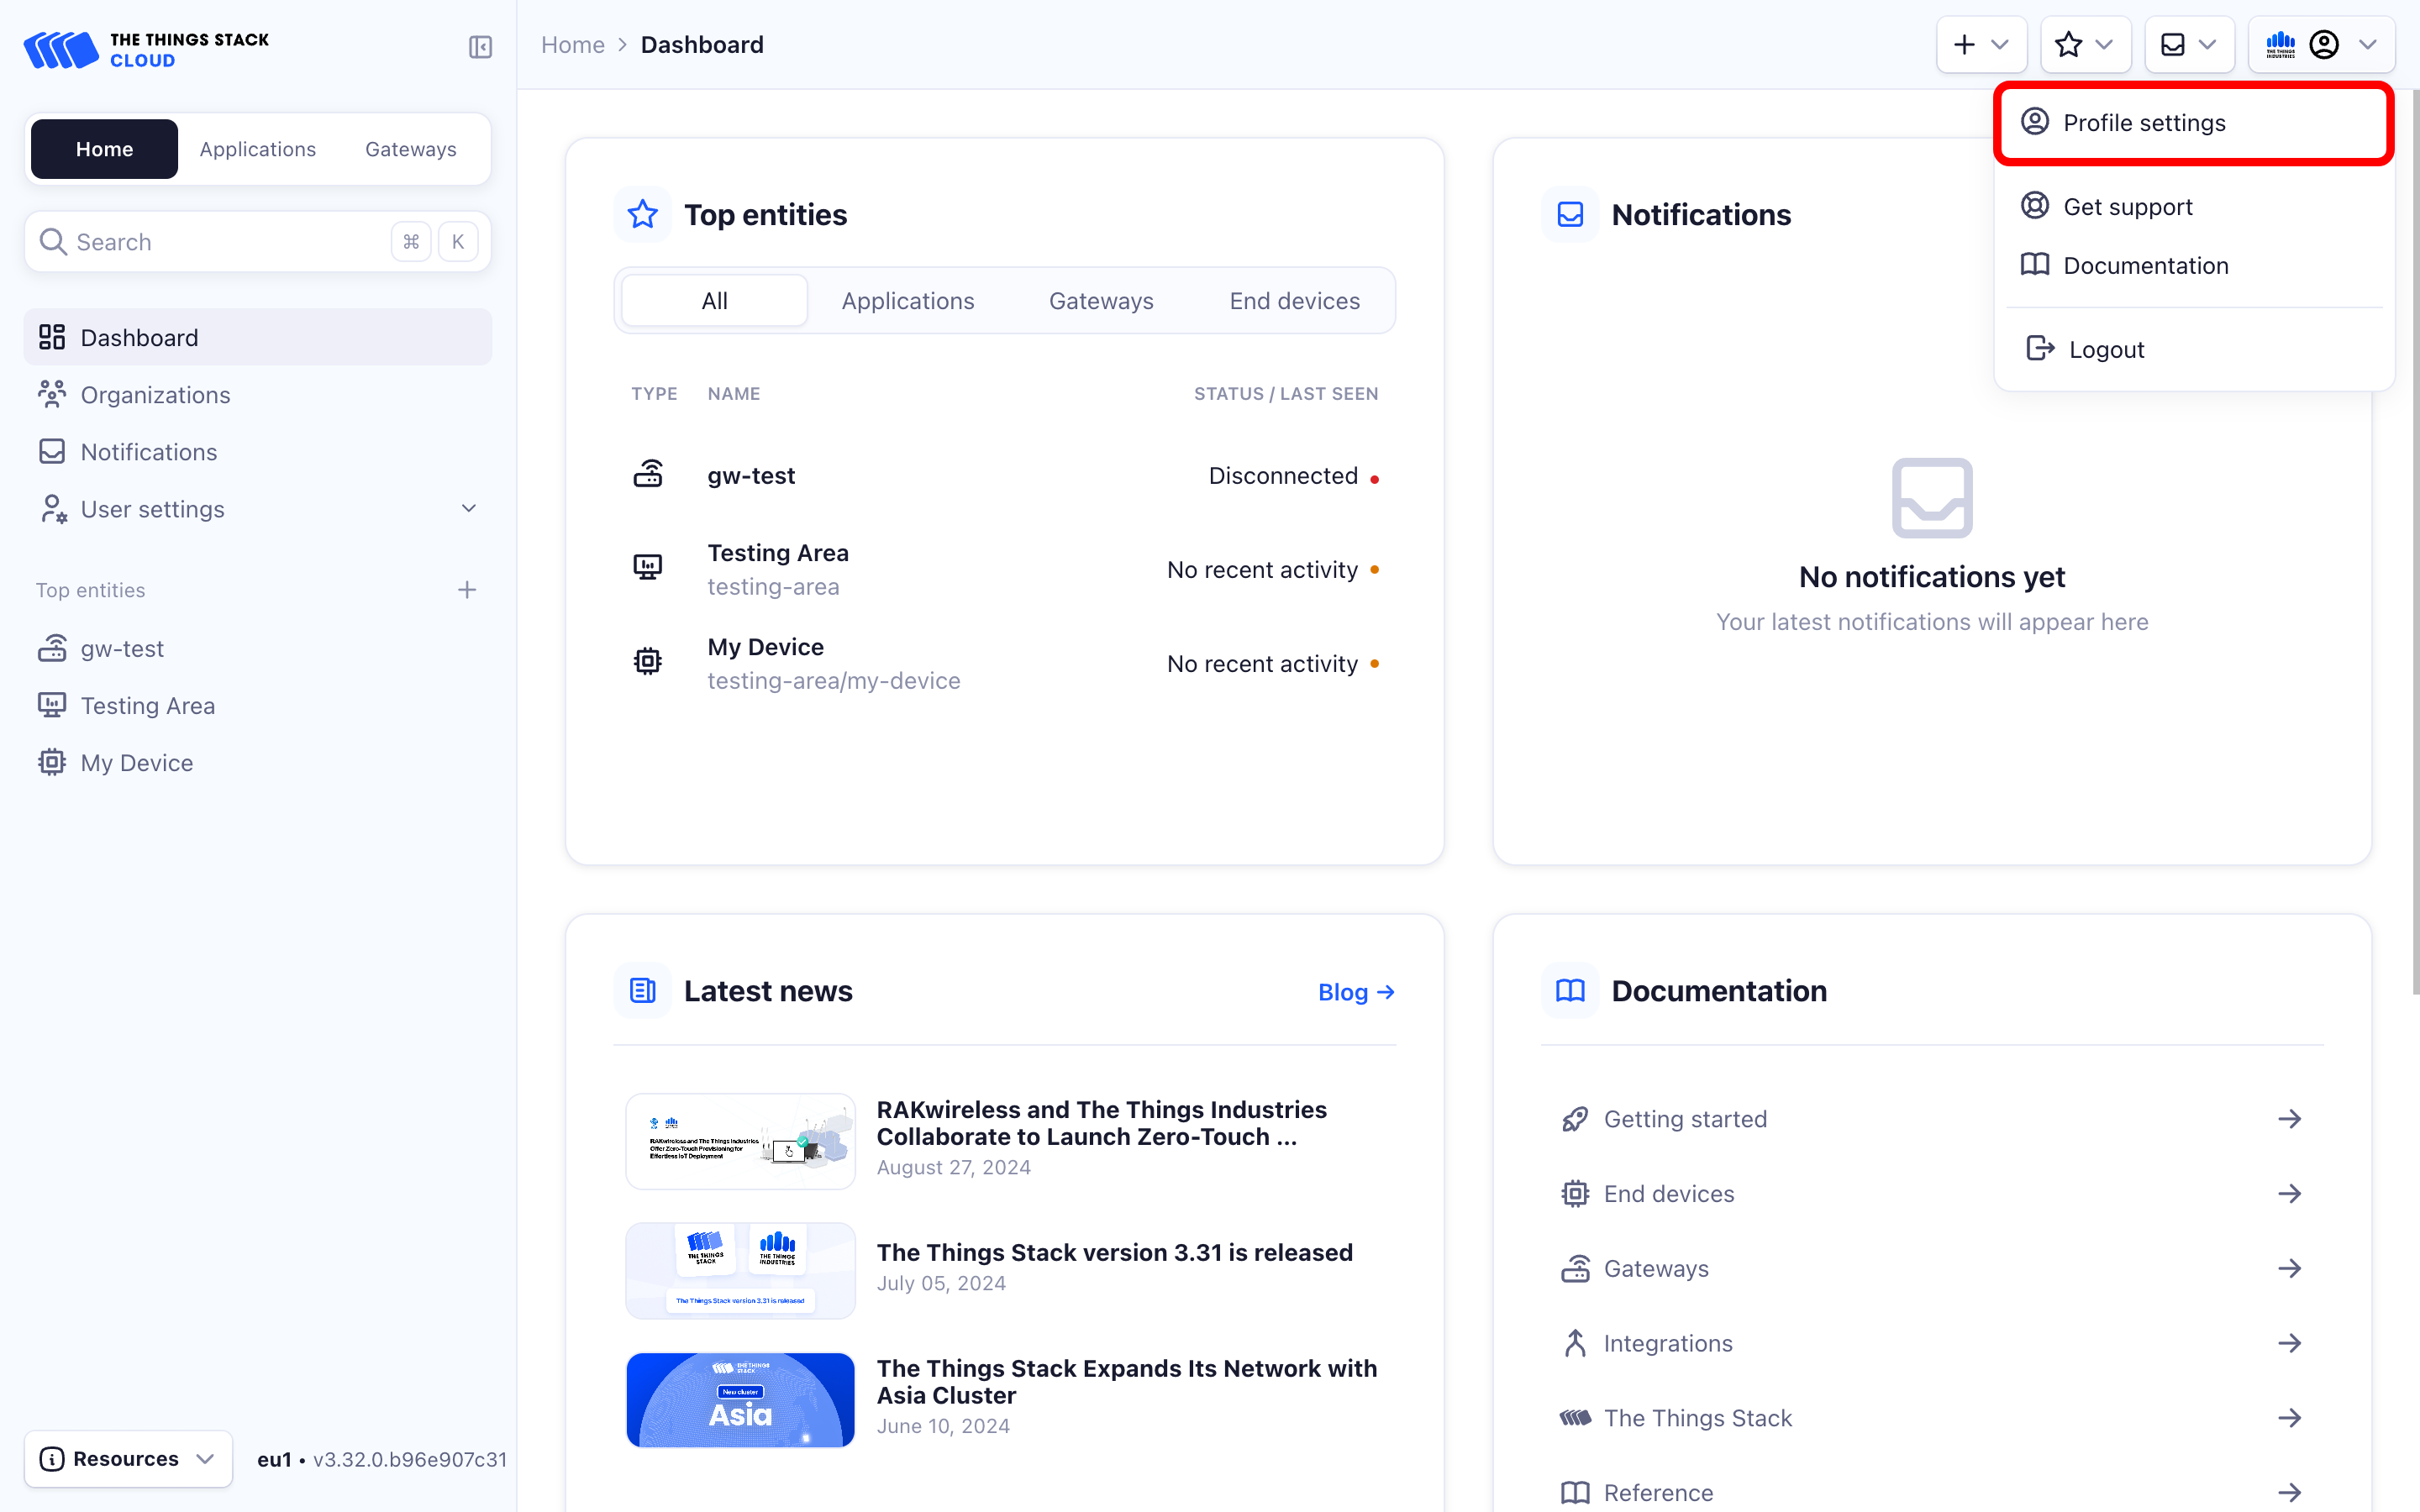
Once you are logged into the Console, you can adjust profile settings. Click on your avatar in the upper right corner and select Profile settings.
You will be redirected to a dedicated profile settings page.
General Settings
To change basic info such as your profile picture, name or email address, click the Expand button next to the General settings section.
For profile picture, the Gravatar image associated with your email address is used by default. You can choose to Upload an image to change your profile picture.
You cannot change the User ID, but you can set your name to be displayed instead by filling in the Name field.
You can change the primary email address associated with your The Things Stack account by entering a new one in the Email address field.
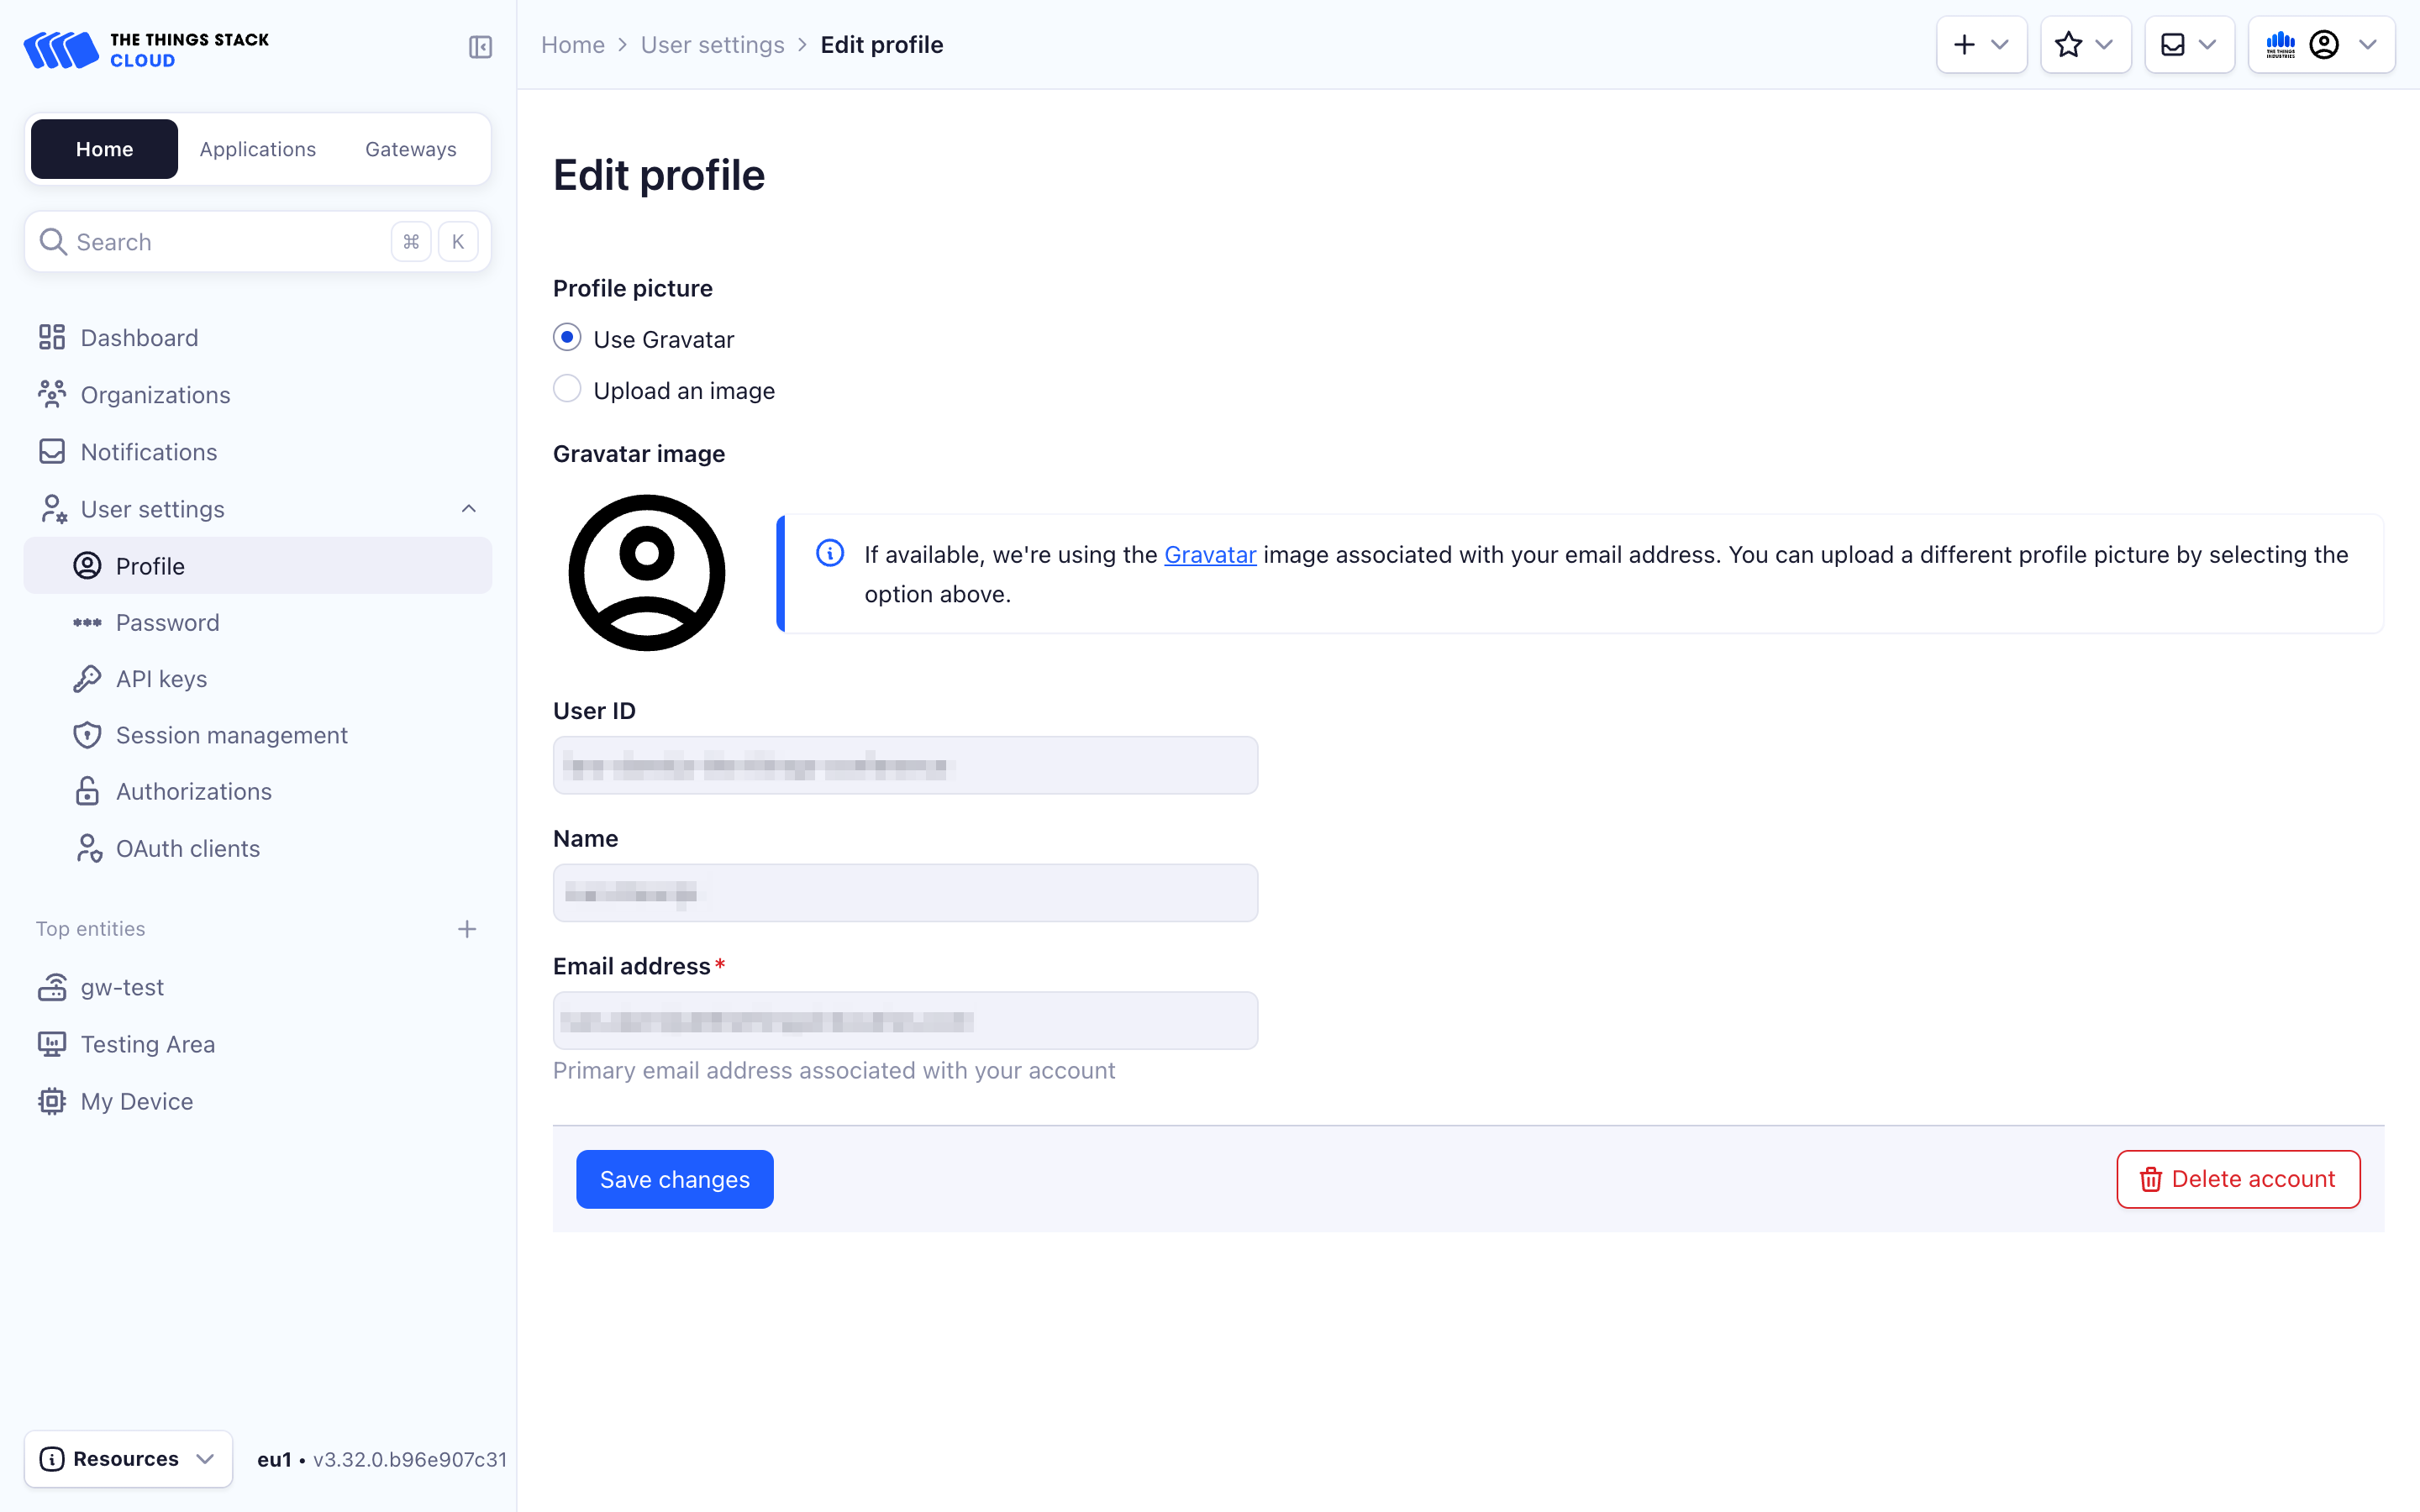
Click Save changes to save any modified info.
Change password
To set up a new password for your account, click Password in the left-hand sidebar.
Type in your Current password, then create a New password and confirm it. We highly recommend you create a strong password to enhance your profile’s security.
You can also choose to revoke all currently active sessions and access tokens by ticking the Enabled checkbox under Revoke all access. This will require you to log into the Console again using your newly created password.
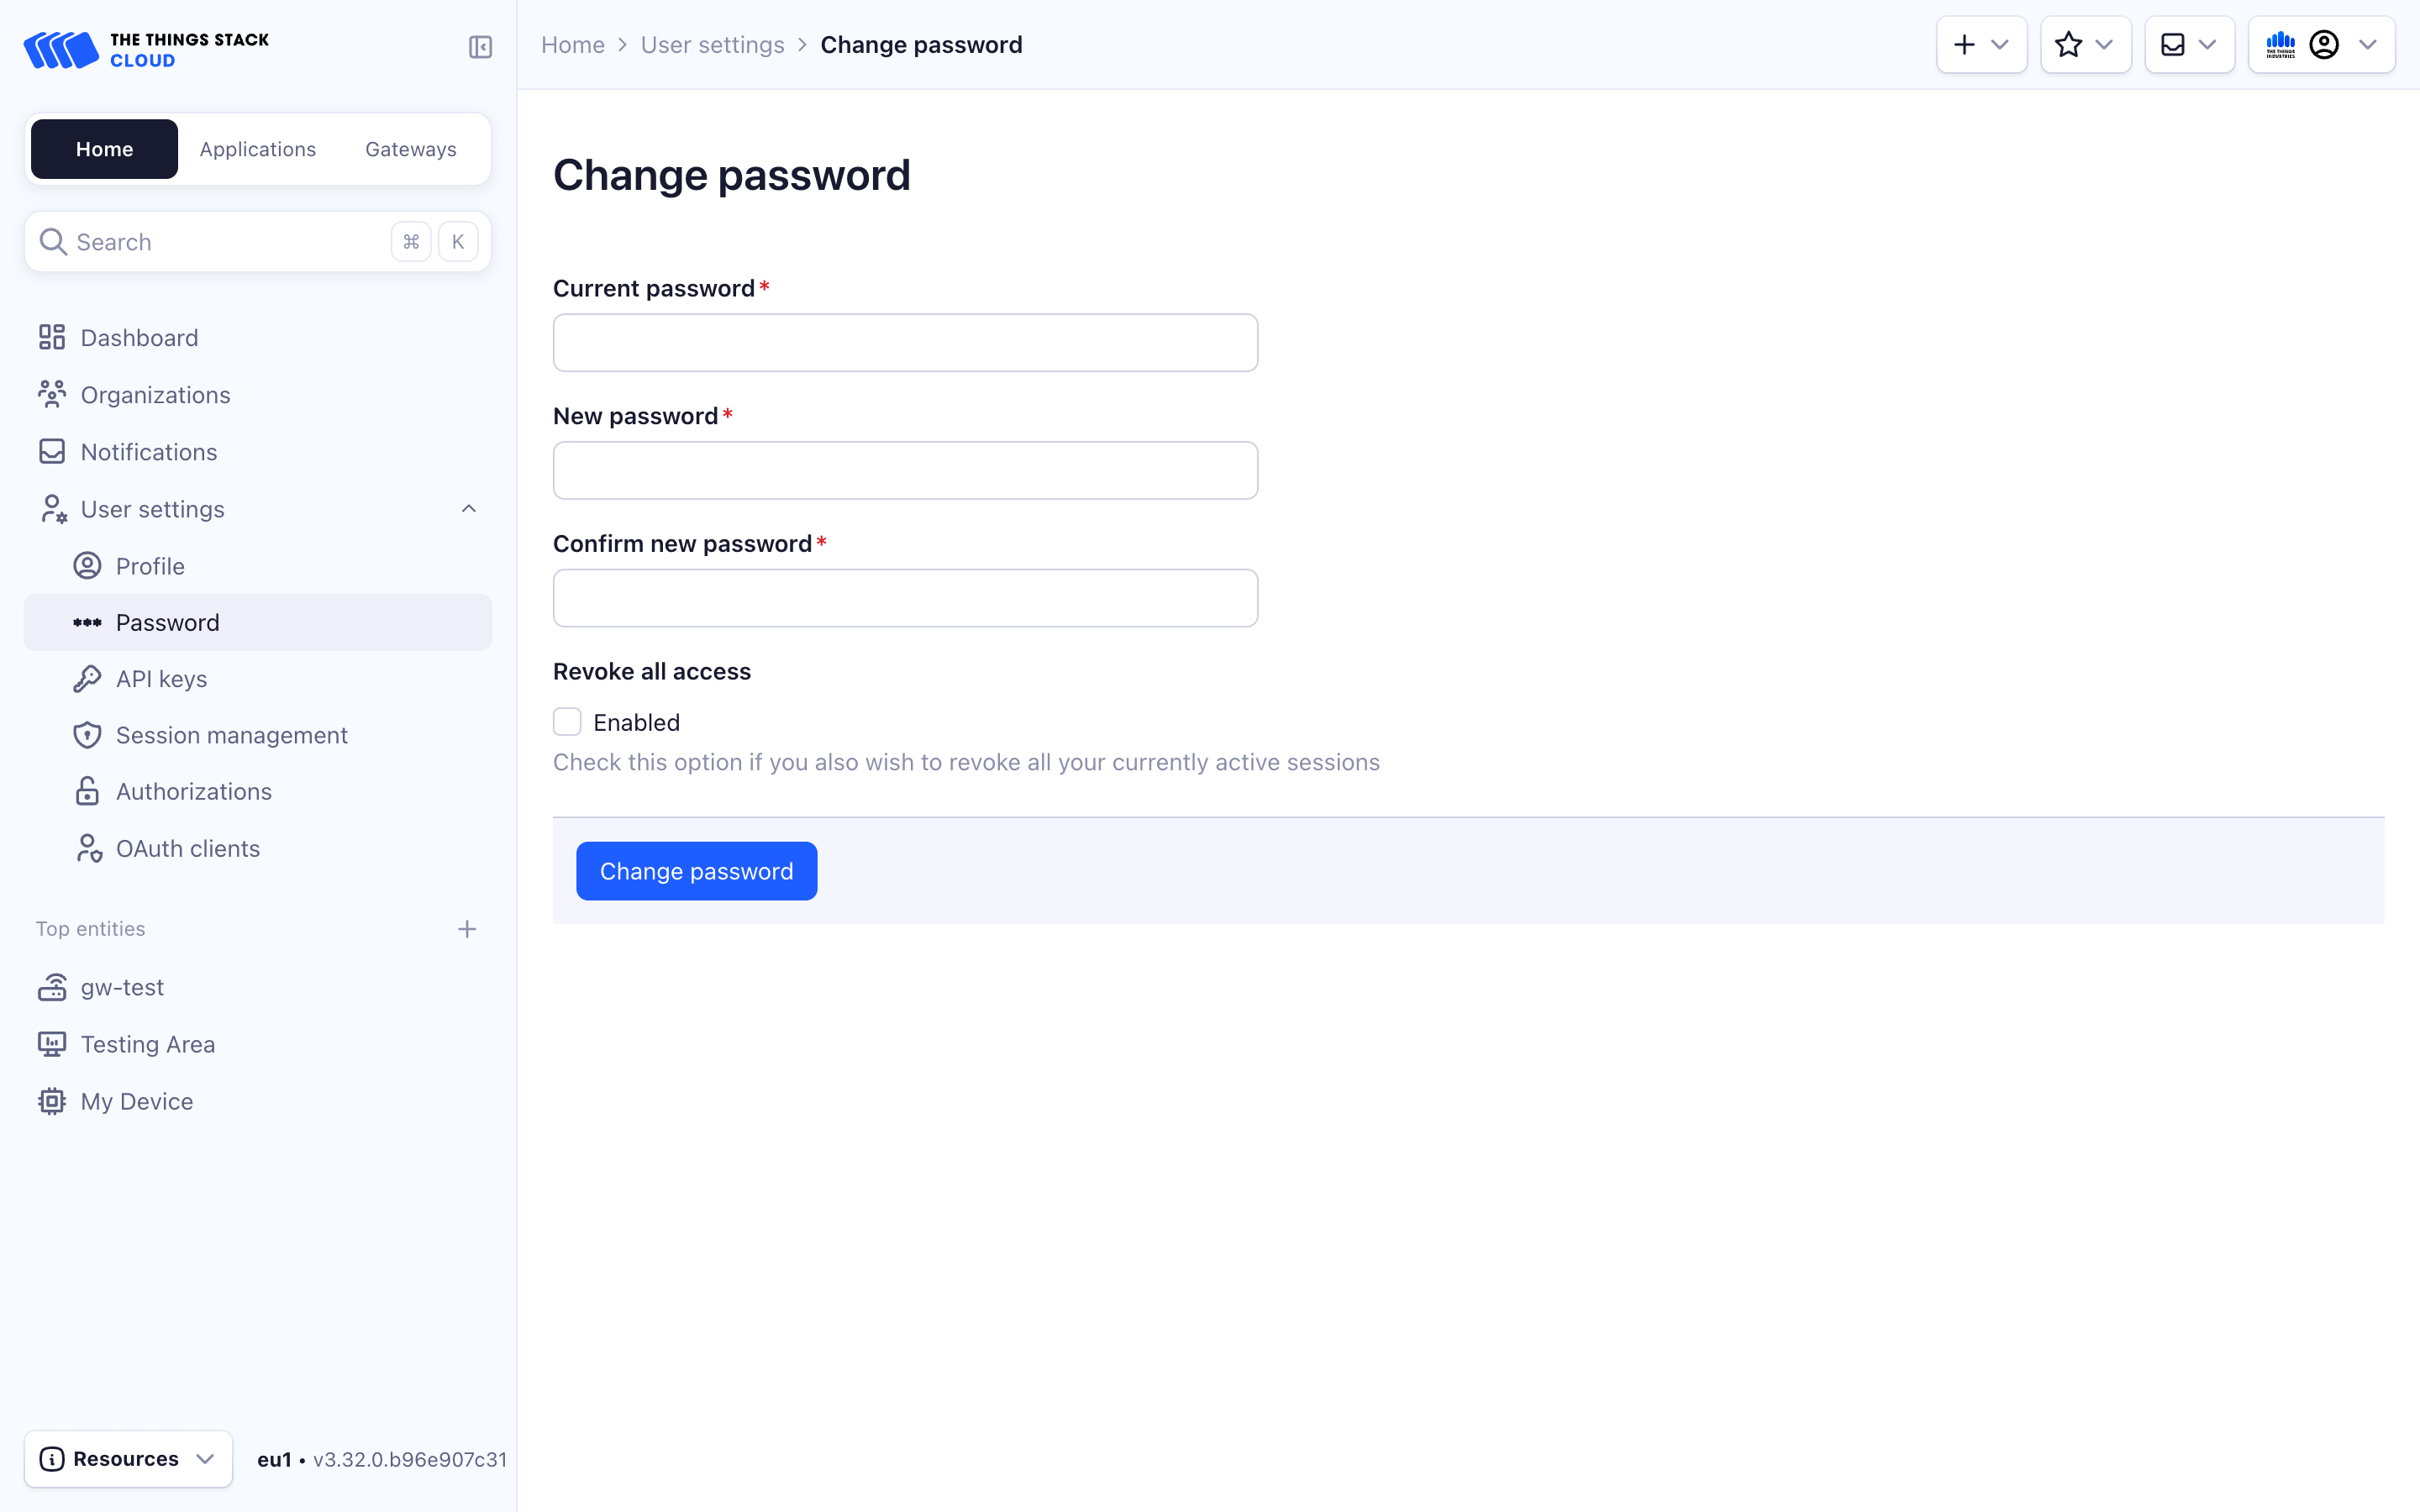
Select Change password to finish.
Email Notifications Settings
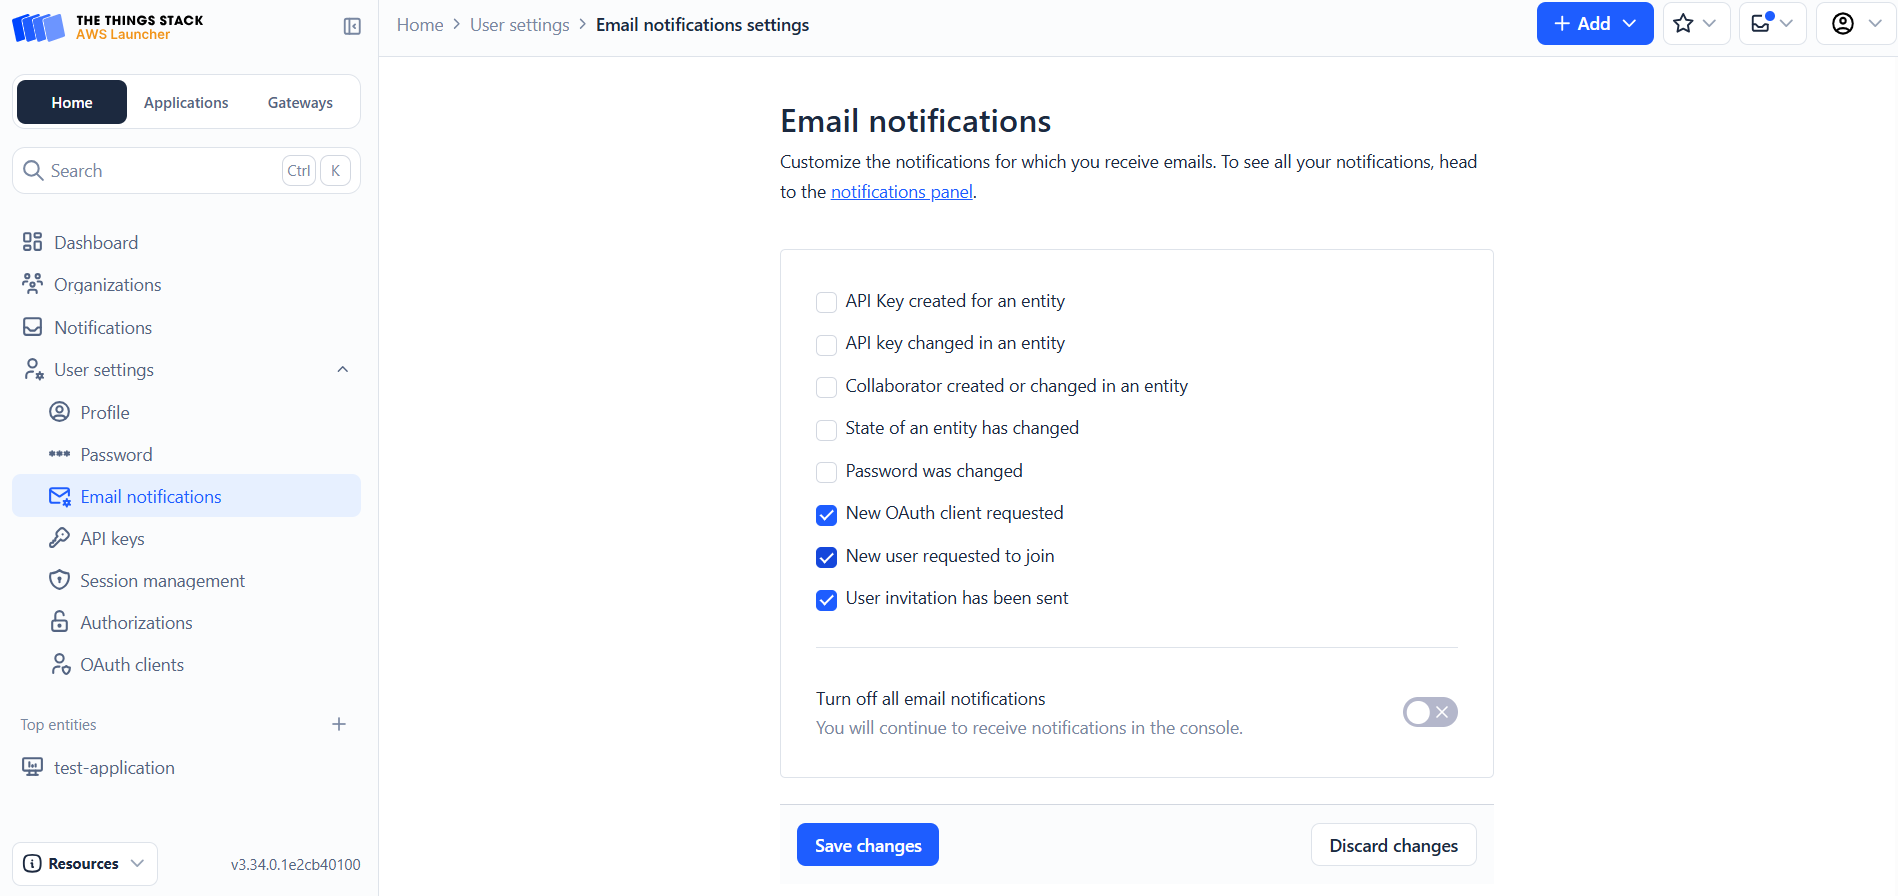
New in 3.33.0You can customize the email notifications you receive by selecting the specific actions for which you want to be notified. Once you’ve made your selections, click the Save Changes button to apply your preferences. If you wish to revert to the default notification settings, click Discard Changes.
If you are a non-admin user, you can enable or disable all email notifications by toggling the Turn off all email notifications. However, you will continue to receive notifications in the console. This option is disabled for admin users as there are some notifications that require admin action.
Create Personal API Key
In this section, we explain how to create personal API keys that grant certain rights using some basic examples. Keep in mind that this same procedure is identical for granting any other rights.
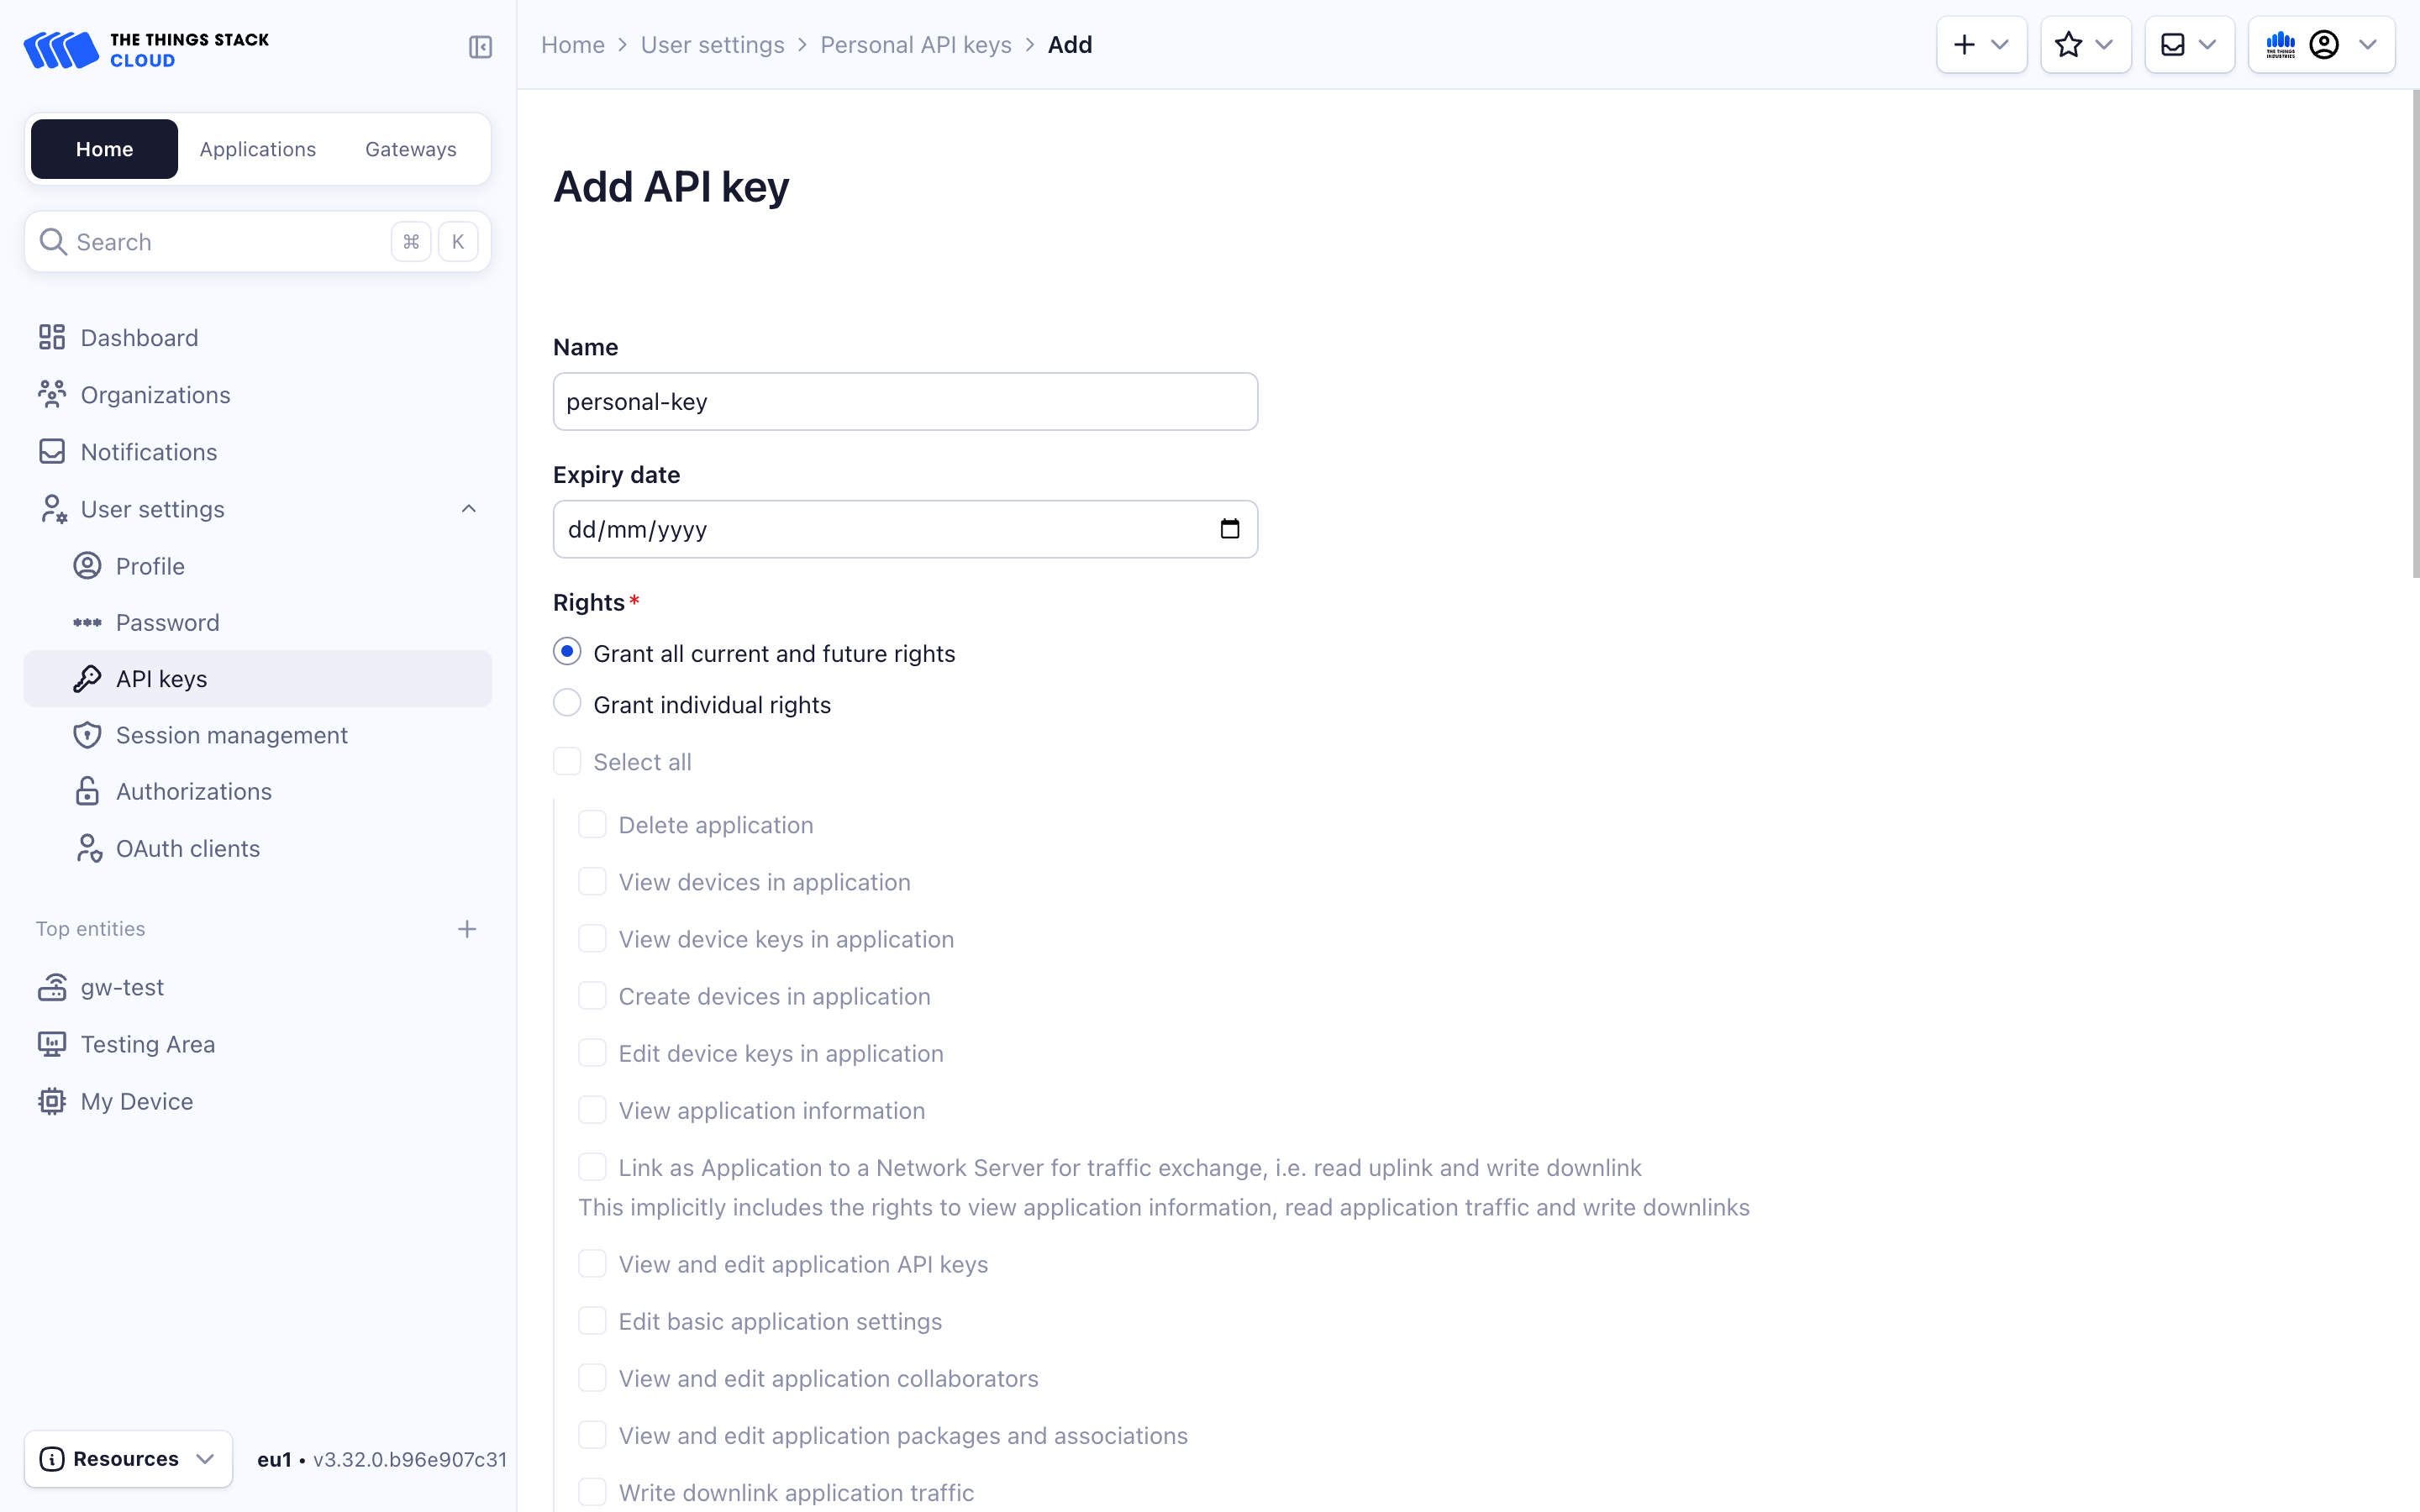
To create a personal API key, click on User settings in the left-hand sidebar and select API keys.
Enter a Name for your key, set the Expiry date, select rights that you want to grant and then press Create API Key.
You will see a screen that shows your newly created API Key. You now can copy it in your clipboard by pressing the copy button. After saving the key in a safe place, press I have copied the key. You will not be able to see this key again in the future, and if you lose it, you can create a new one by following this same procedure.
To create a personal API key with all rights granted:
USER_ID="My User ID"
API_KEY_NAME="My API key"
ttn-lw-cli users api-keys create \
  --name $API_KEY_NAME \
  --user-id $USER_ID \
  --right-user-all
The CLI will return an API key such as NNSXS.4SJFK6NBD57JMQY.... This API key grants all rights. Make sure to copy the key and save it in a safe place. You will not be able to see this key again in the future, and if you lose it, you can create a new one by following this same procedure.
See the CLI Reference for details on managing user API keys using the CLI.