This section contains instructions for adding LoRaWAN® devices in The Things Stack.
End devices in The Things Stack are managed under Applications. An application is a logical collection of devices that can be used to collect devices by function or geographical area. Before proceeding with this guide, create an application first.
This guide assumes that your device is in the LoRaWAN® Device Repository and that you’re using the Console. If your device is not in the LoRaWAN® Device Repository or if you want to use The Things Stack CLI, see Manually adding devices .
To create a device, first open the application you wish to add the device in. Go to End devices in the left menu and click on +Register end device to reach the end device registration page.
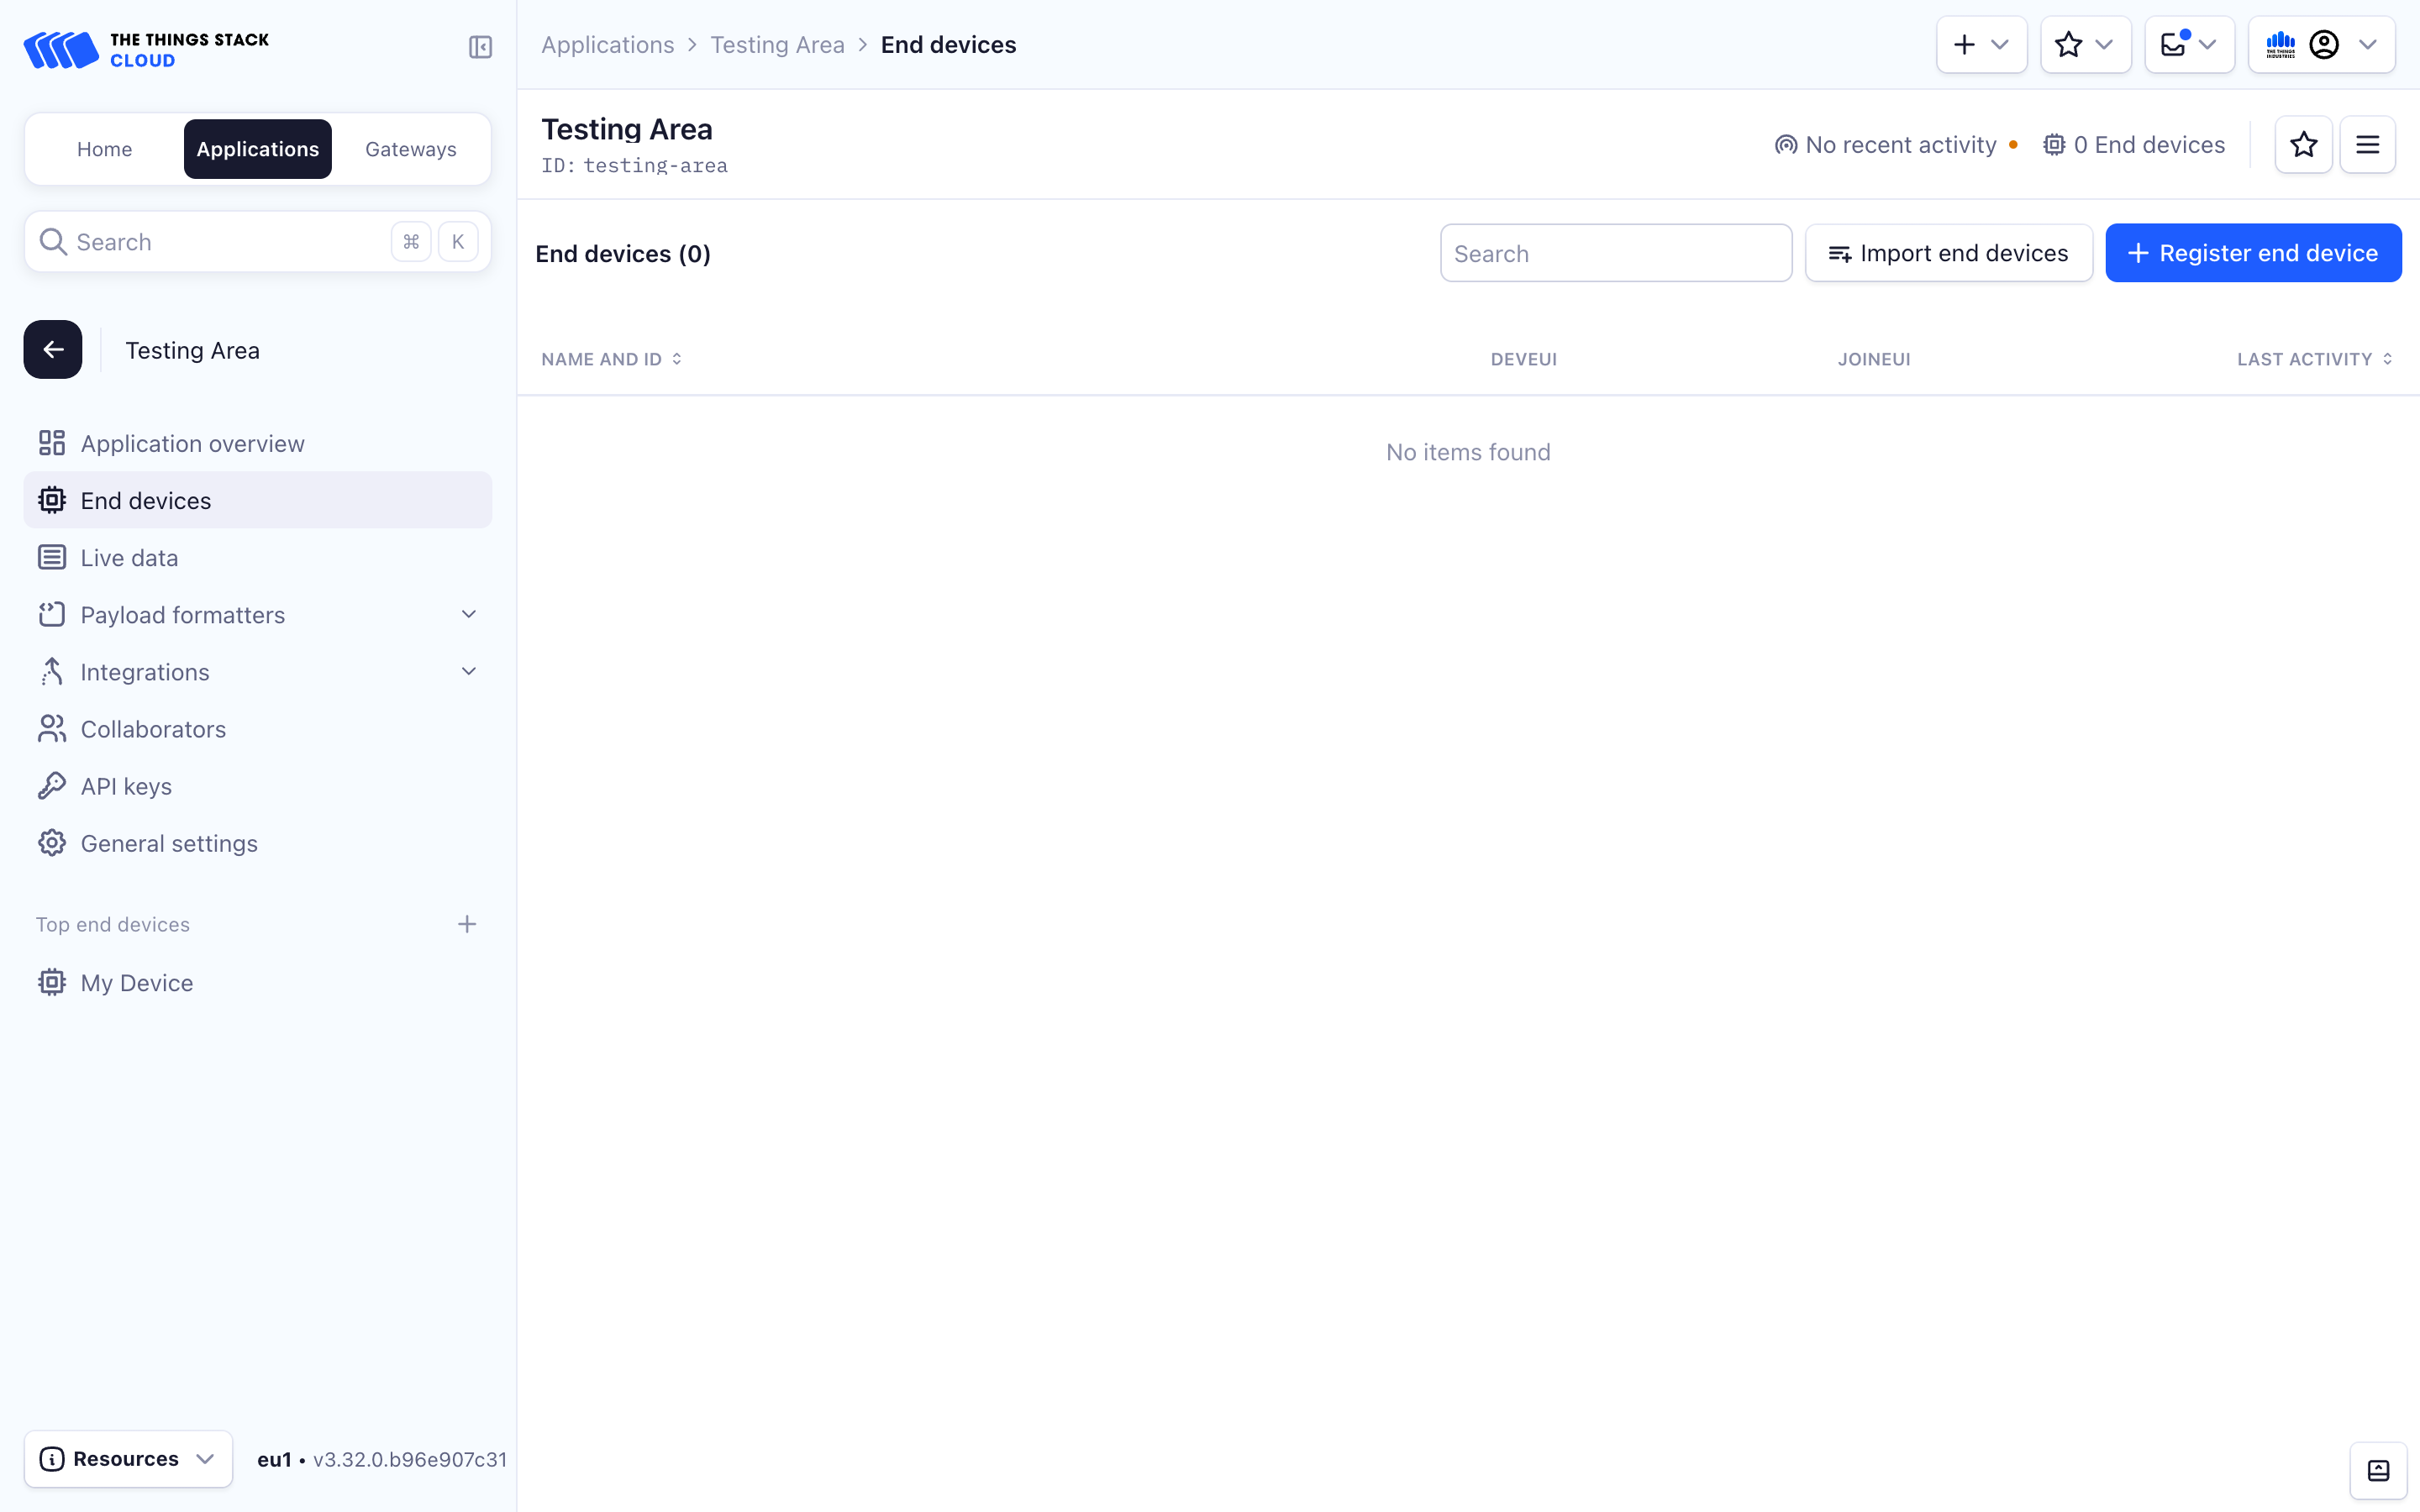
You will be presented with options to easily onboard your device using its QR code (if you have it), and to register your end device from the LoRaWAN® Device Repository or manually.
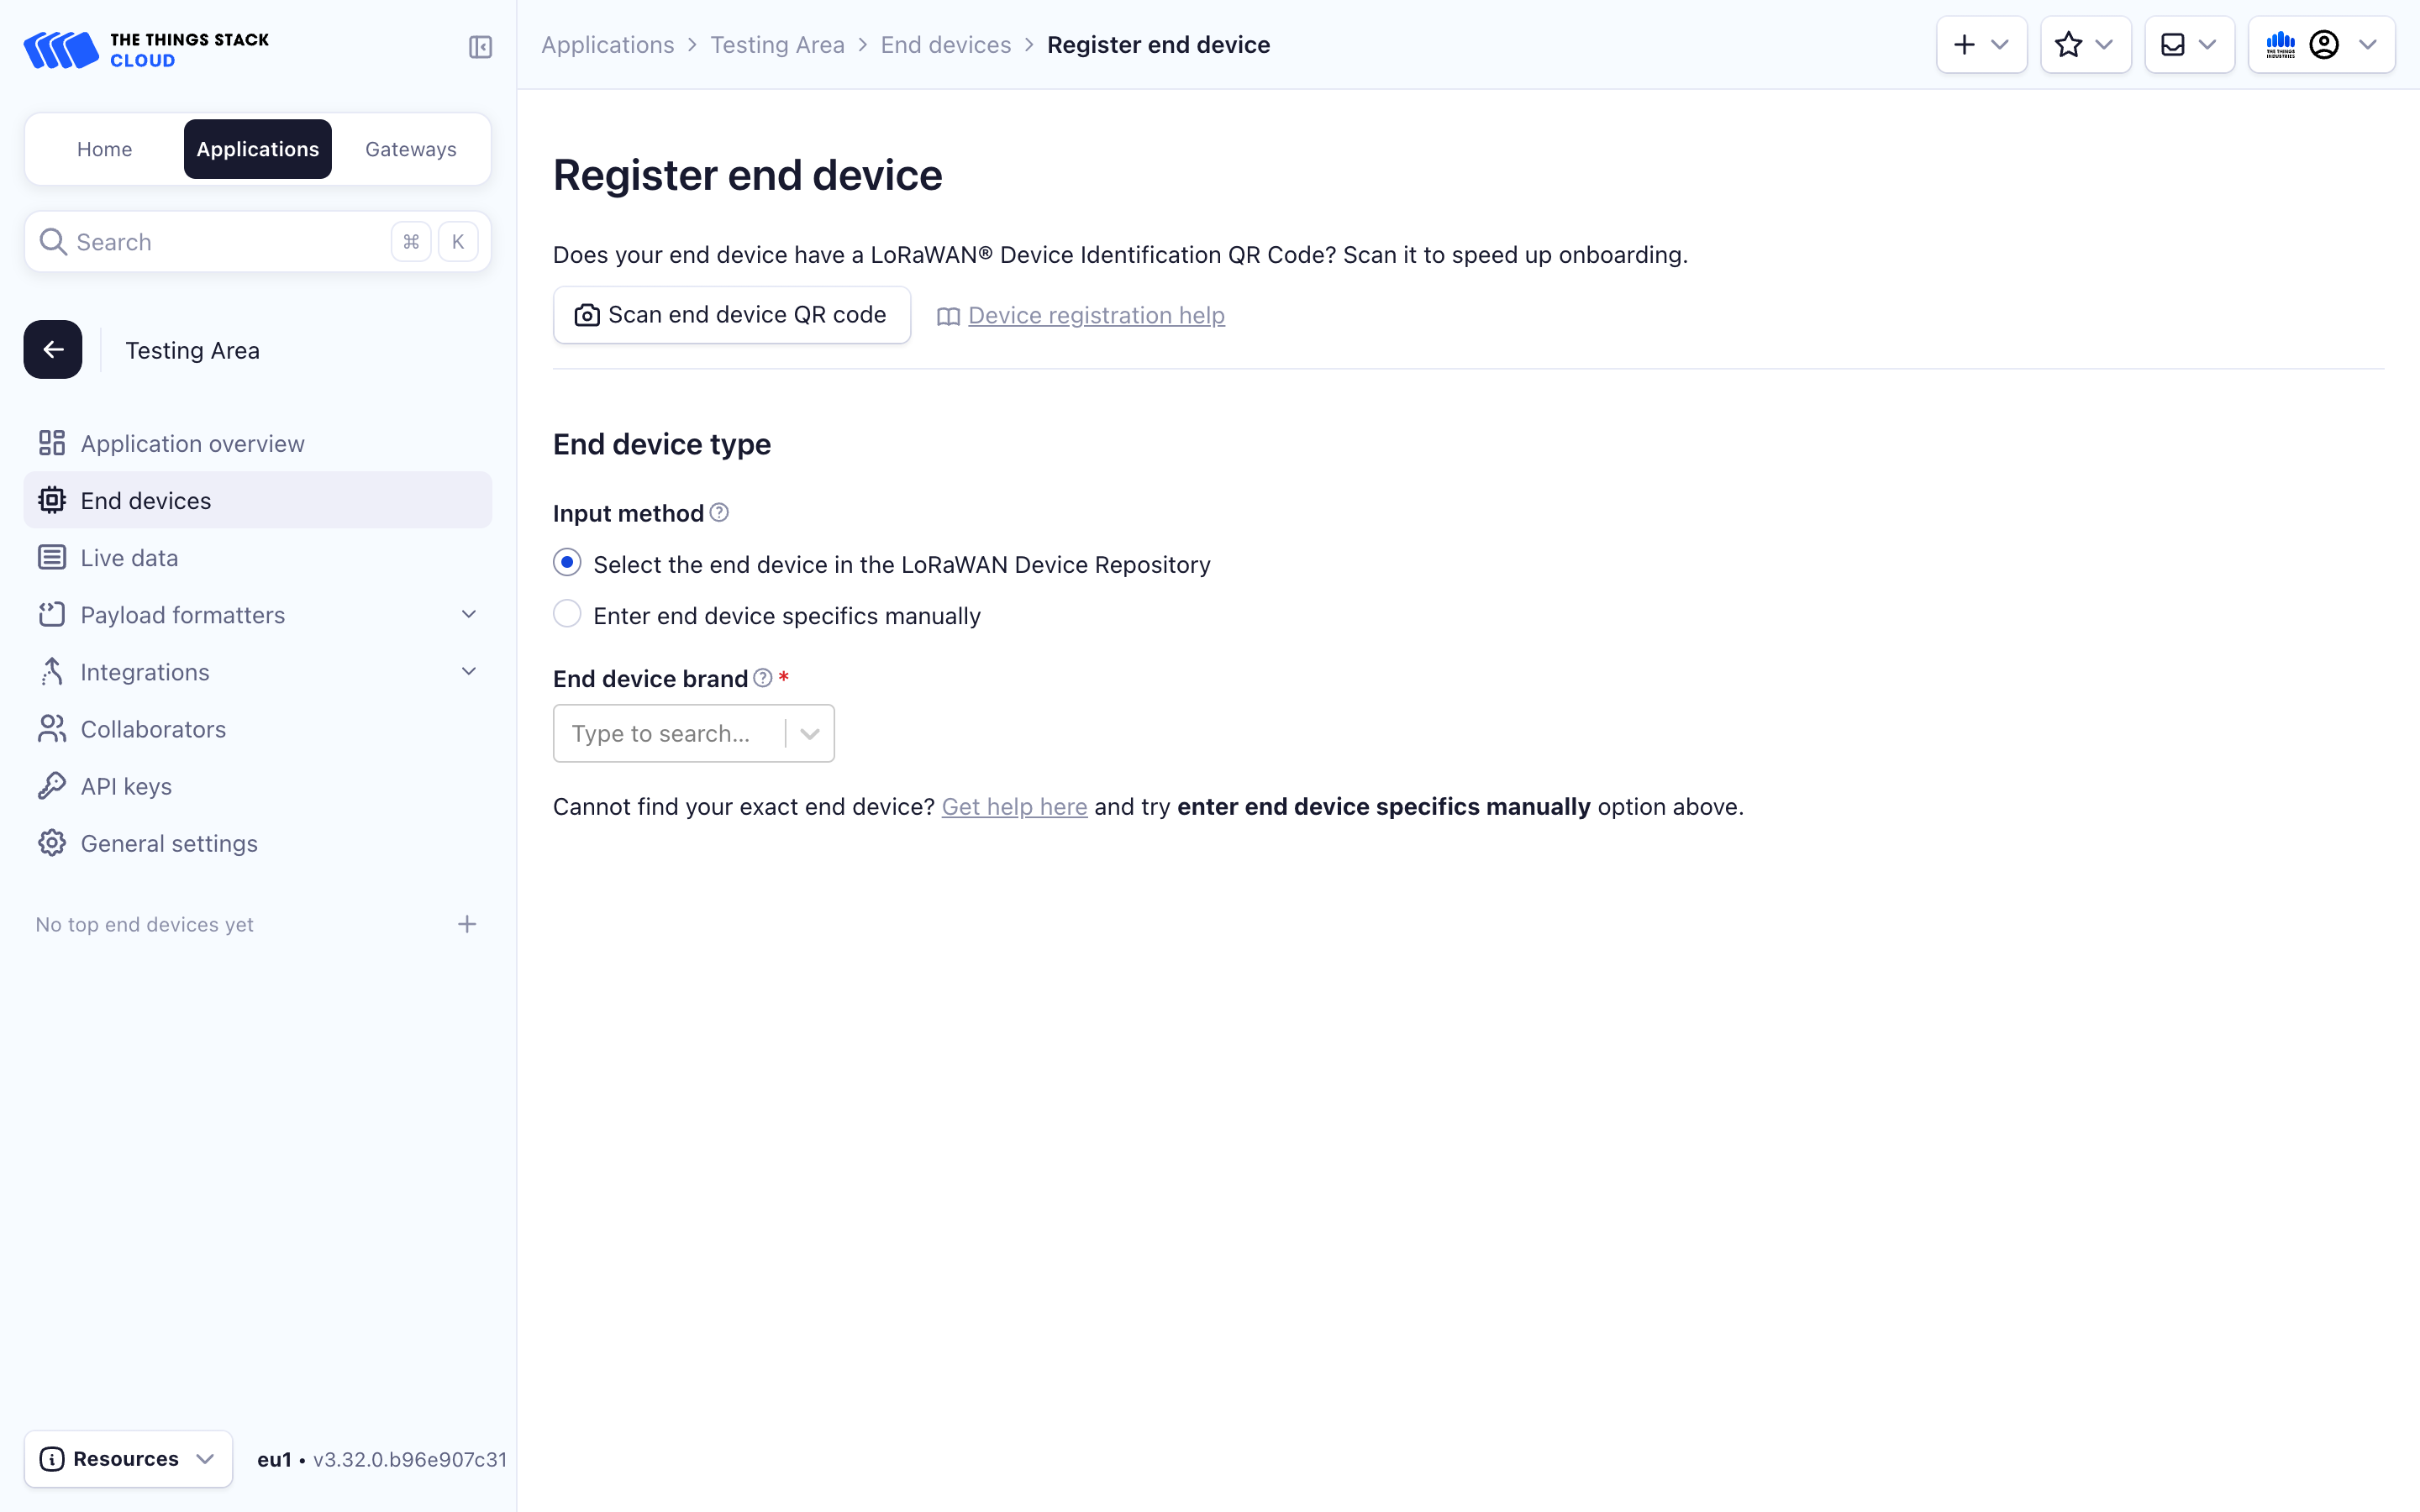
Onboarding devices using QR codes
If your device has a TR005 LoRaWAN® Device Identification QR Code, adding a device is a simple process. Note not all QR codes on the physical device are scannable. Only TR005 LoRaWAN® Device Identification QR Codes, are supported for this method.
Click the Scan end device QR code button and allow The Things Stack to use your camera. Now just bring your device’s QR code closer to your camera. A window with data found from the QR code will appear, containing your device’s Claim authentication code, JoinEUI, DevEUI and Brand.
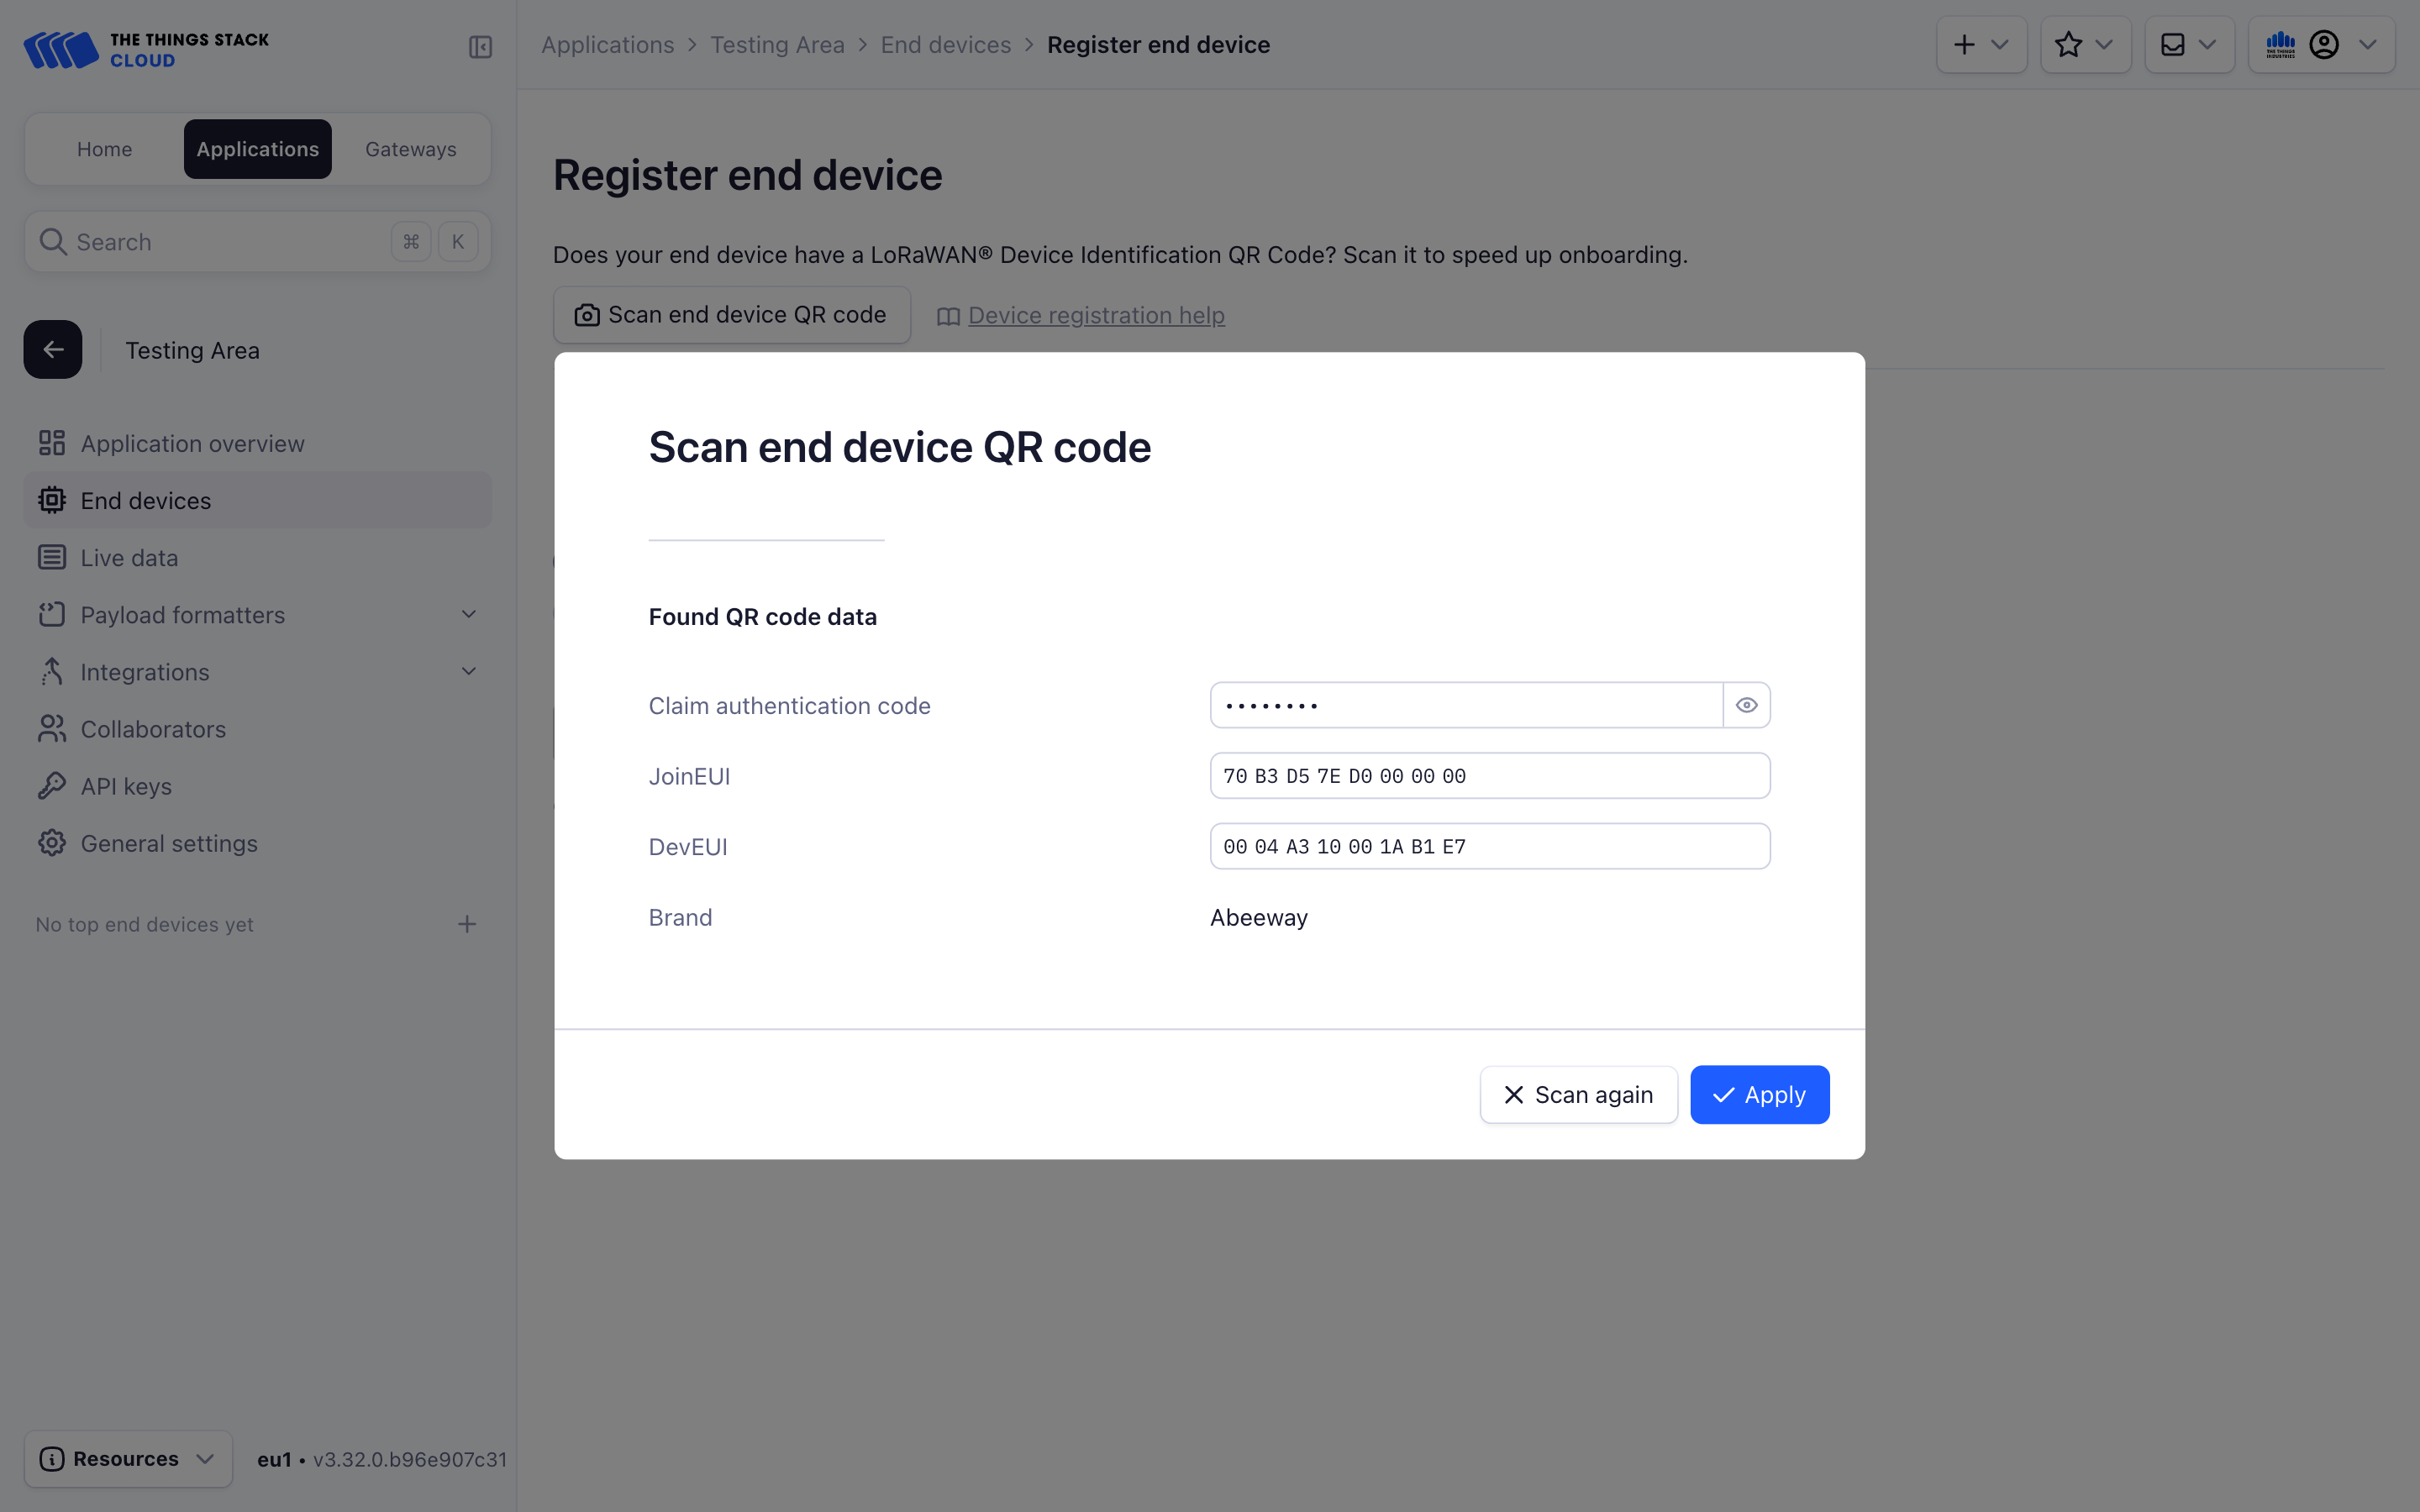
If the data is correct, click Apply.
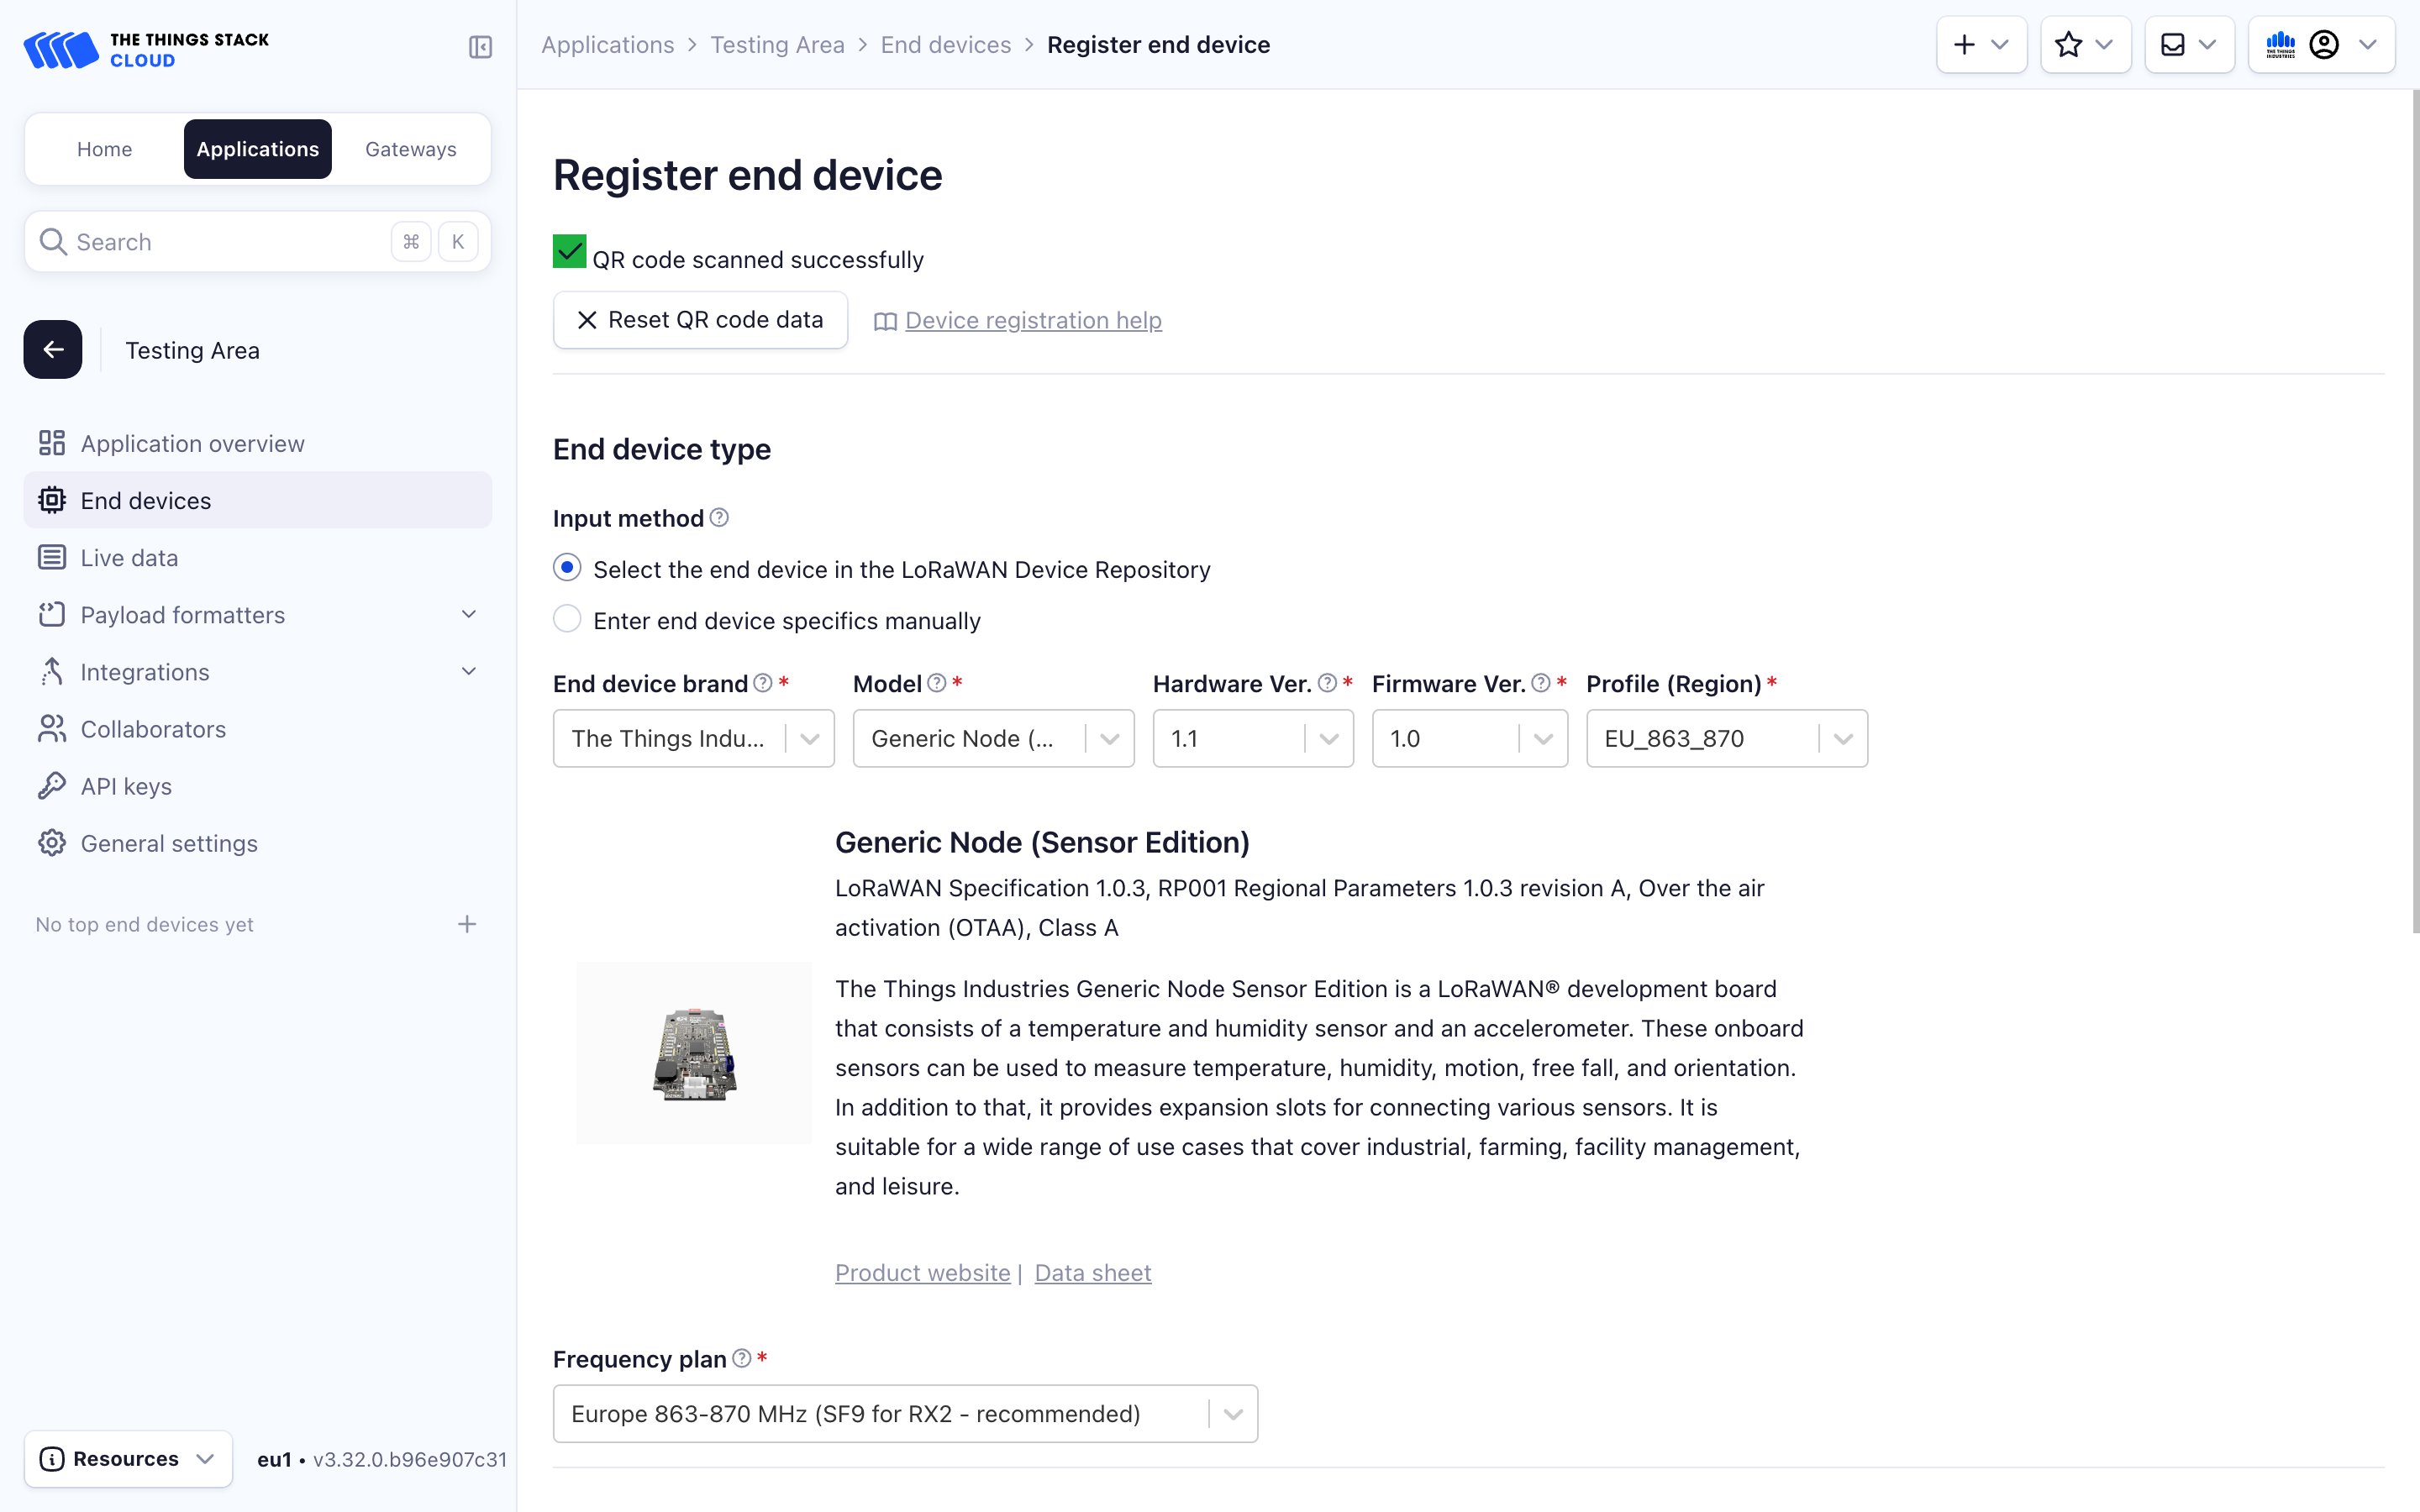
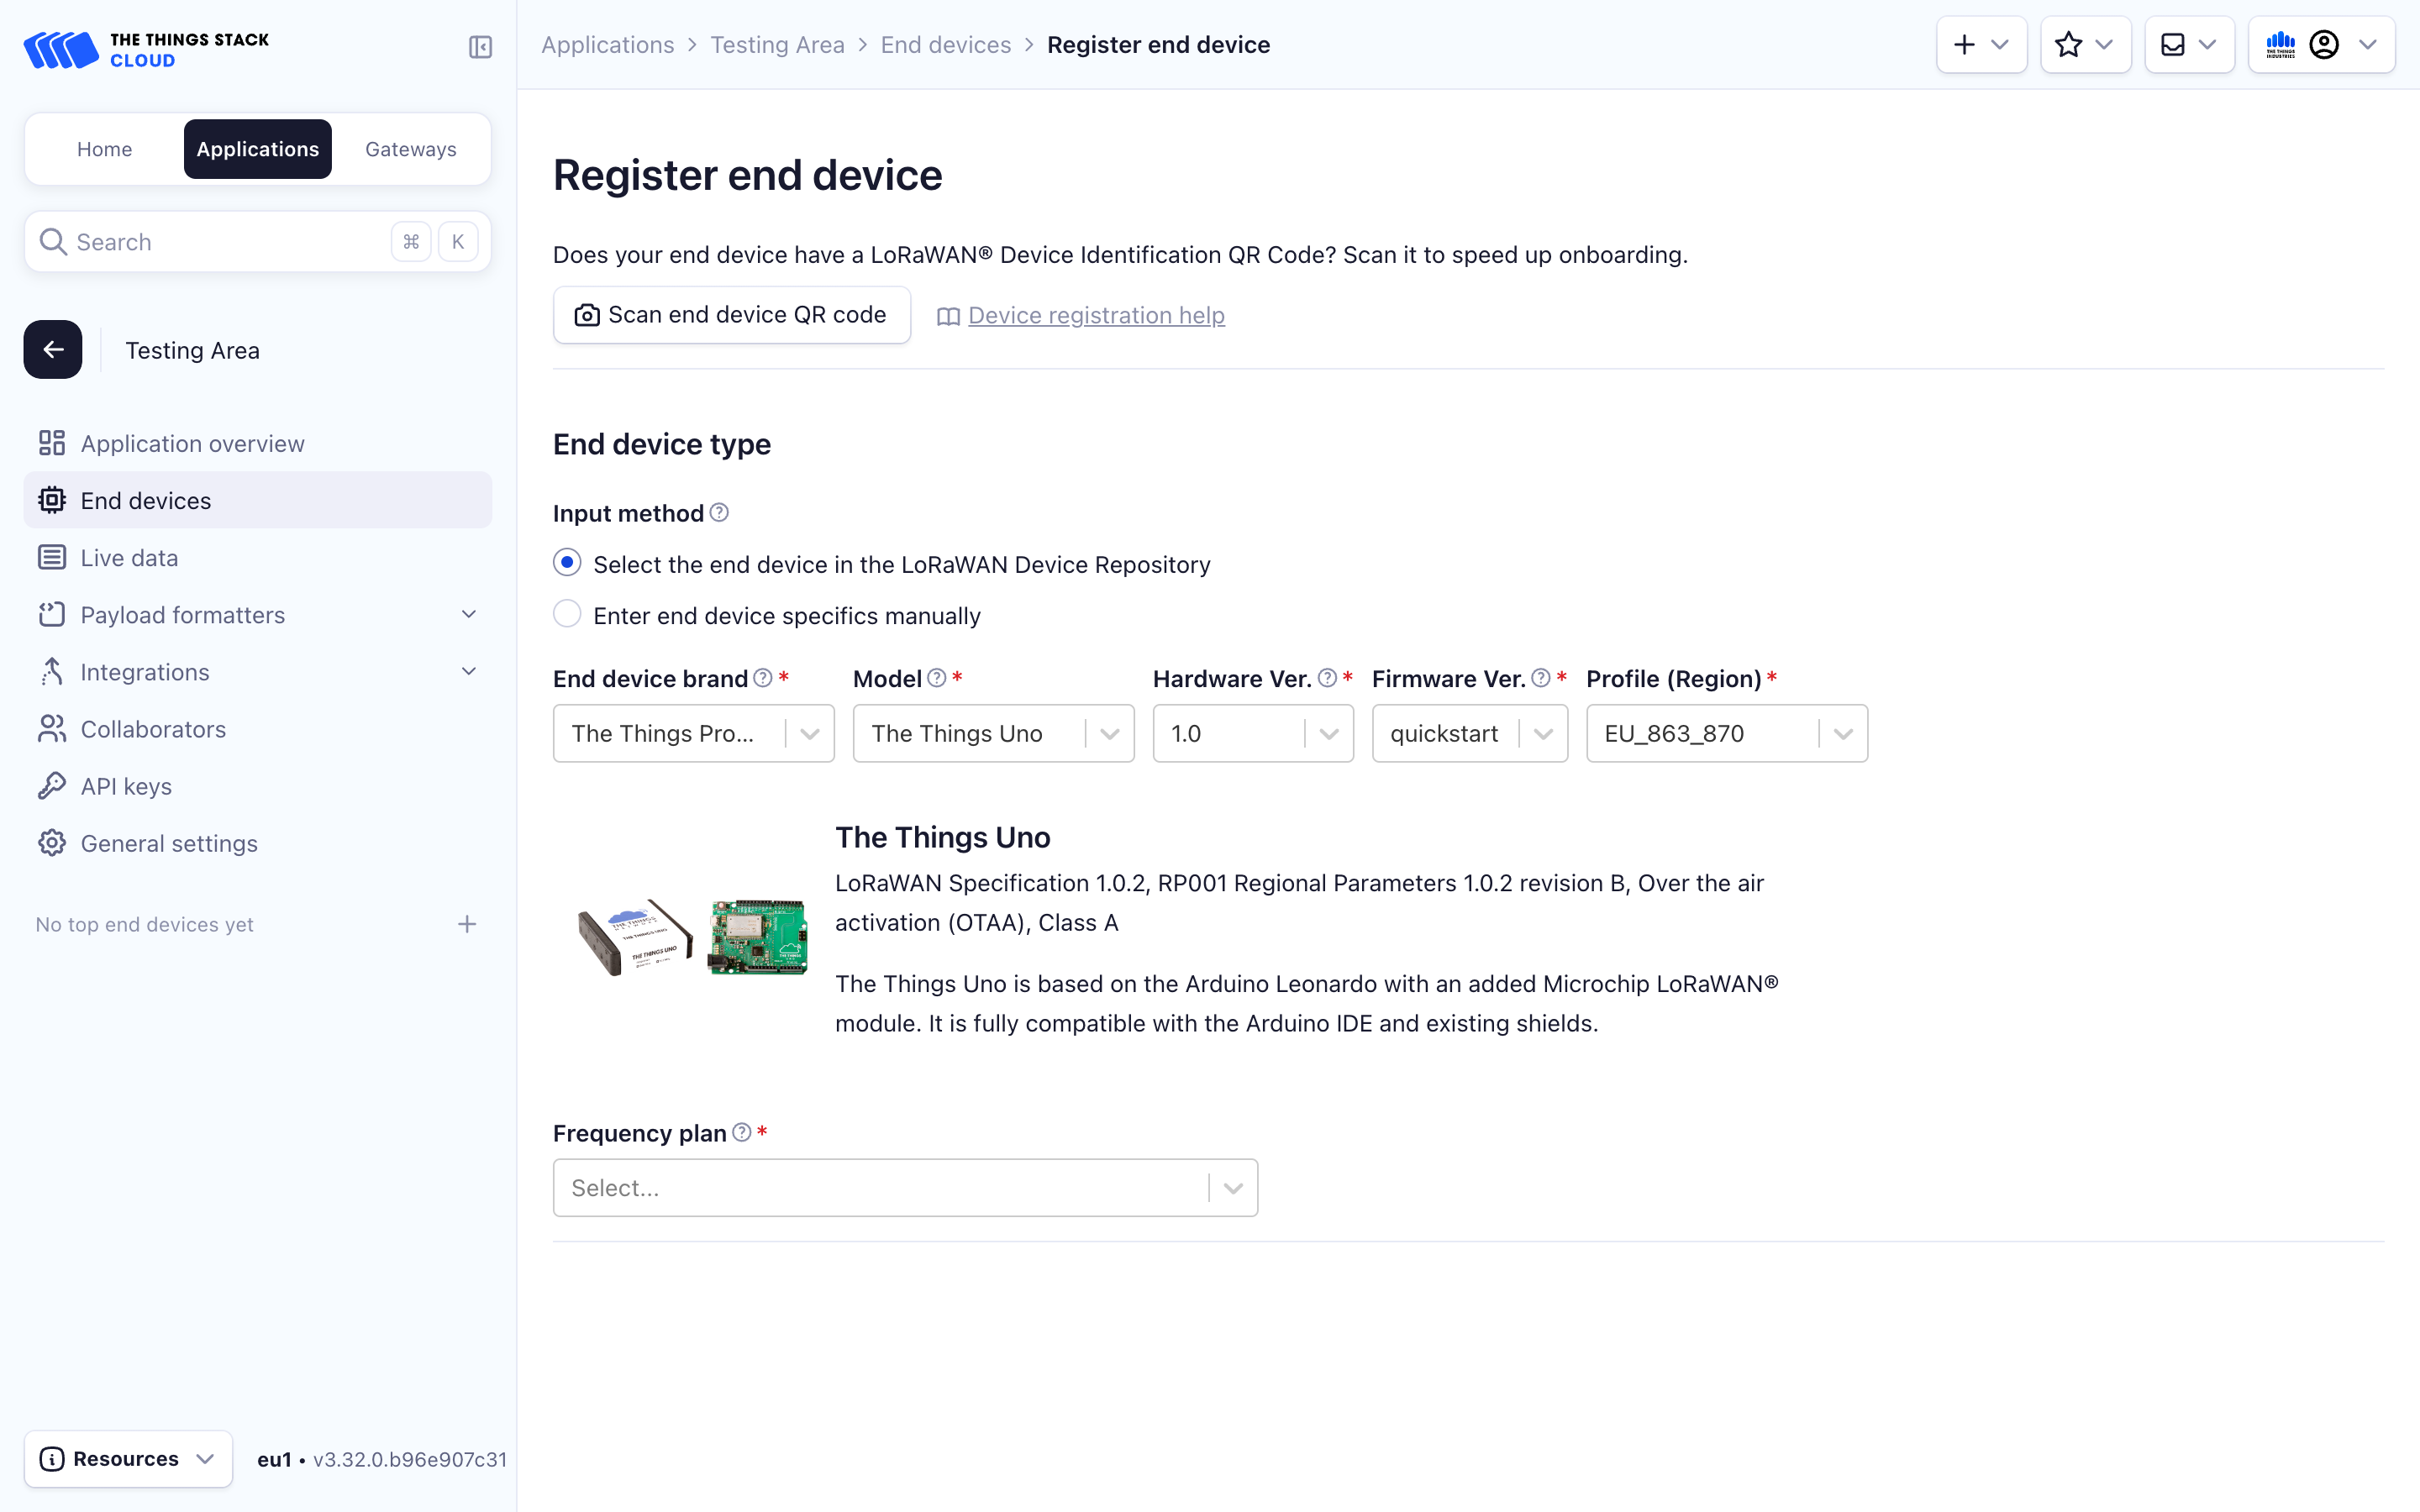
Now proceed to choose the Input Method under the End device type section below.
Choose the Select the end device in the LoRaWAN Device Repository input method. Then, select the End device brand, Model, Hardware Version, Software Version, and Profile (Region) for your device.

Choose a Frequency plan appropriate for your region. Your device and gateway must use the same frequency plan to communicate.
Onboarding devices without QR codes
If your device doesn’t have a standard TR005 LoRaWAN® Device Identification QR Code, or has a vendor specific QR code, then the device identification and keys have to be entered manually.
First choose the Select the end device in the LoRaWAN Device Repository input method. Then, select the End device brand, Model, Hardware Version, Software Version, and Profile (Region) for your device.
Choose a Frequency plan appropriate for your region. Your device and gateway must use the same frequency plan to communicate. This example uses Europe 863-870 MHz (SF9 for RX2 - recommended).
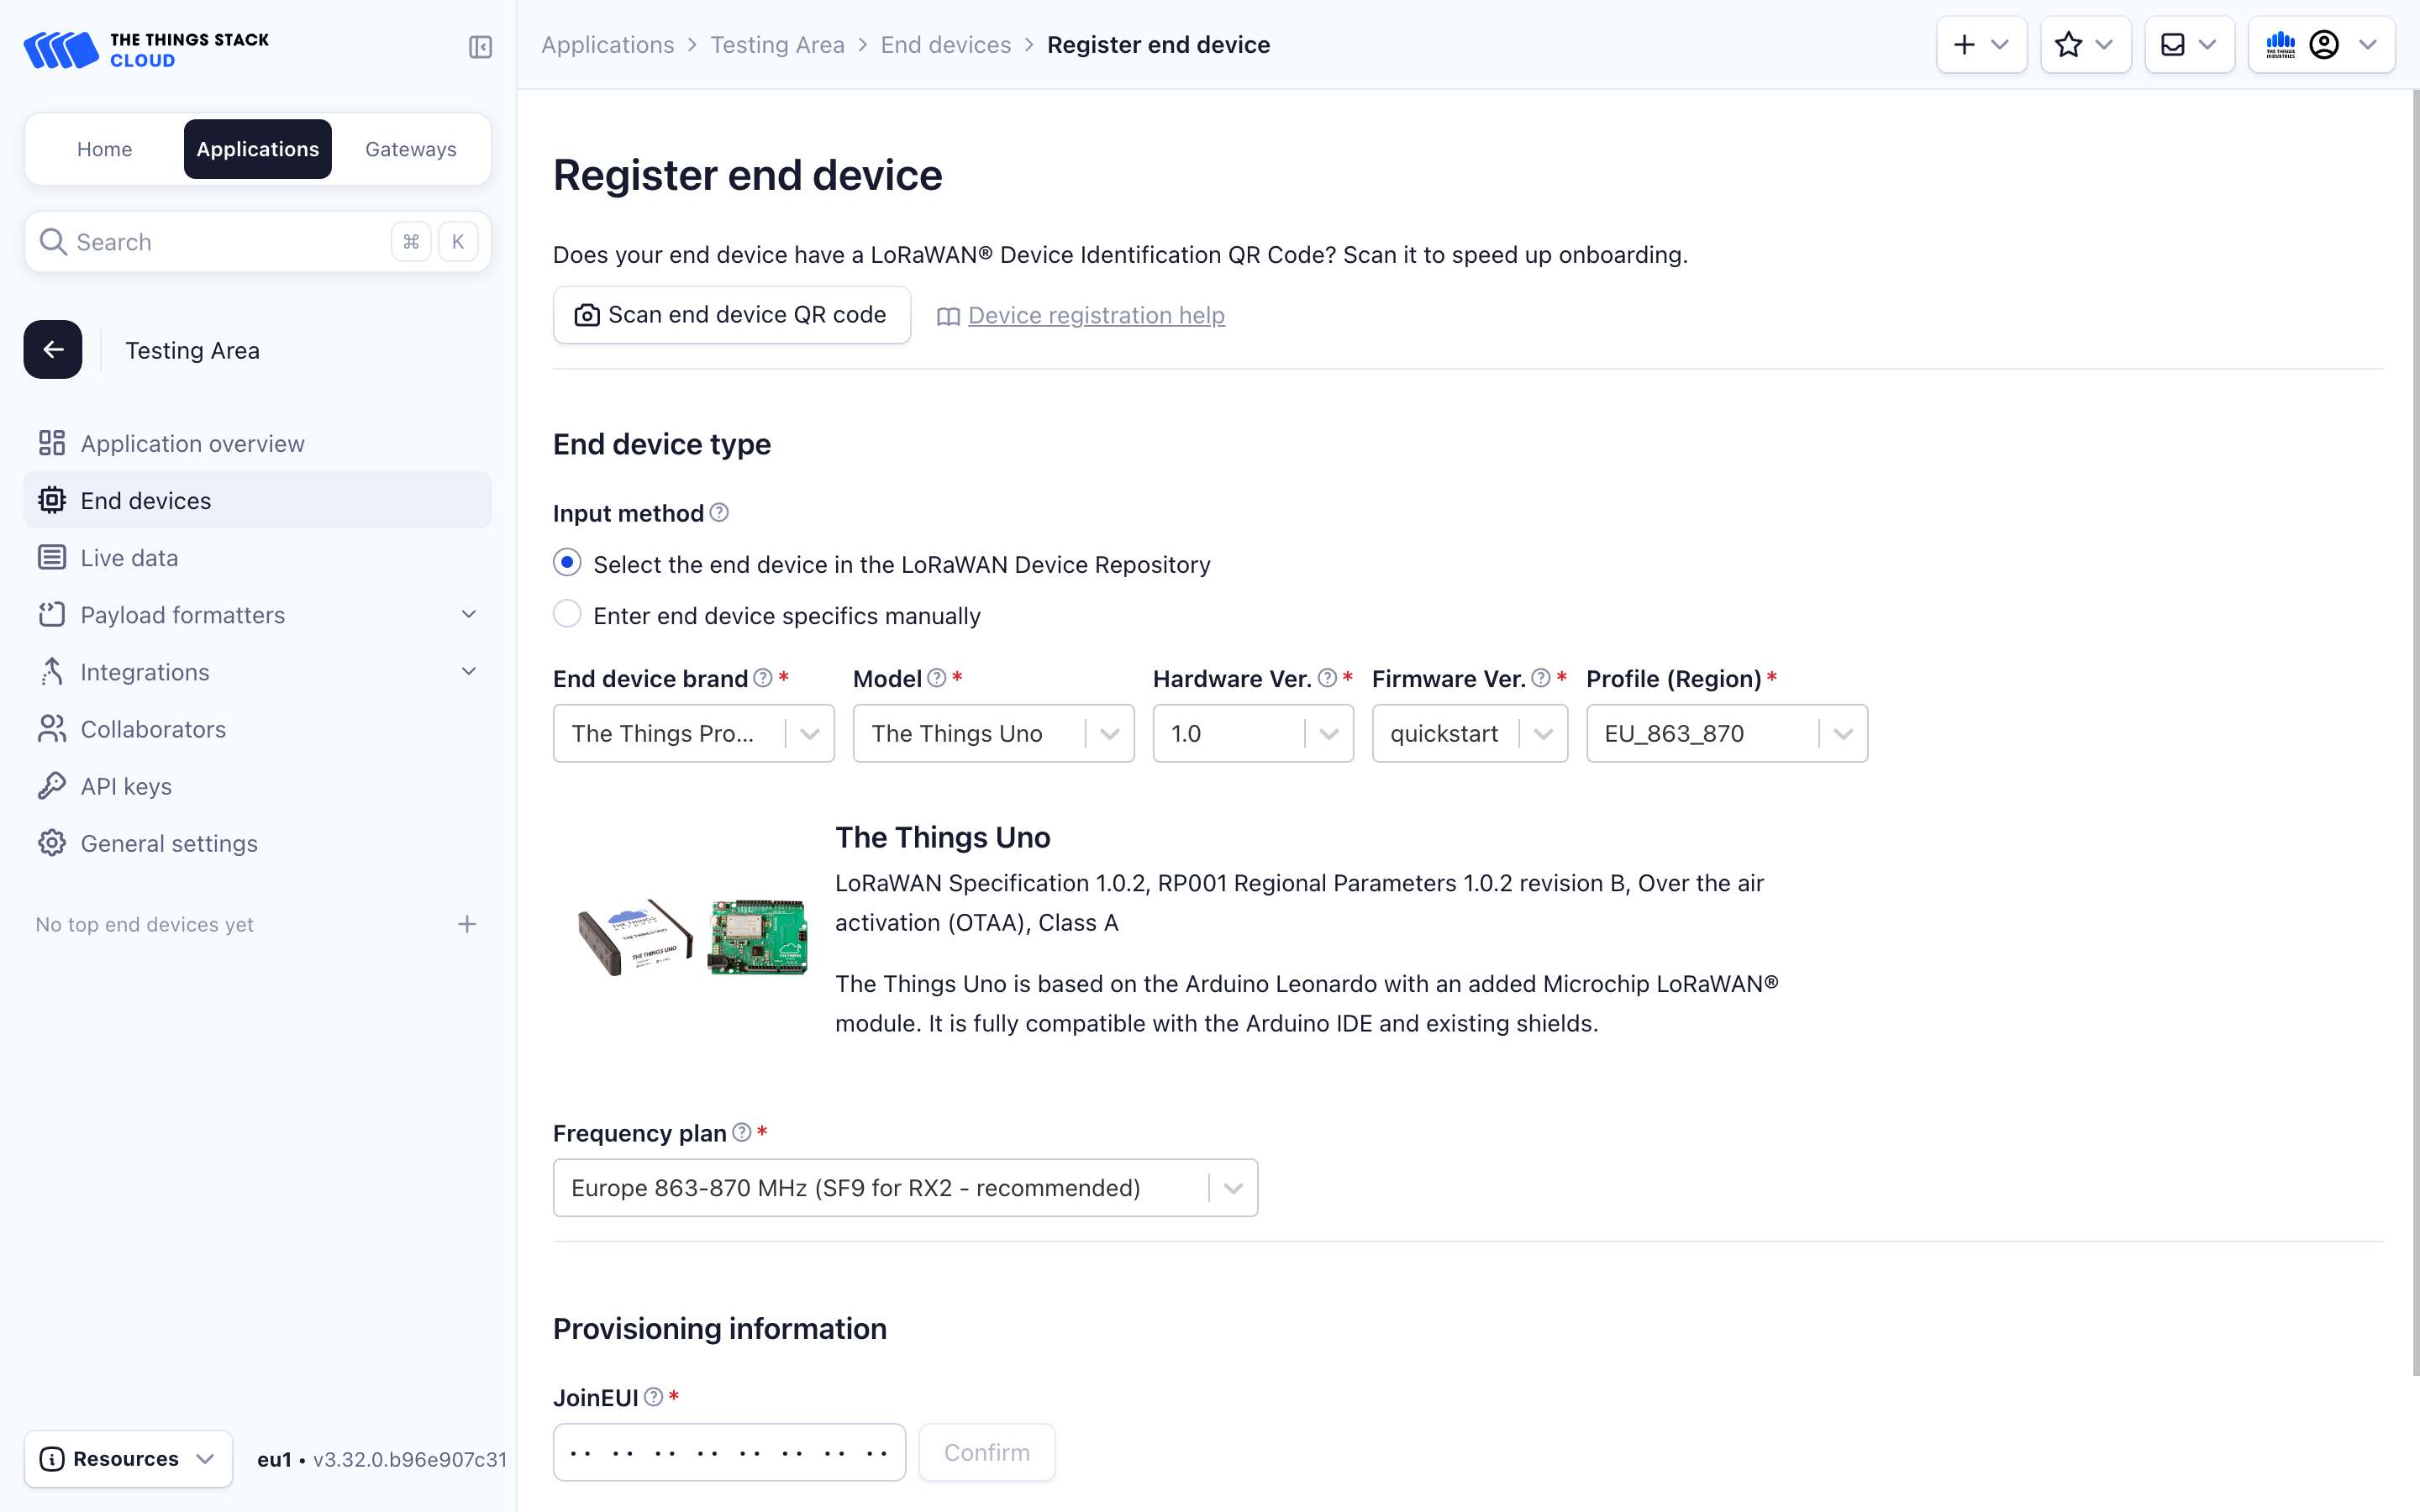
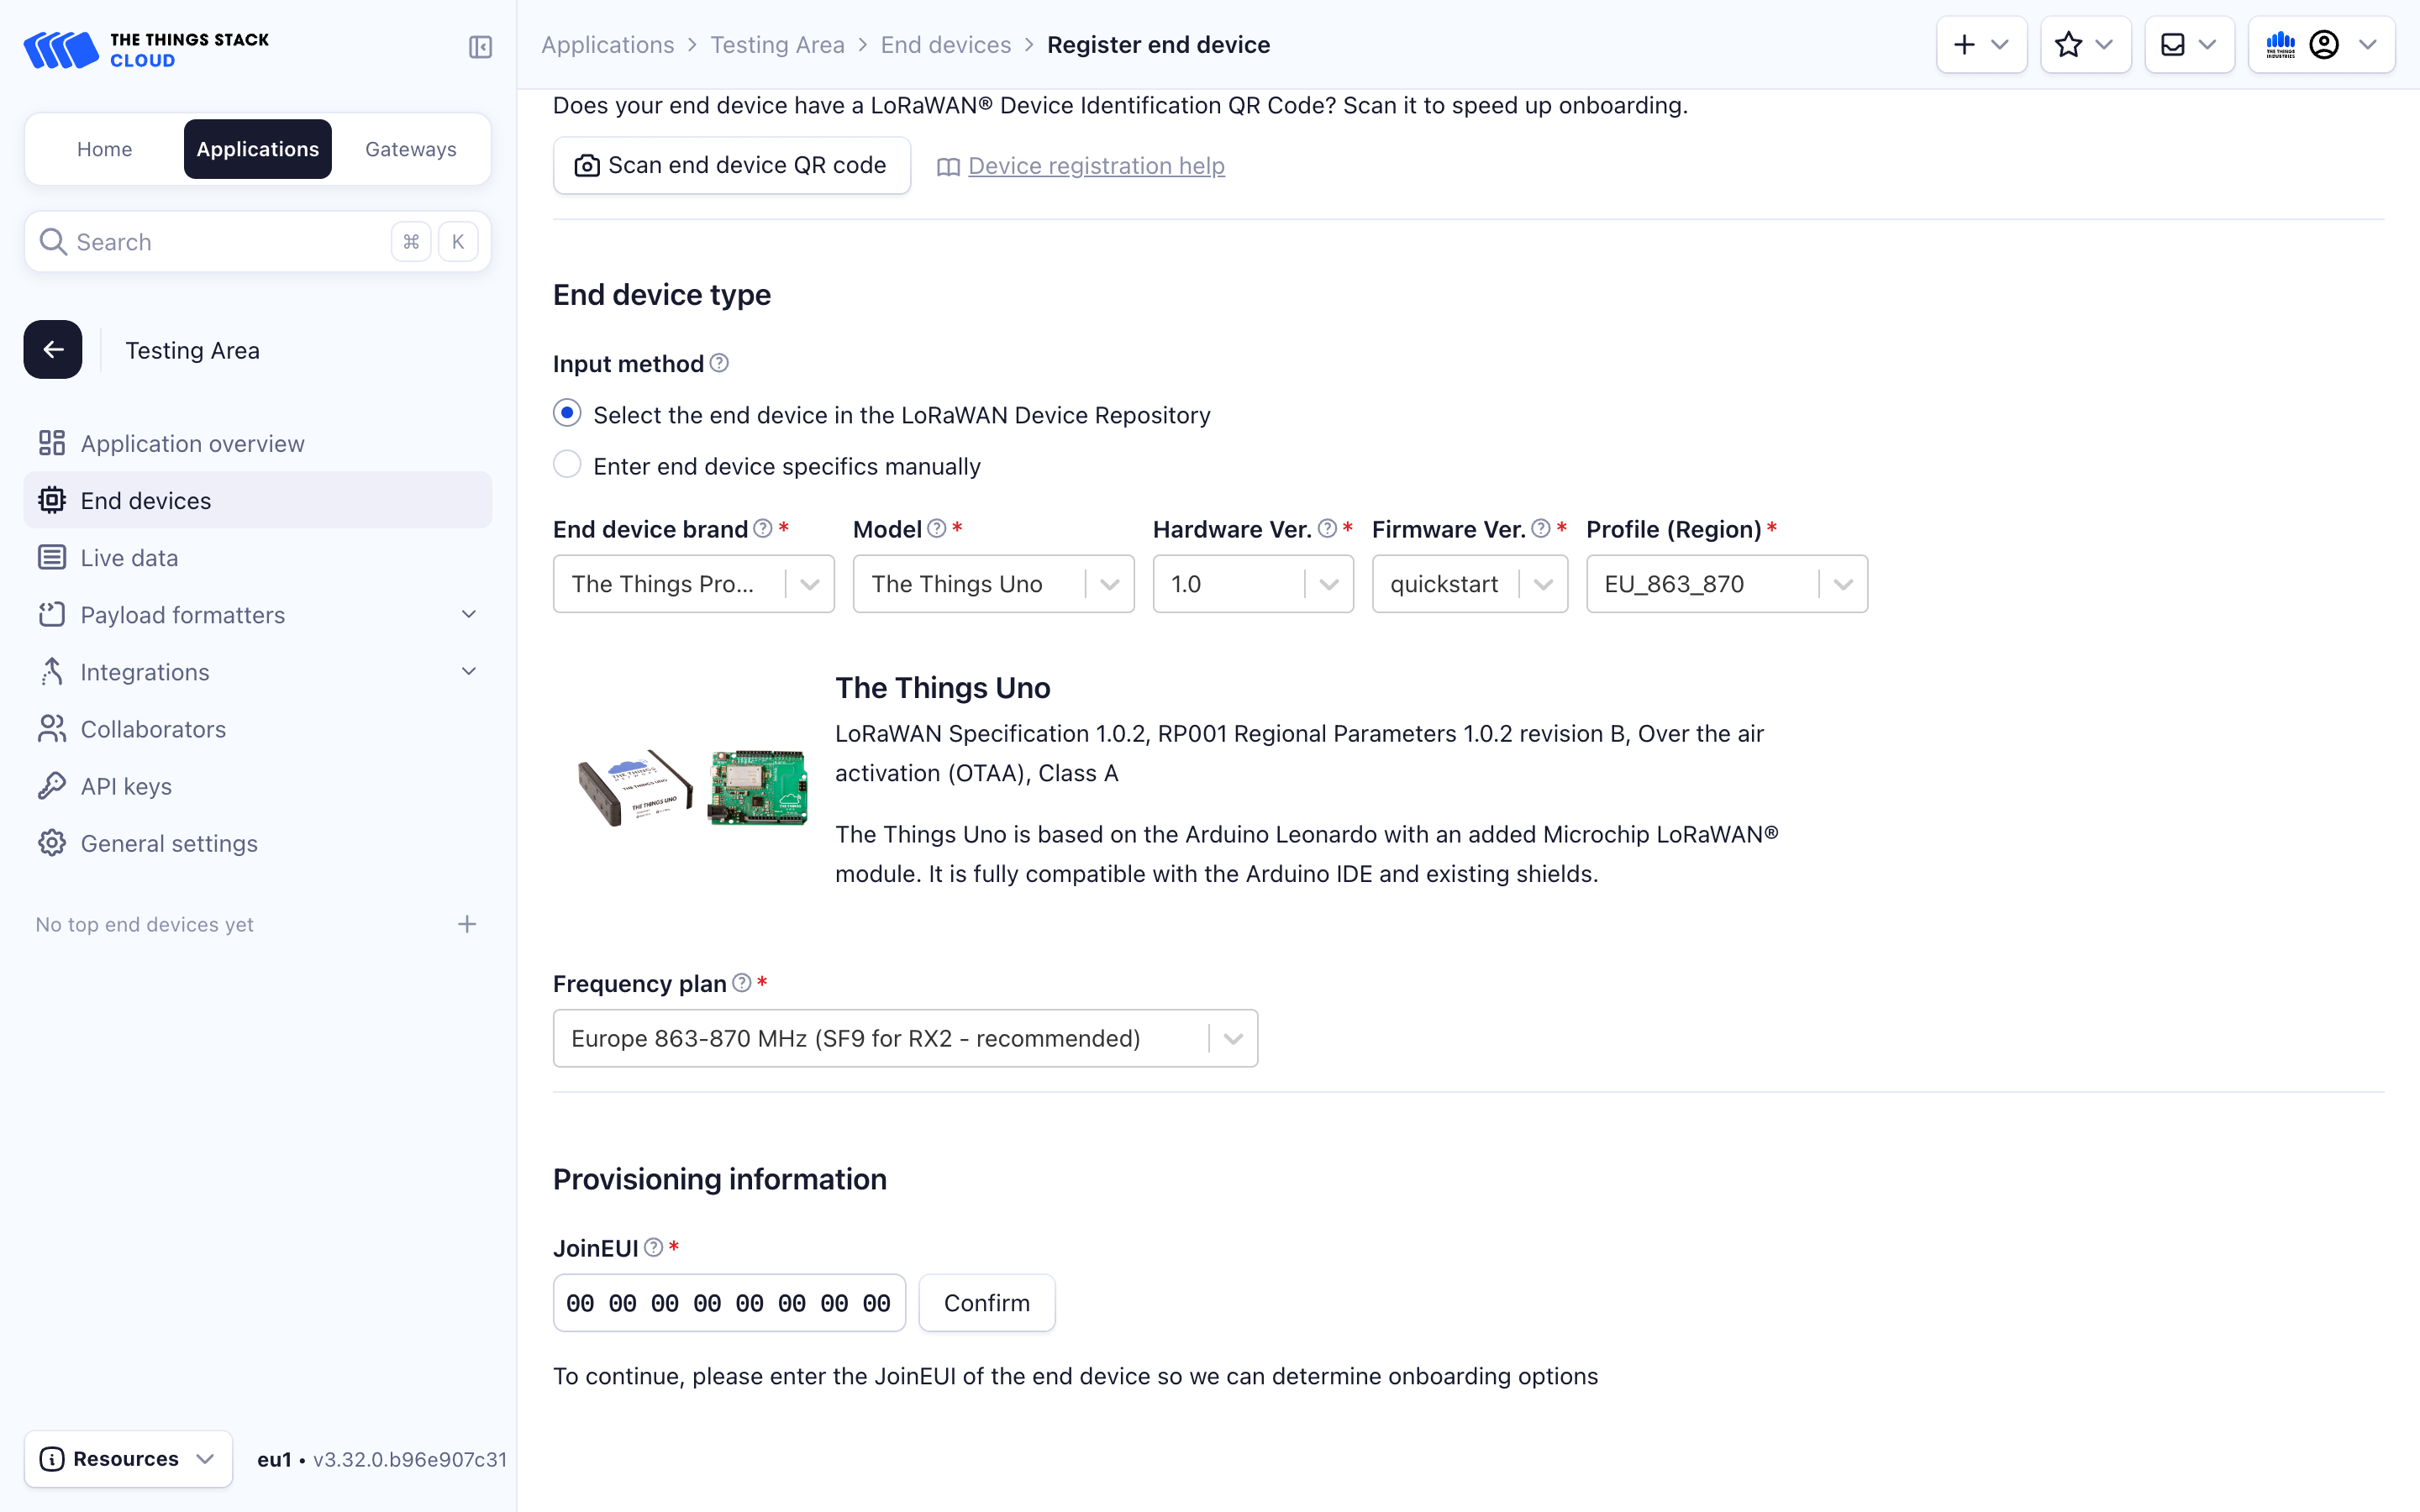
Enter a JoinEUI/AppEUI if provided by your manufacturer and click Confirm. If it is not provided by the manufacturer and your device is programmable, you can generate a random one in accordance with the test ranges defined by the IEEE 802 standards or use all zeros, just make sure to program the same value into your device.
Now enter your DevEUI. This should be provided by your manufacturer for commercial devices. If your device is programmable, you may generate an EUI using the Generate button, and program it in your device.
For LoRaWAN version 1.0.x devices, you will see an AppKey field, and for LoRaWAN version 1.1.x devices you will also see a NwkKey field. If these keys are provided by your manufacturer, enter them. Otherwise, use the Generate button to create them, and program them into your device.
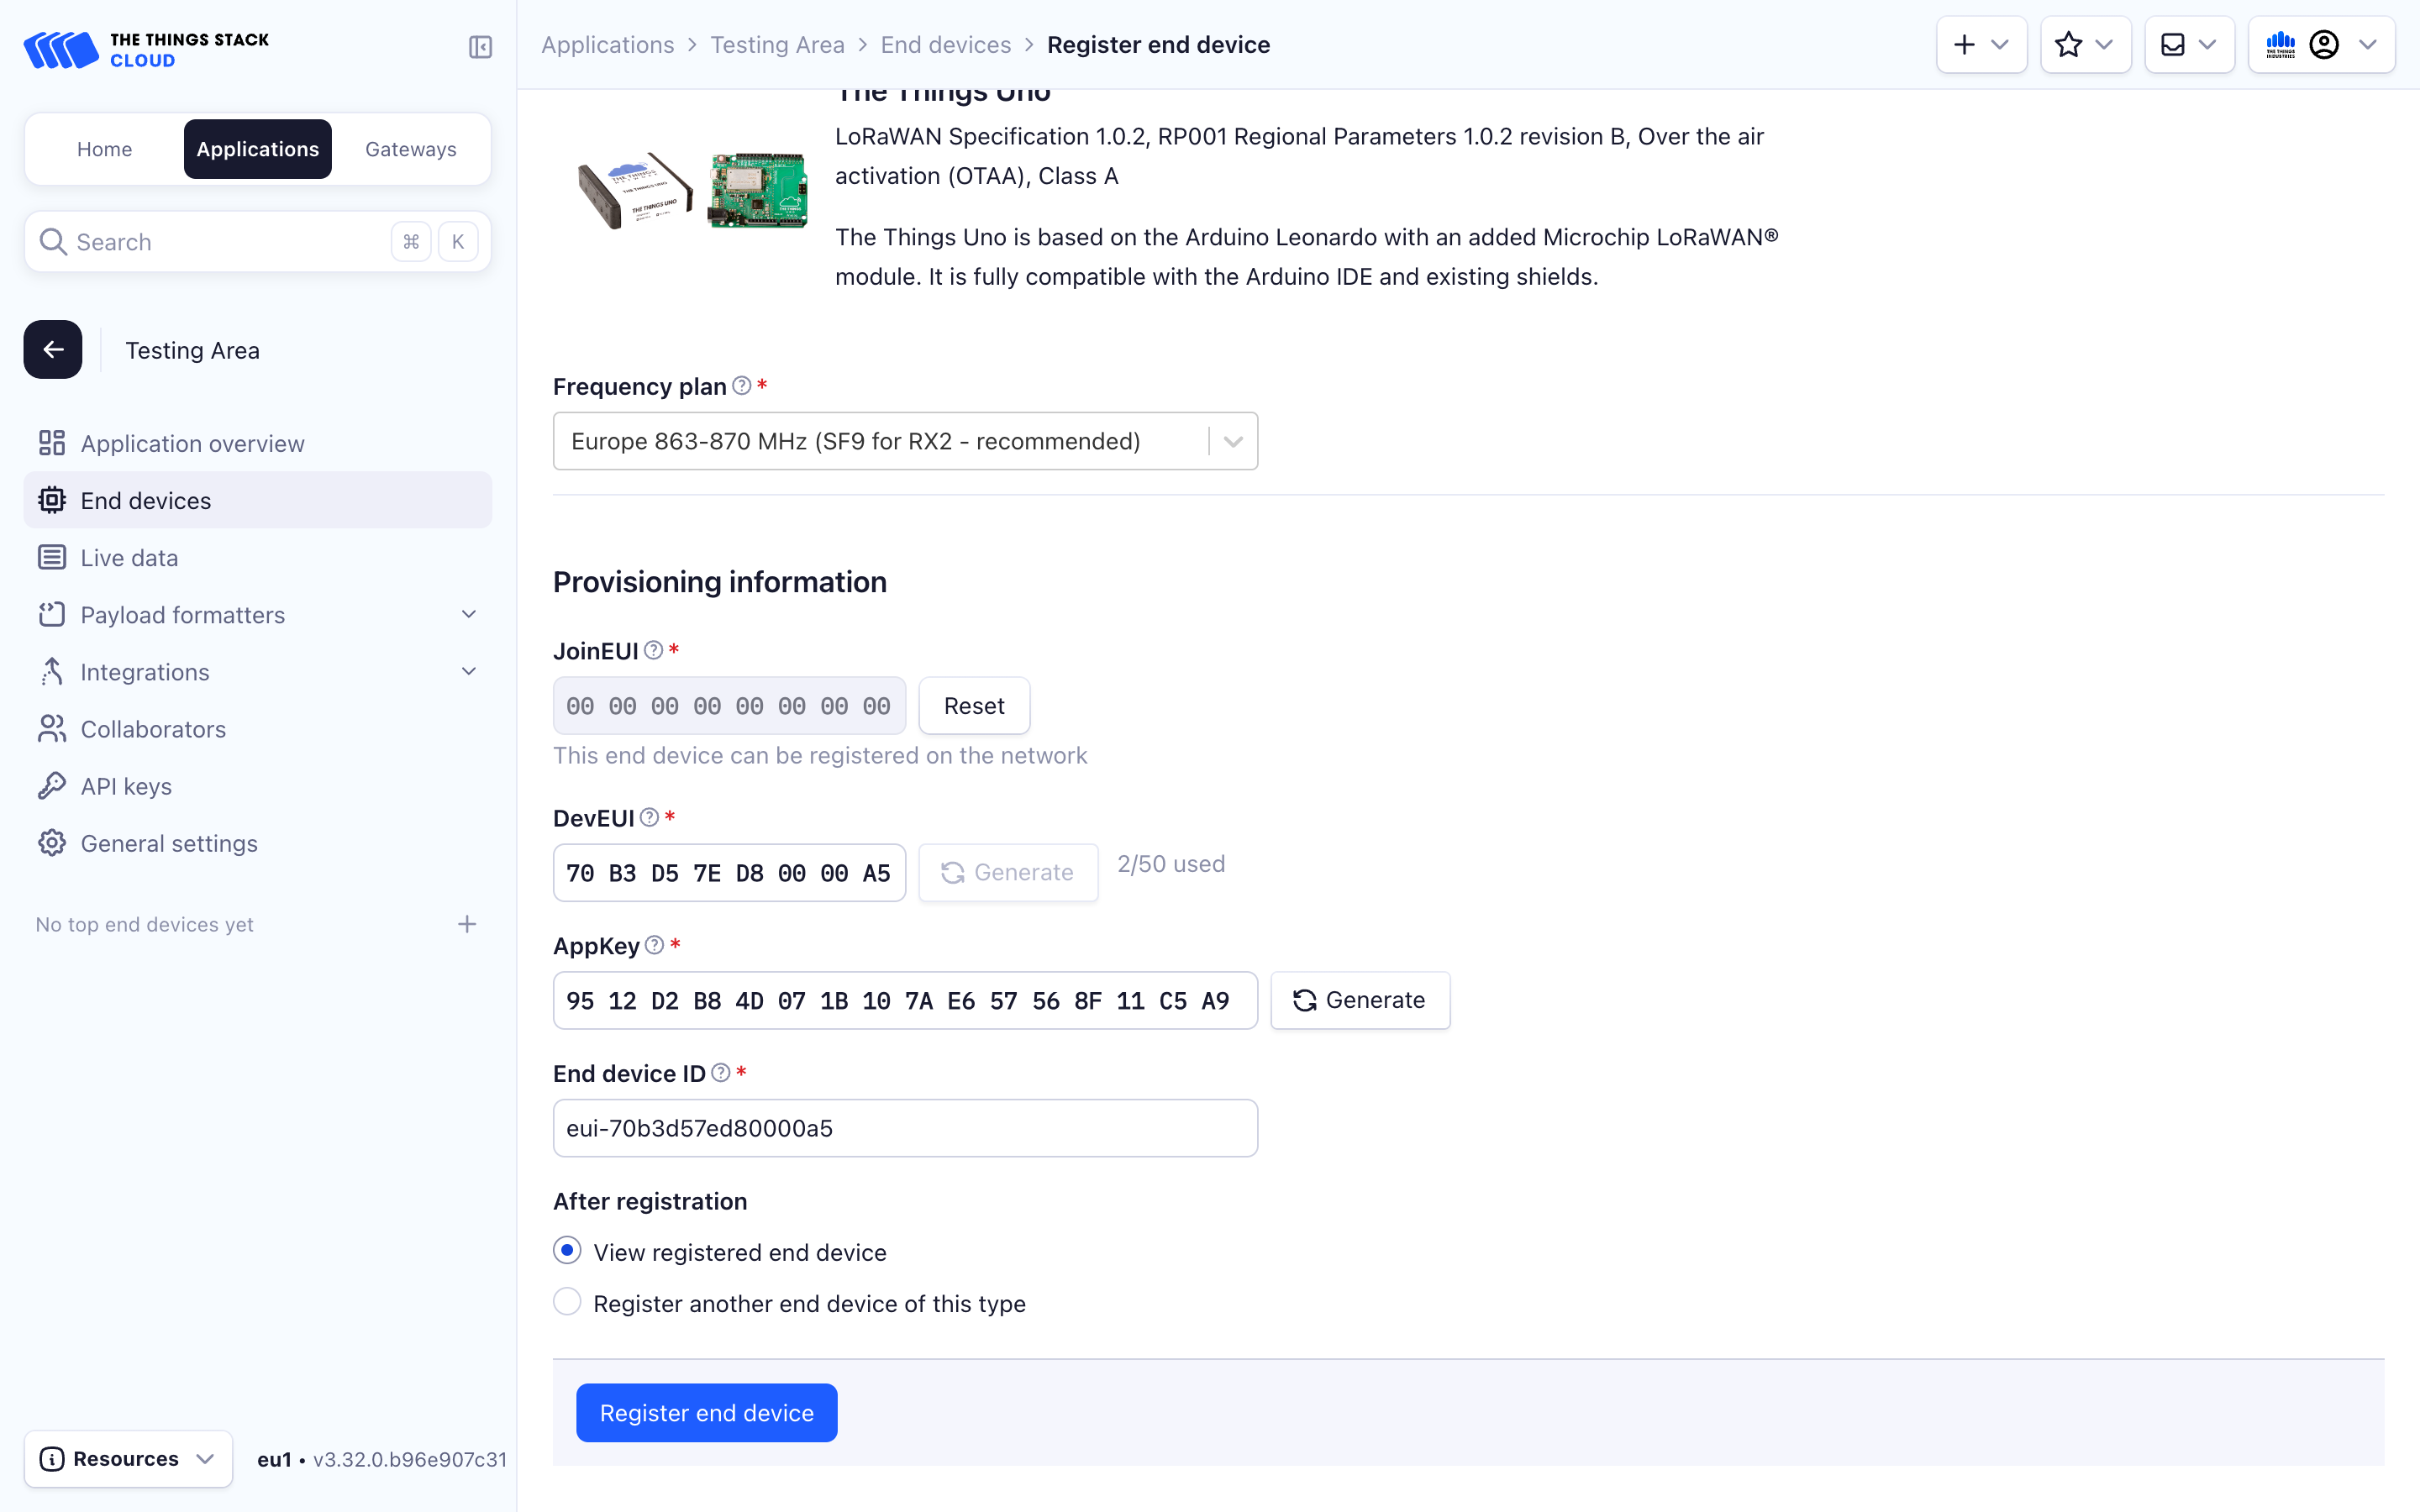
Finally, enter an End device ID. Advisable is doing it in the format eui-{Device EUI}. You can edit this field and give the device a unique identifier. See ID and EUI constraints for guidelines about choosing a unique ID.
Now verify that all the fields are filled and click the Register end device button to create the end device.
The device is now registered, and will appear as connected in The Things Stack once it sends an uplink.