The Things Stack supports authentication using API keys, OAuth access tokens and Session cookies.
The Things Stack API keys are the most commonly used method to authenticate and authorize API calls. This guide shows you how to create API keys, assign rights to them and use them to authenticate API calls. For OAuth access tokens and Session cookies, check the specific guides at the end of this page.
What are API Keys
The Things Stack API keys are strings that have three parts separated by a dot (.). The format of an API key is shown below.
<token-type>.<token-id>.<token-secret>
| Item | Length | Value |
|---|---|---|
token-type |
5 | Fixed to NNSXS (“key” as base32 encoded string ) |
token-id |
39 | Unique identifier of the key, randomly generated |
token-secret |
52 | The secret value of they key, randomly generated |
An example API Key is as follows
NNSXS.U4H3ZFFCMSR42BUAZPW2UWGFBV4WCNI5EXDJXDY.SHIF3PP5PBMJNZESN5XLR5TZJTJUIGKVUTM2I22IVBUVCD6VIQIA
Note:
Please be careful not to expose your token secrets. Always redact thetoken-secret part of your token when publicly posting examples, screenshots etc.
API Keys by default do not have an expiry date. These have to be set explicitly while creating or updating them. API keys can be revoked by simply deleting them.
Authorization
Authentication is the process of verifying the identity of the caller. If the caller provides a valid, non-expired API key, the caller is authenticated.
Authorization on the other hand, is the process of determining if the authenticated caller has the necessary rights to perform the requested action. The Things Stack handles authorization using Rights. Each API key is assigned a set of rights and The Things Stack checks this against the API call being made. For example, if the API call is to update a user but the API key only has rights to read users, then this call will be rejected.
For a full list of available rights, check the reference.
Creating User API Keys
API keys have other purposes such as authenticating gateways when they connect to The Things Stack or authenticating external integrations to send downlinks to devices.
In this section we explain how to create a user API key, which can be used to authenticate API calls on behalf of the user. API keys can be created either using the Console or the CLI. Choose the method that you prefer below.
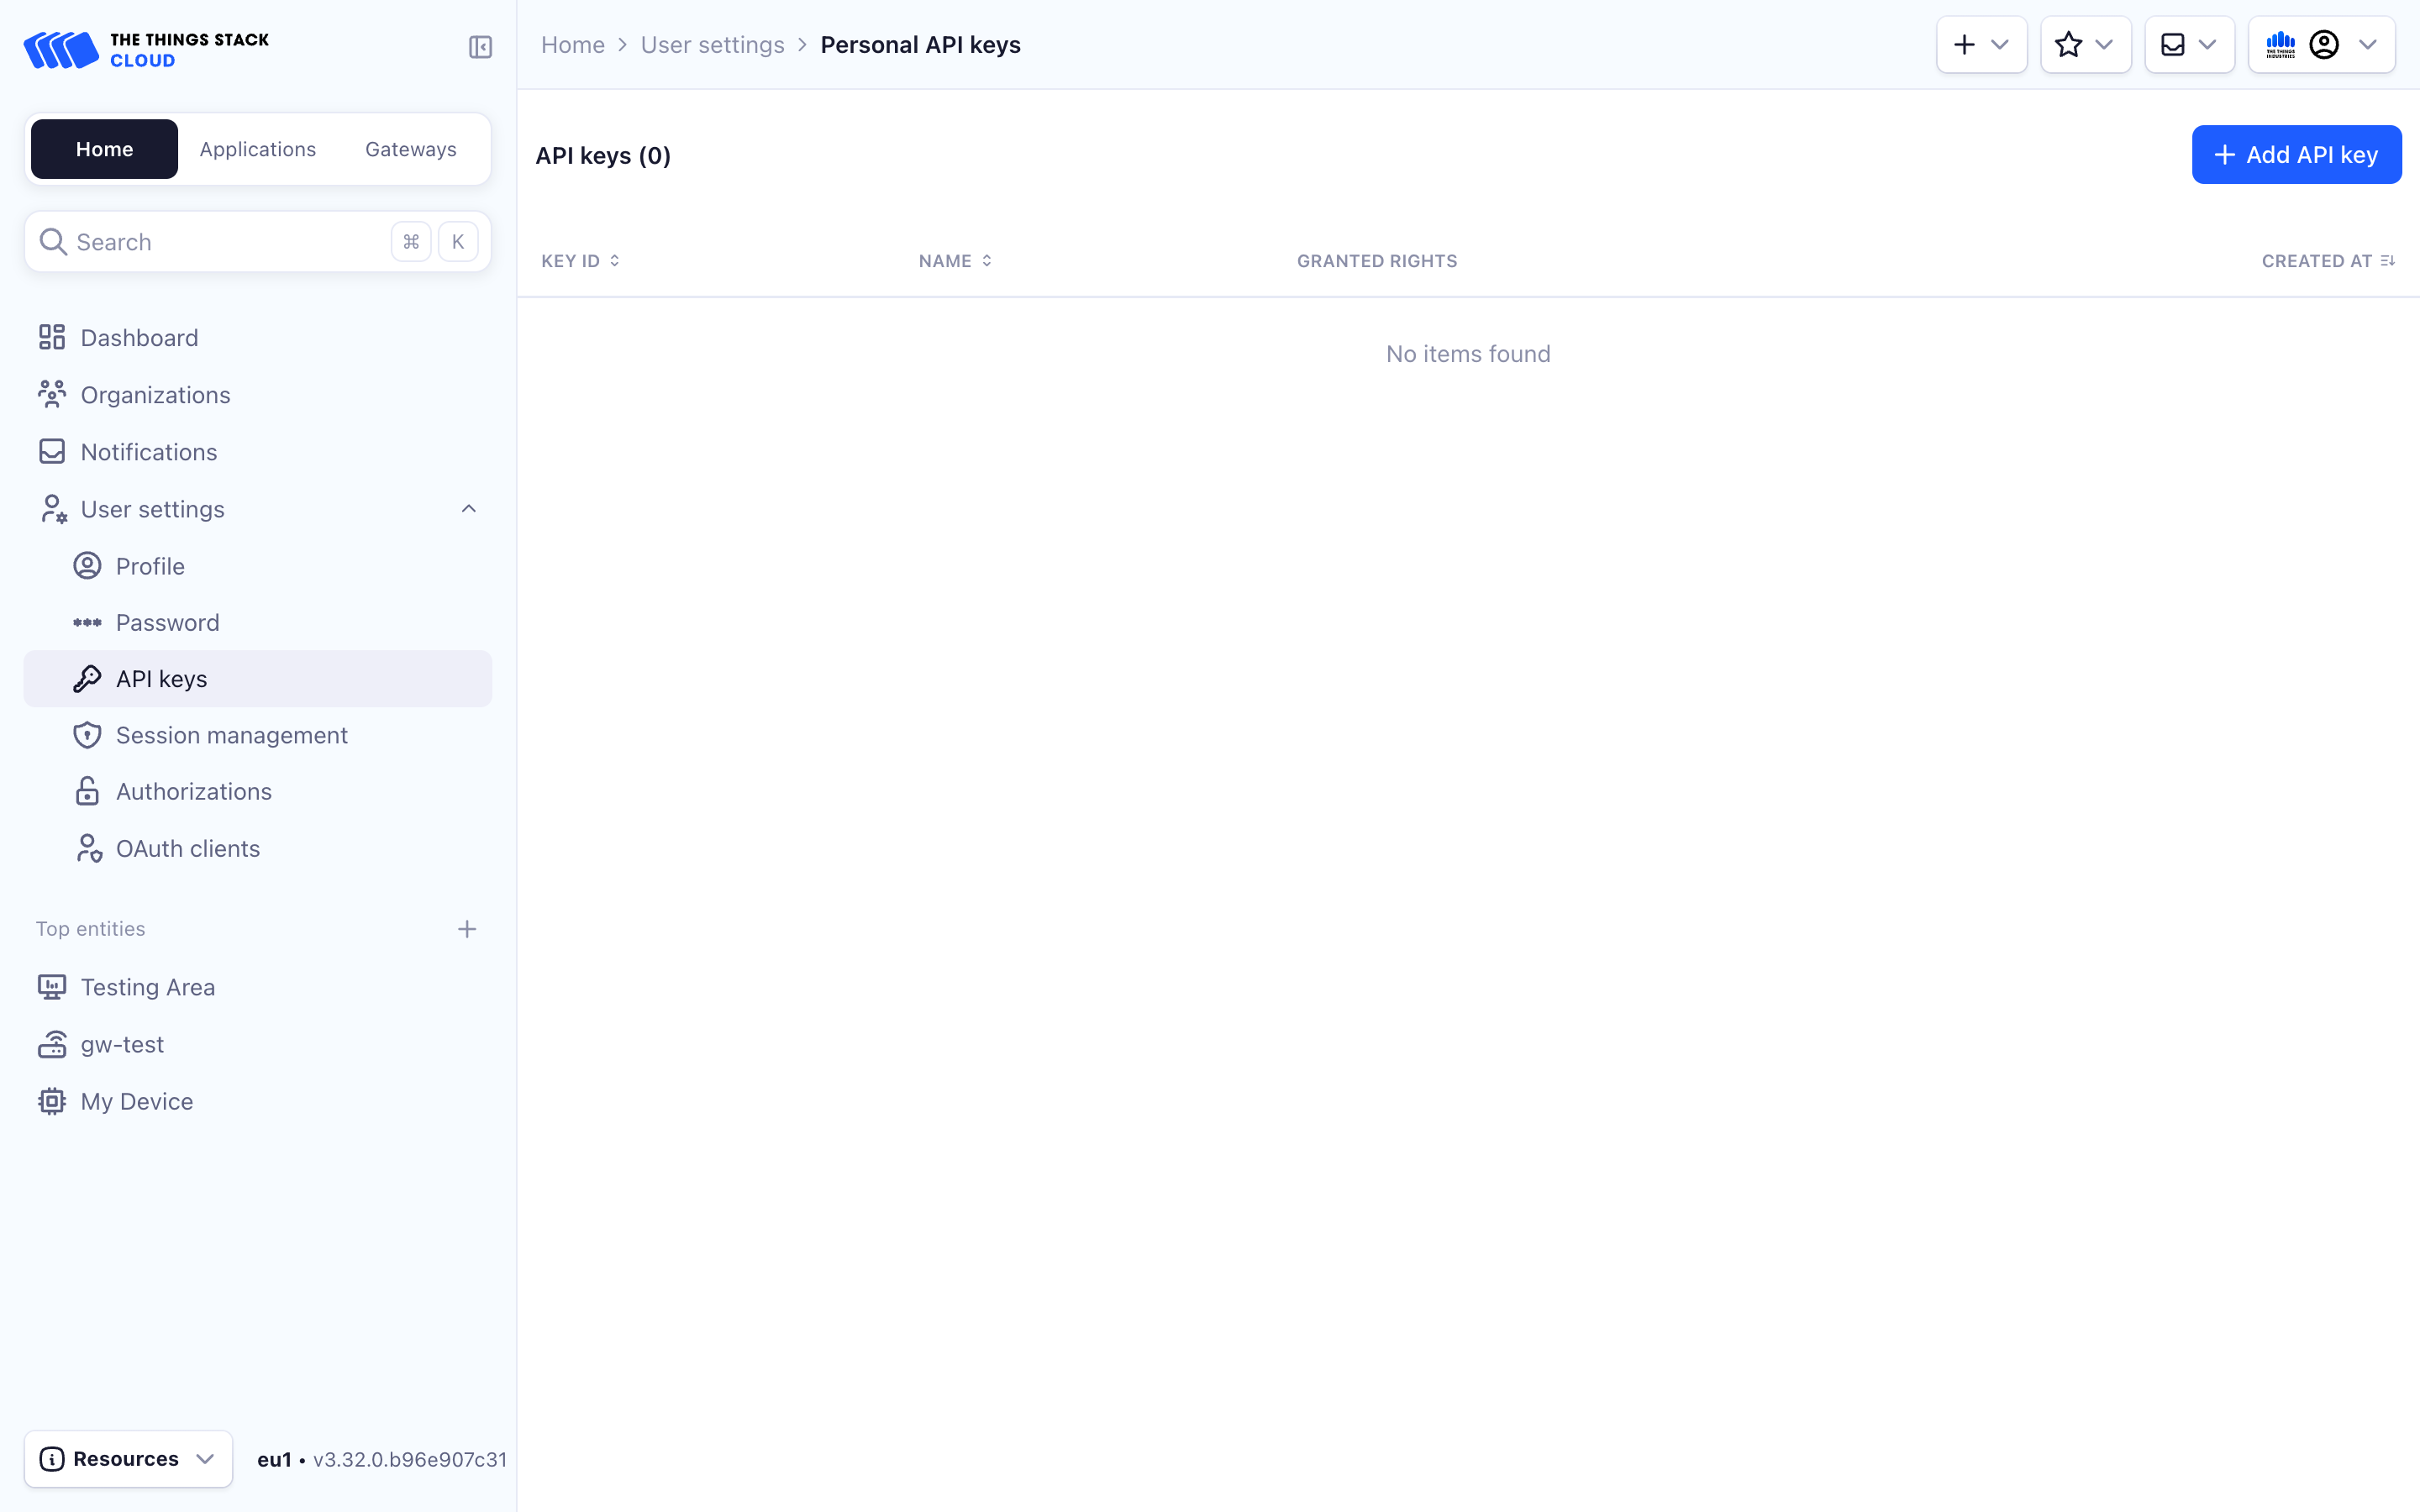
In the User settings dropdown on the left-hand sidebar, select the API Keys option and select + Add API Key.
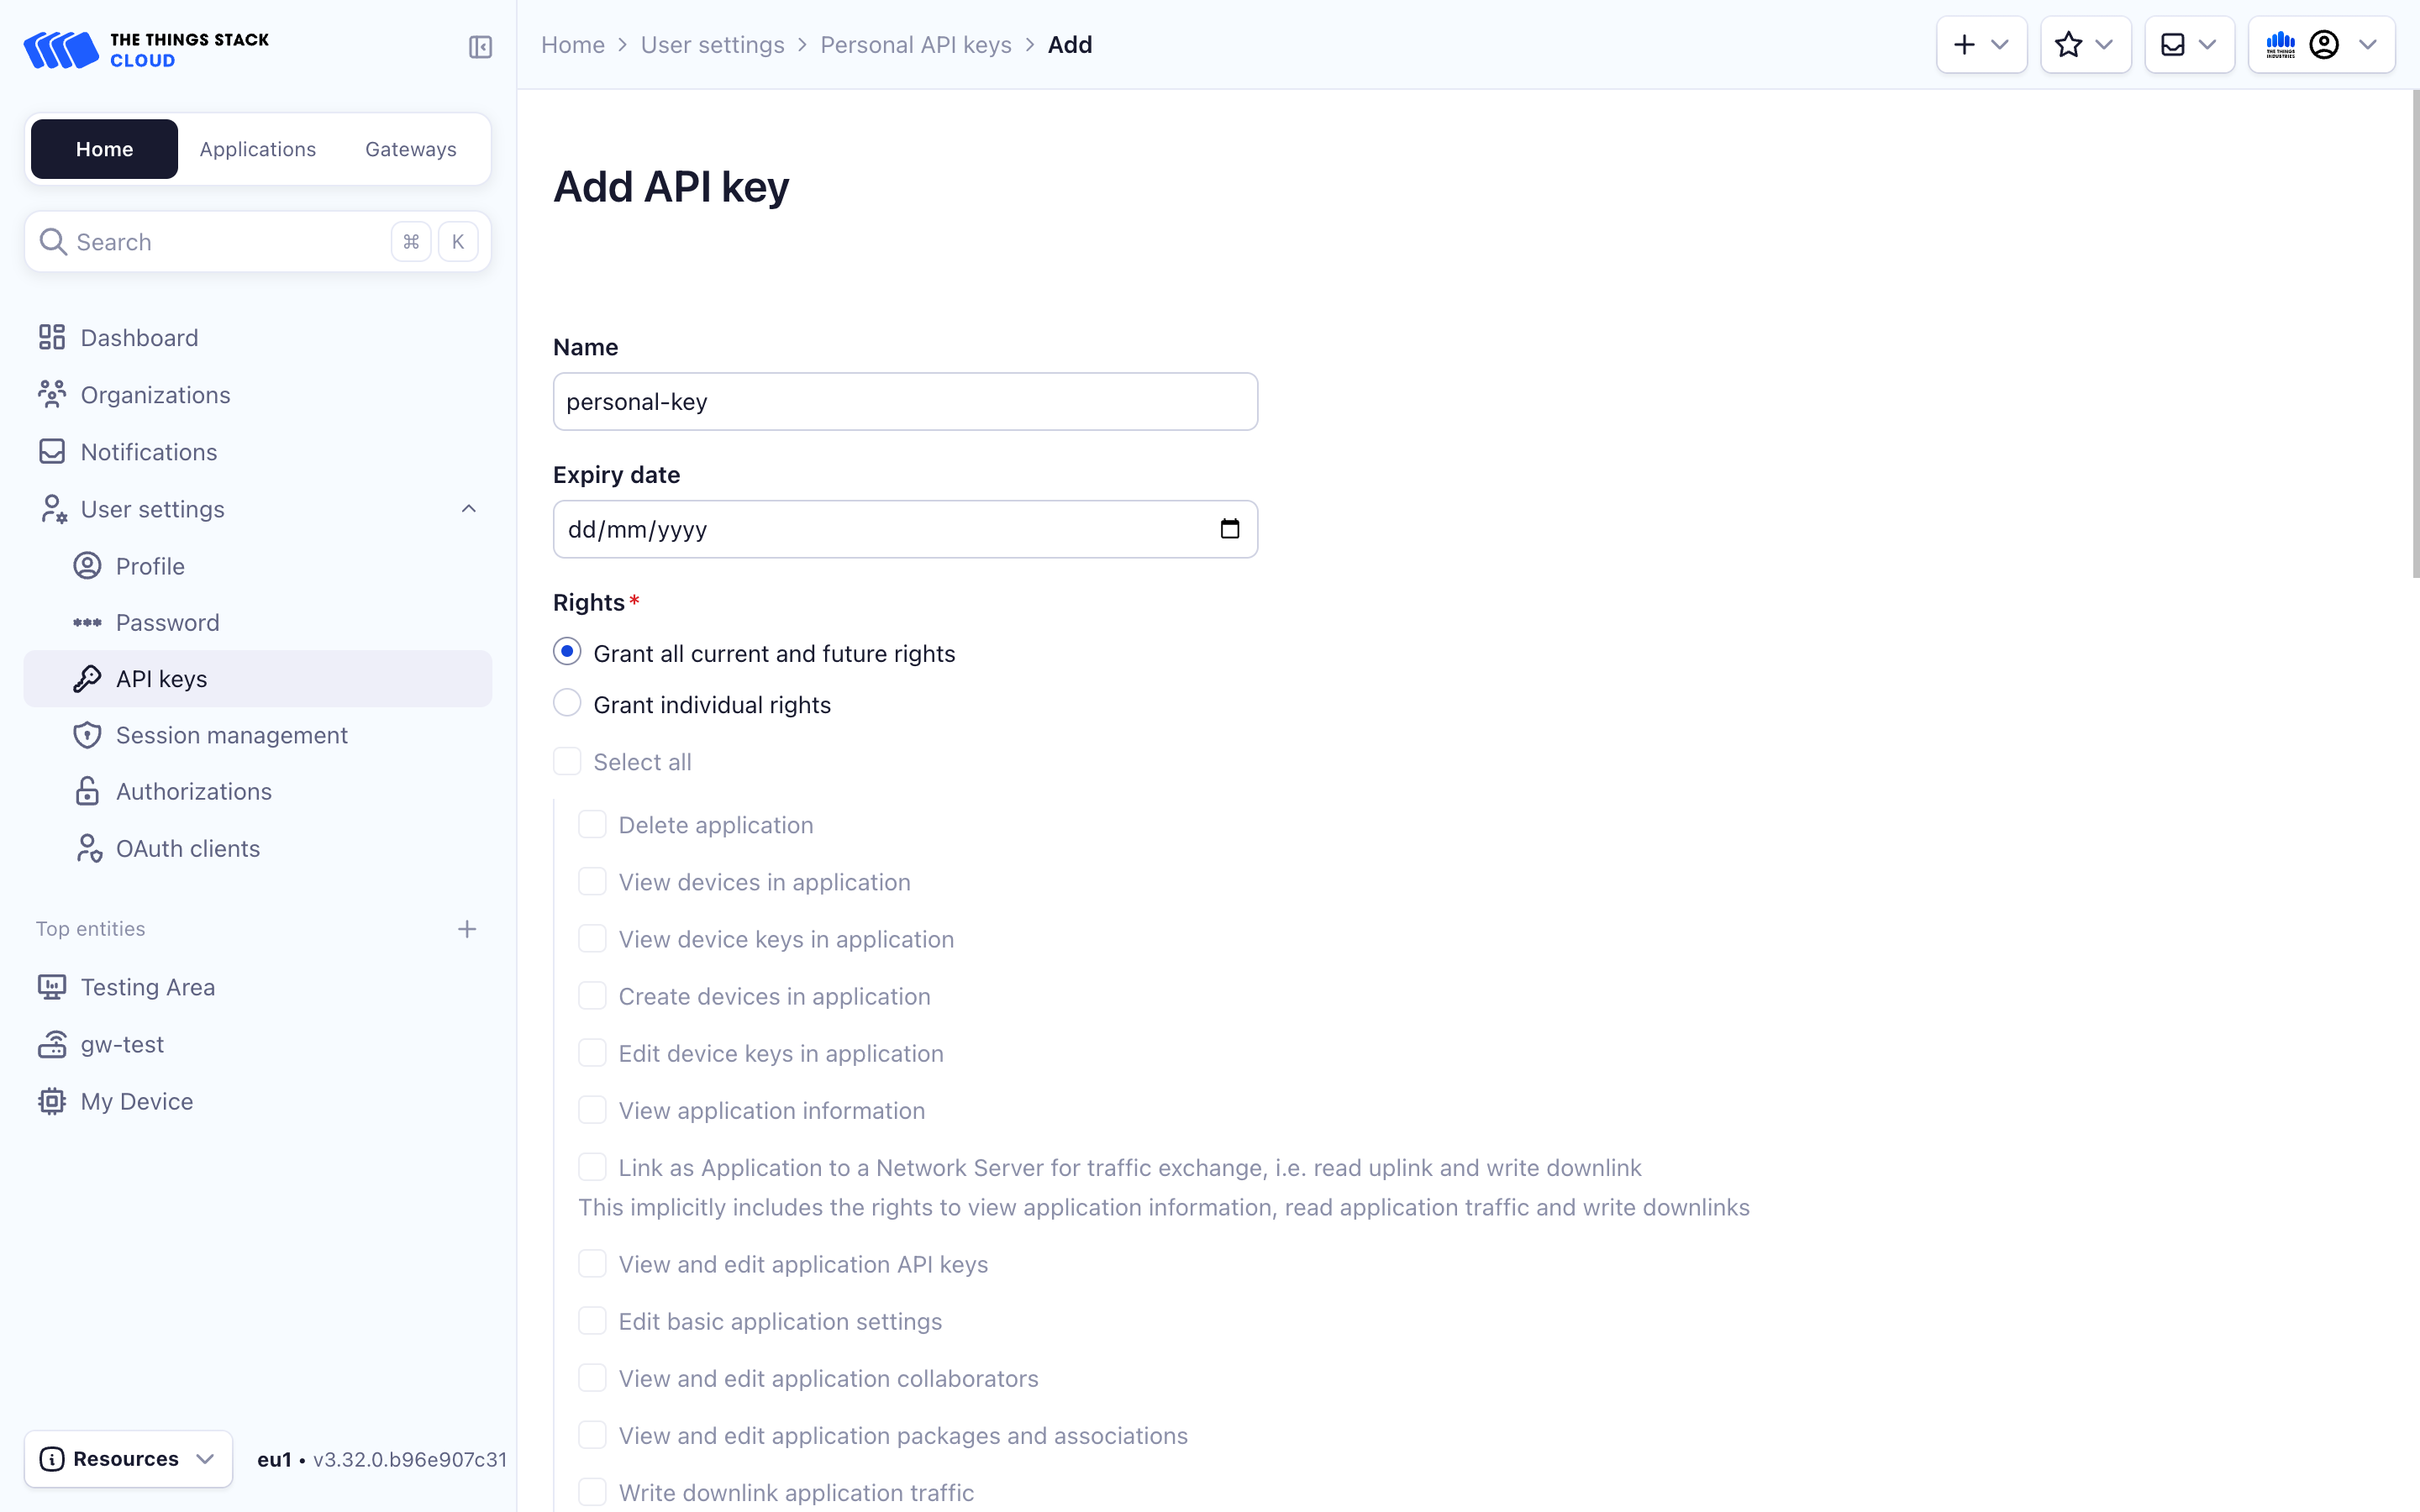
Choose an optional expiry date and choose the required rights.

You can also choose Grant all current and future rights to this API key. Note that this gives the API Key all the access that your user has.
Now make sure to copy this API key as you will not be able to retrieve it again.

To create a user API key from the Command Line Interface, run the following command.
API_KEY_NAME="User API Key"
ttn-lw-cli users api-keys create \
  --name $API_KEY_NAME \
  --user-id $USER_ID \
  --right-user-all \
  --api-key-expiry 2023-11-23T00:00:00Z
The CLI will return the following JSON.
{
  "id": "ZXPW62GWUYNYJIERJDHBIECRJEKYYDMACPPBEUI",
  "key": "NNSXS.ZXPW62GWUYNYJIERJDHBIECRJEKYYDMACPPBEUI.LQD7A5VGEXNZ7F7PNTVUPMPDEB5XBJMTIH6ESUEE622VU2FQVESA",
  "rights": ["RIGHT_USER_ALL"],
  "created_at": "2023-11-22T15:50:02.883333Z",
  "updated_at": "2023-11-22T15:50:02.883334Z"
}
Now make sure to copy this API key as you will not be able to retrieve it again.
Using API Keys
This sections shows how you can use API keys to authenticate HTTP (REST) API calls. For other APIs (gRPC, MQTT), check the corresponding sections.
For HTTP (REST) API calls, this API key has to be presented to the server as a Bearer token in the HTTP Authorization header. The following example uses curl to make an HTTP API request using the example API key.
$ curl -X 'GET' -H 'Accept: application/json' -H 'Authorization: Bearer NNSXS.U4H3ZFFCMSR42BUAZPW2UWGFBV4WCNI5EXDJXDY.SHIF3PP5PBMJNZESN5XLR5TZJTJUIGKVUTM2I22IVBUVCD6VIQIA' 'https://thethings.example.com/api/v3/applications/<application_id>/devices/<device_id>'
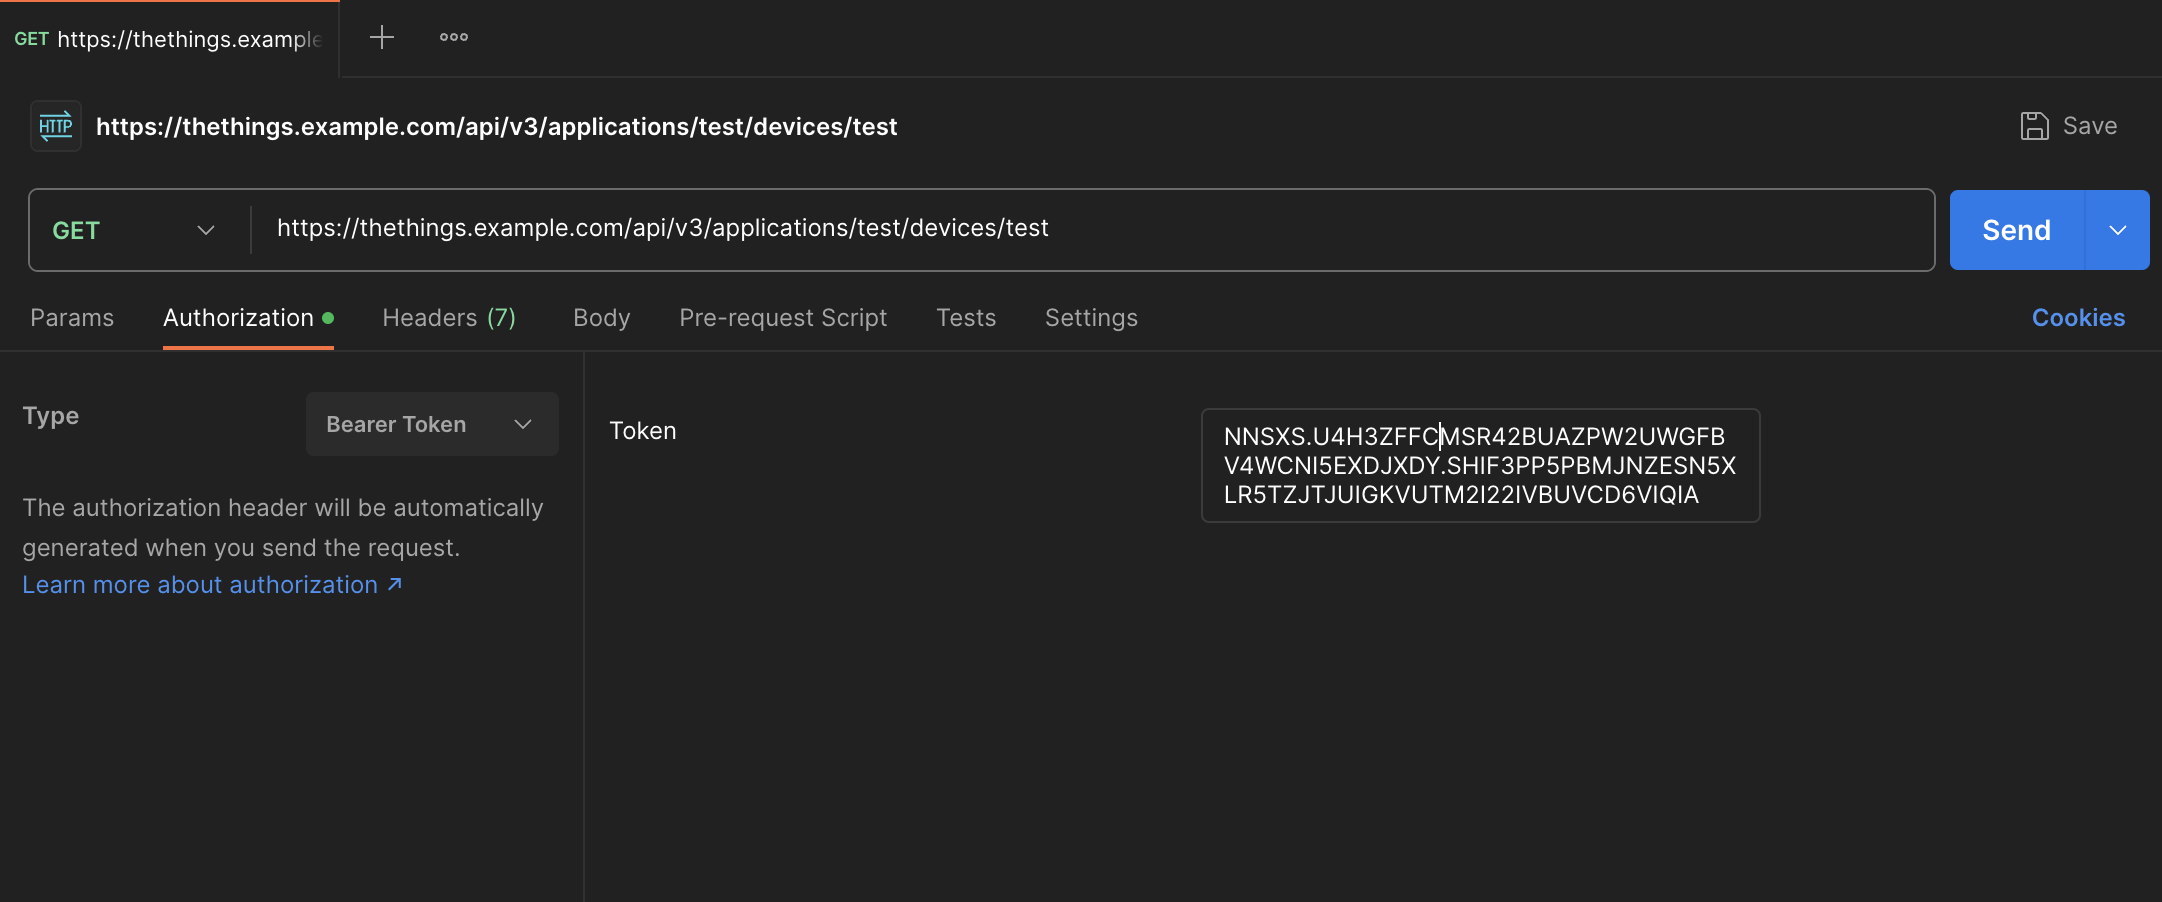
If you are using Postman to make API calls, in the Authorization tab select Bearer Token as the Type and paste the API key in the text field on the right.
Now that you have learnt about API keys, you can proceed to the field masks section.
Alternatively, look at how to work with OAuth access tokens and Session cookies in the guides below.