LoRaWAN® is a full-duplex protocol, which means that we can both receive data from and send data to the end device. So far, we’ve only worked with uplink data from the end device. In this guide, let’s look at interacting with the end device using downlinks.
The mClimate Multipurpose button is a Class A device. This is a special mode of operation where the end device listens for downlinks only after sending an uplink. This allows the end device to control when the radio is turned on, which helps preserve battery.
This means, when you schedule a downlink via The Things Stack, it’s not immediately sent, but queued until the device sends an uplink.
In The Things Stack Console, select your application and navigate to the end device overview page.
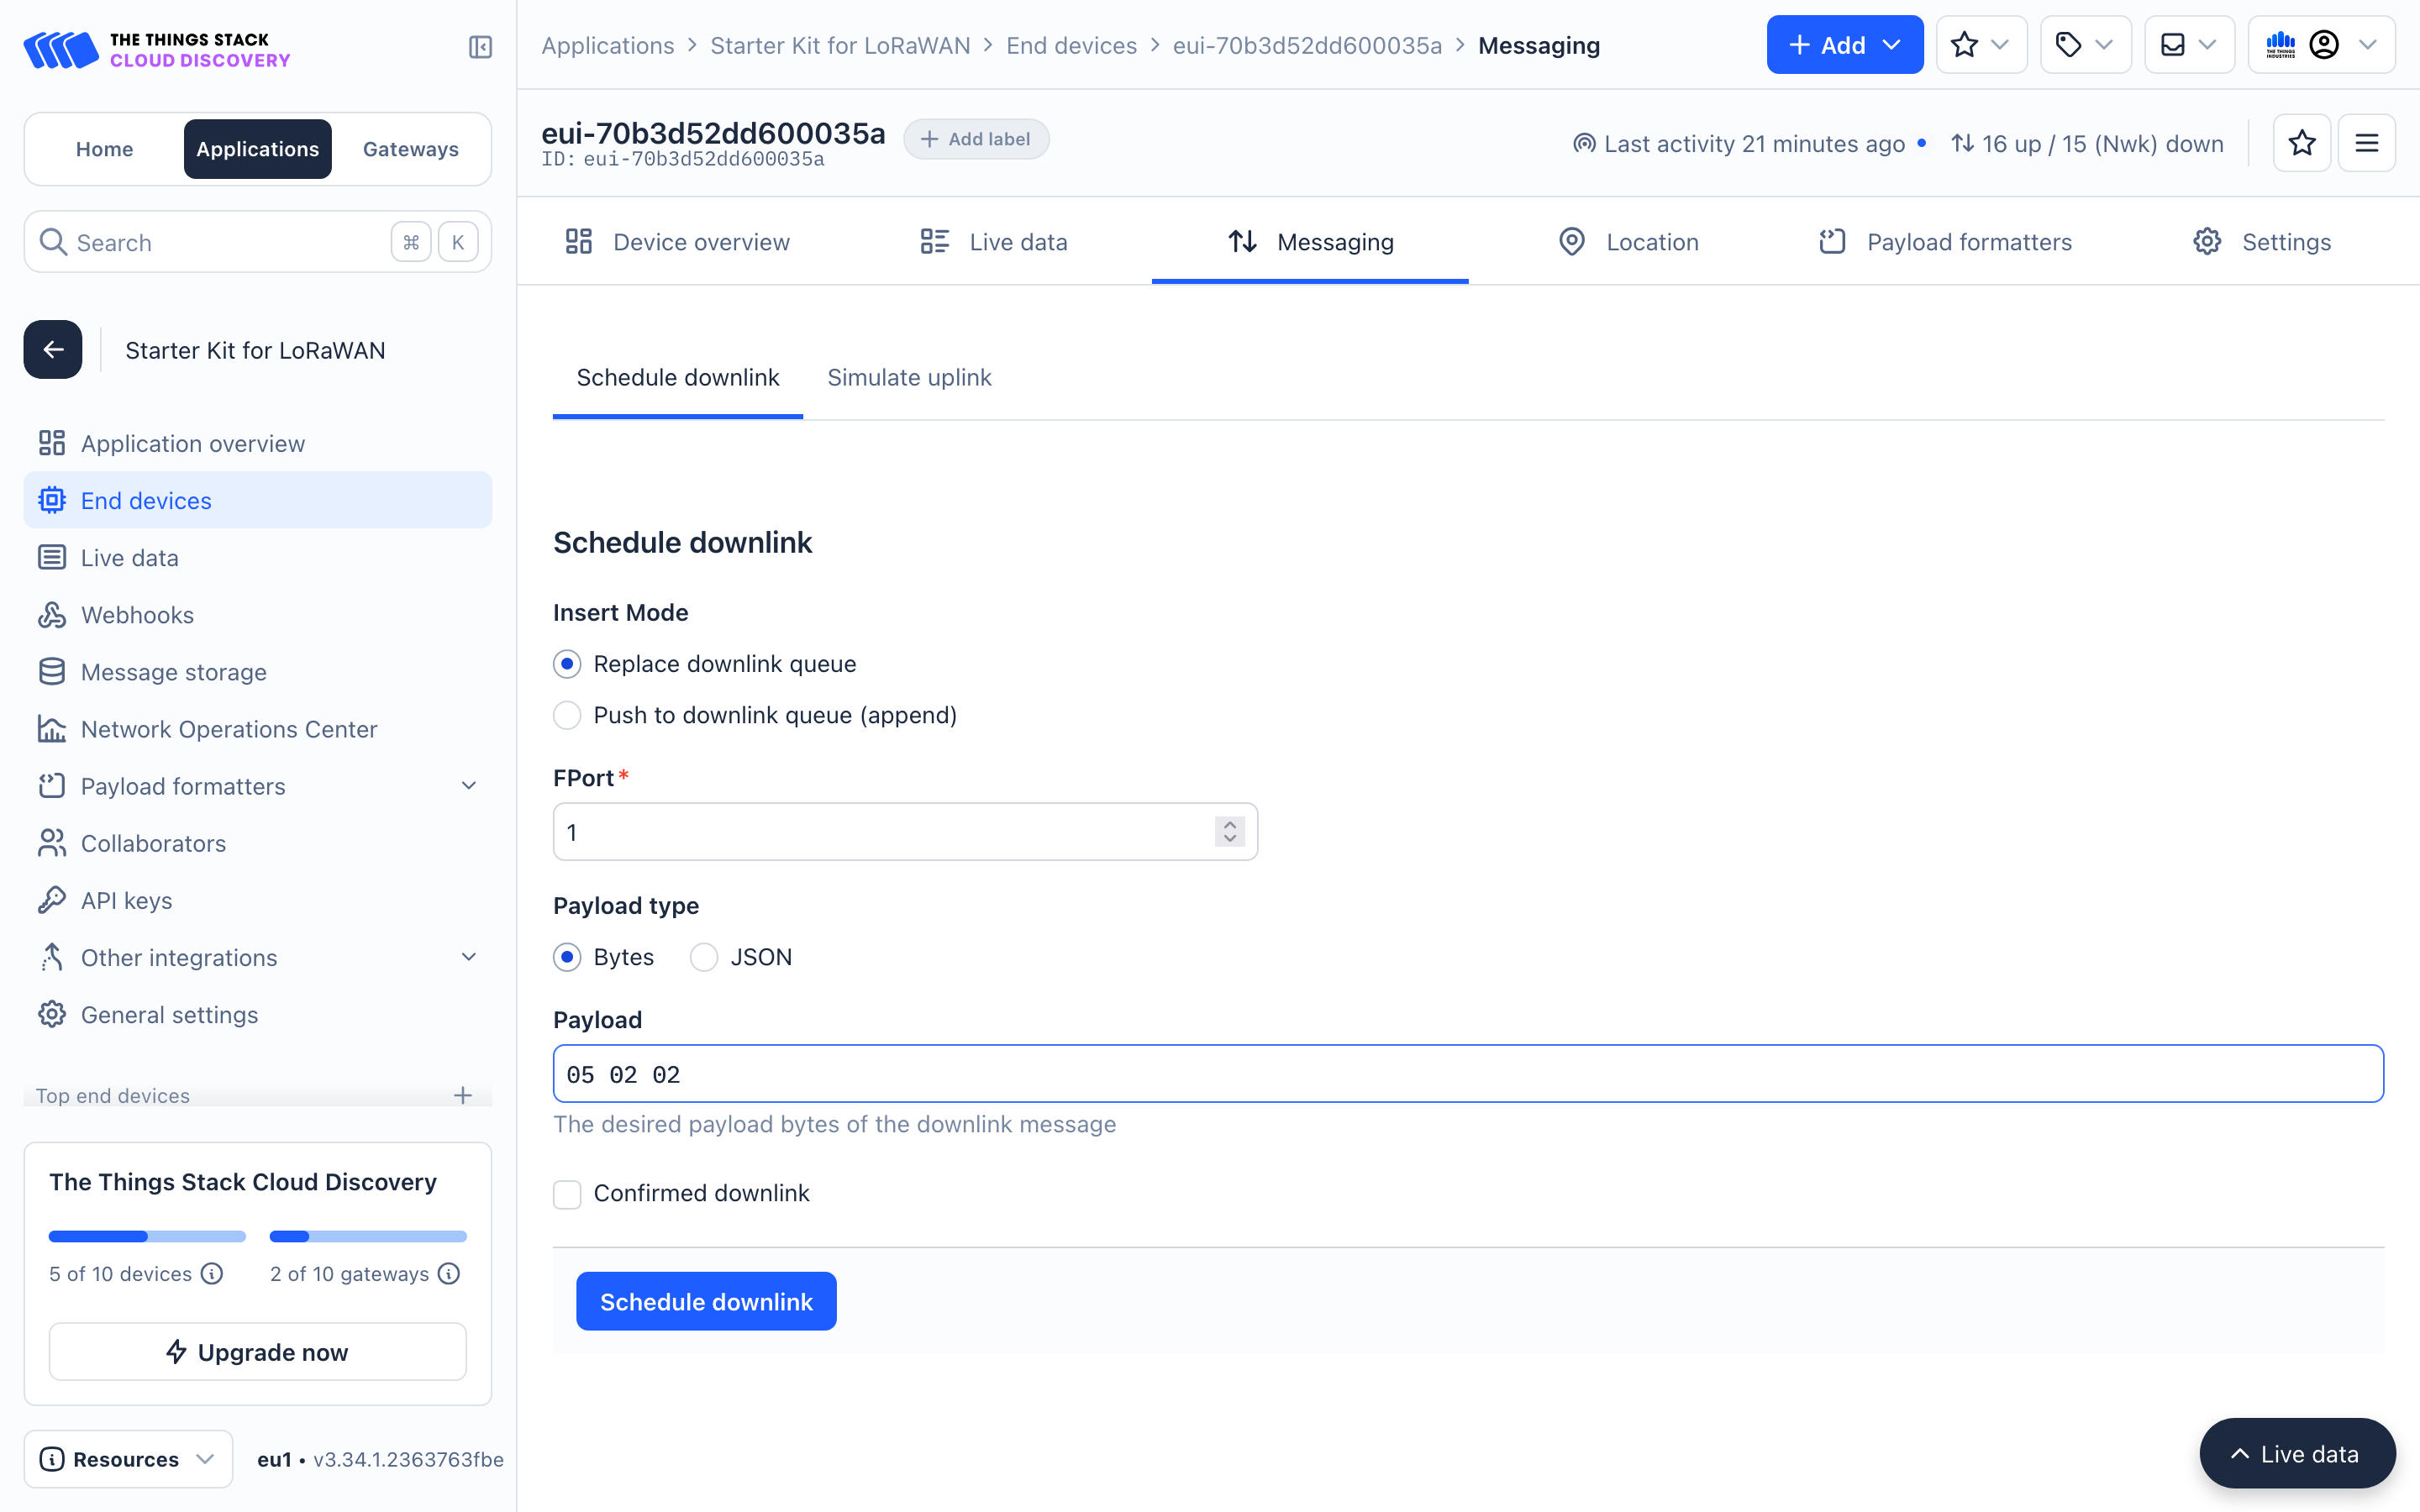
Select the Messaging tab. The default option here is Schedule Downlink and that’s what we are going to use.
In The Things Stack Console, select your application and go to the end device overview.
Click the Messaging tab. The default option is Schedule Downlink. We’ll use that to send a message to the device.

This view has a few options. For the sake of this example, we can leave the following defaults in place.
- Insert mode:
Replace downlink queue - FPort:
1 - Payload type:
Bytes
We will only be adding different values to the Payload field for different types of downlinks.
Activate LEDs
In this example, we will make the Green LED blink fast for 20 seconds remotely.
- Enter the value
05 02 02in the Payload field and press Schedule Downlink and this downlink will be queued.
-
Now, press the button on the end device. This will trigger an uplink to the The Things Stack and The Things Stack in turn will send this downlink to the device via the gateway.
-
The Green LED button should now blink for 20s and then turn off. You can experiment with different button configurations from the table above.
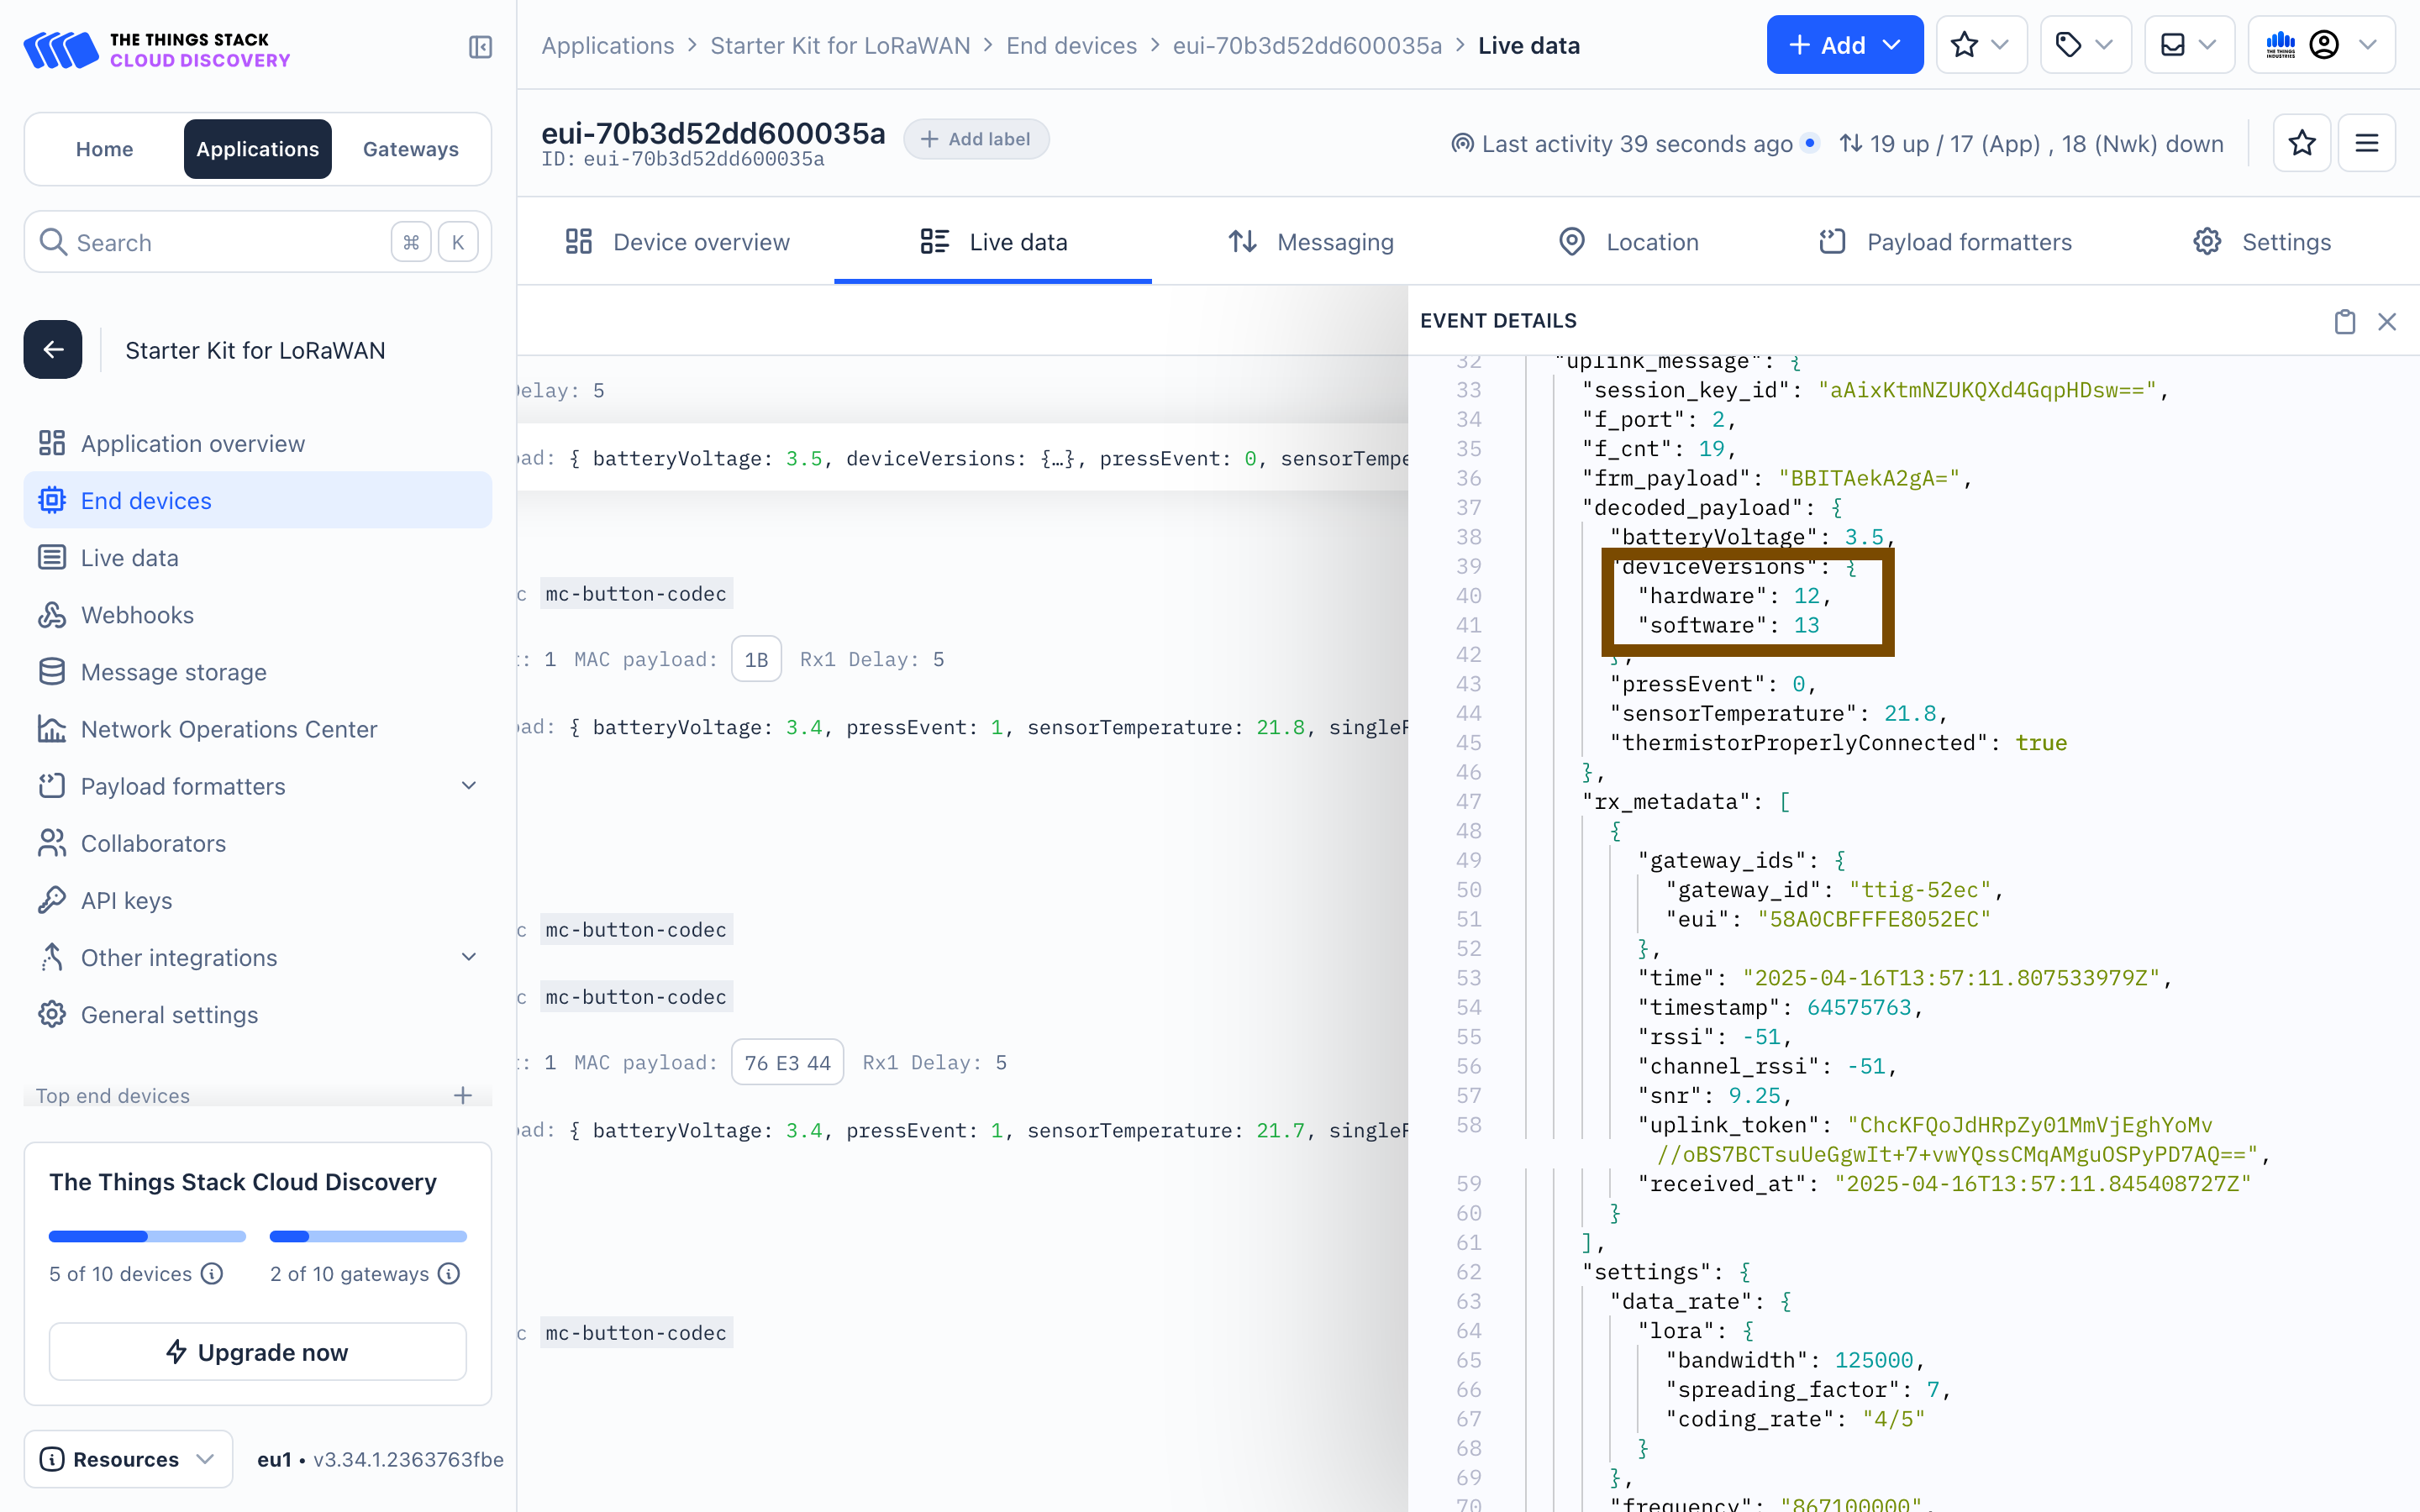
Request Hardware and Software Version
Now, let’s move on to more practical use cases for sending downlinks to end devices. We are now going to request the hardware and software version of the end device.
- Enter the value
04in the Payload field and press Schedule Downlink. - Press the button. The device will send an uplink and receive the downlink command.
- The device will now send another uplink with the device version in the payload. You can see these values in the decoded payload.
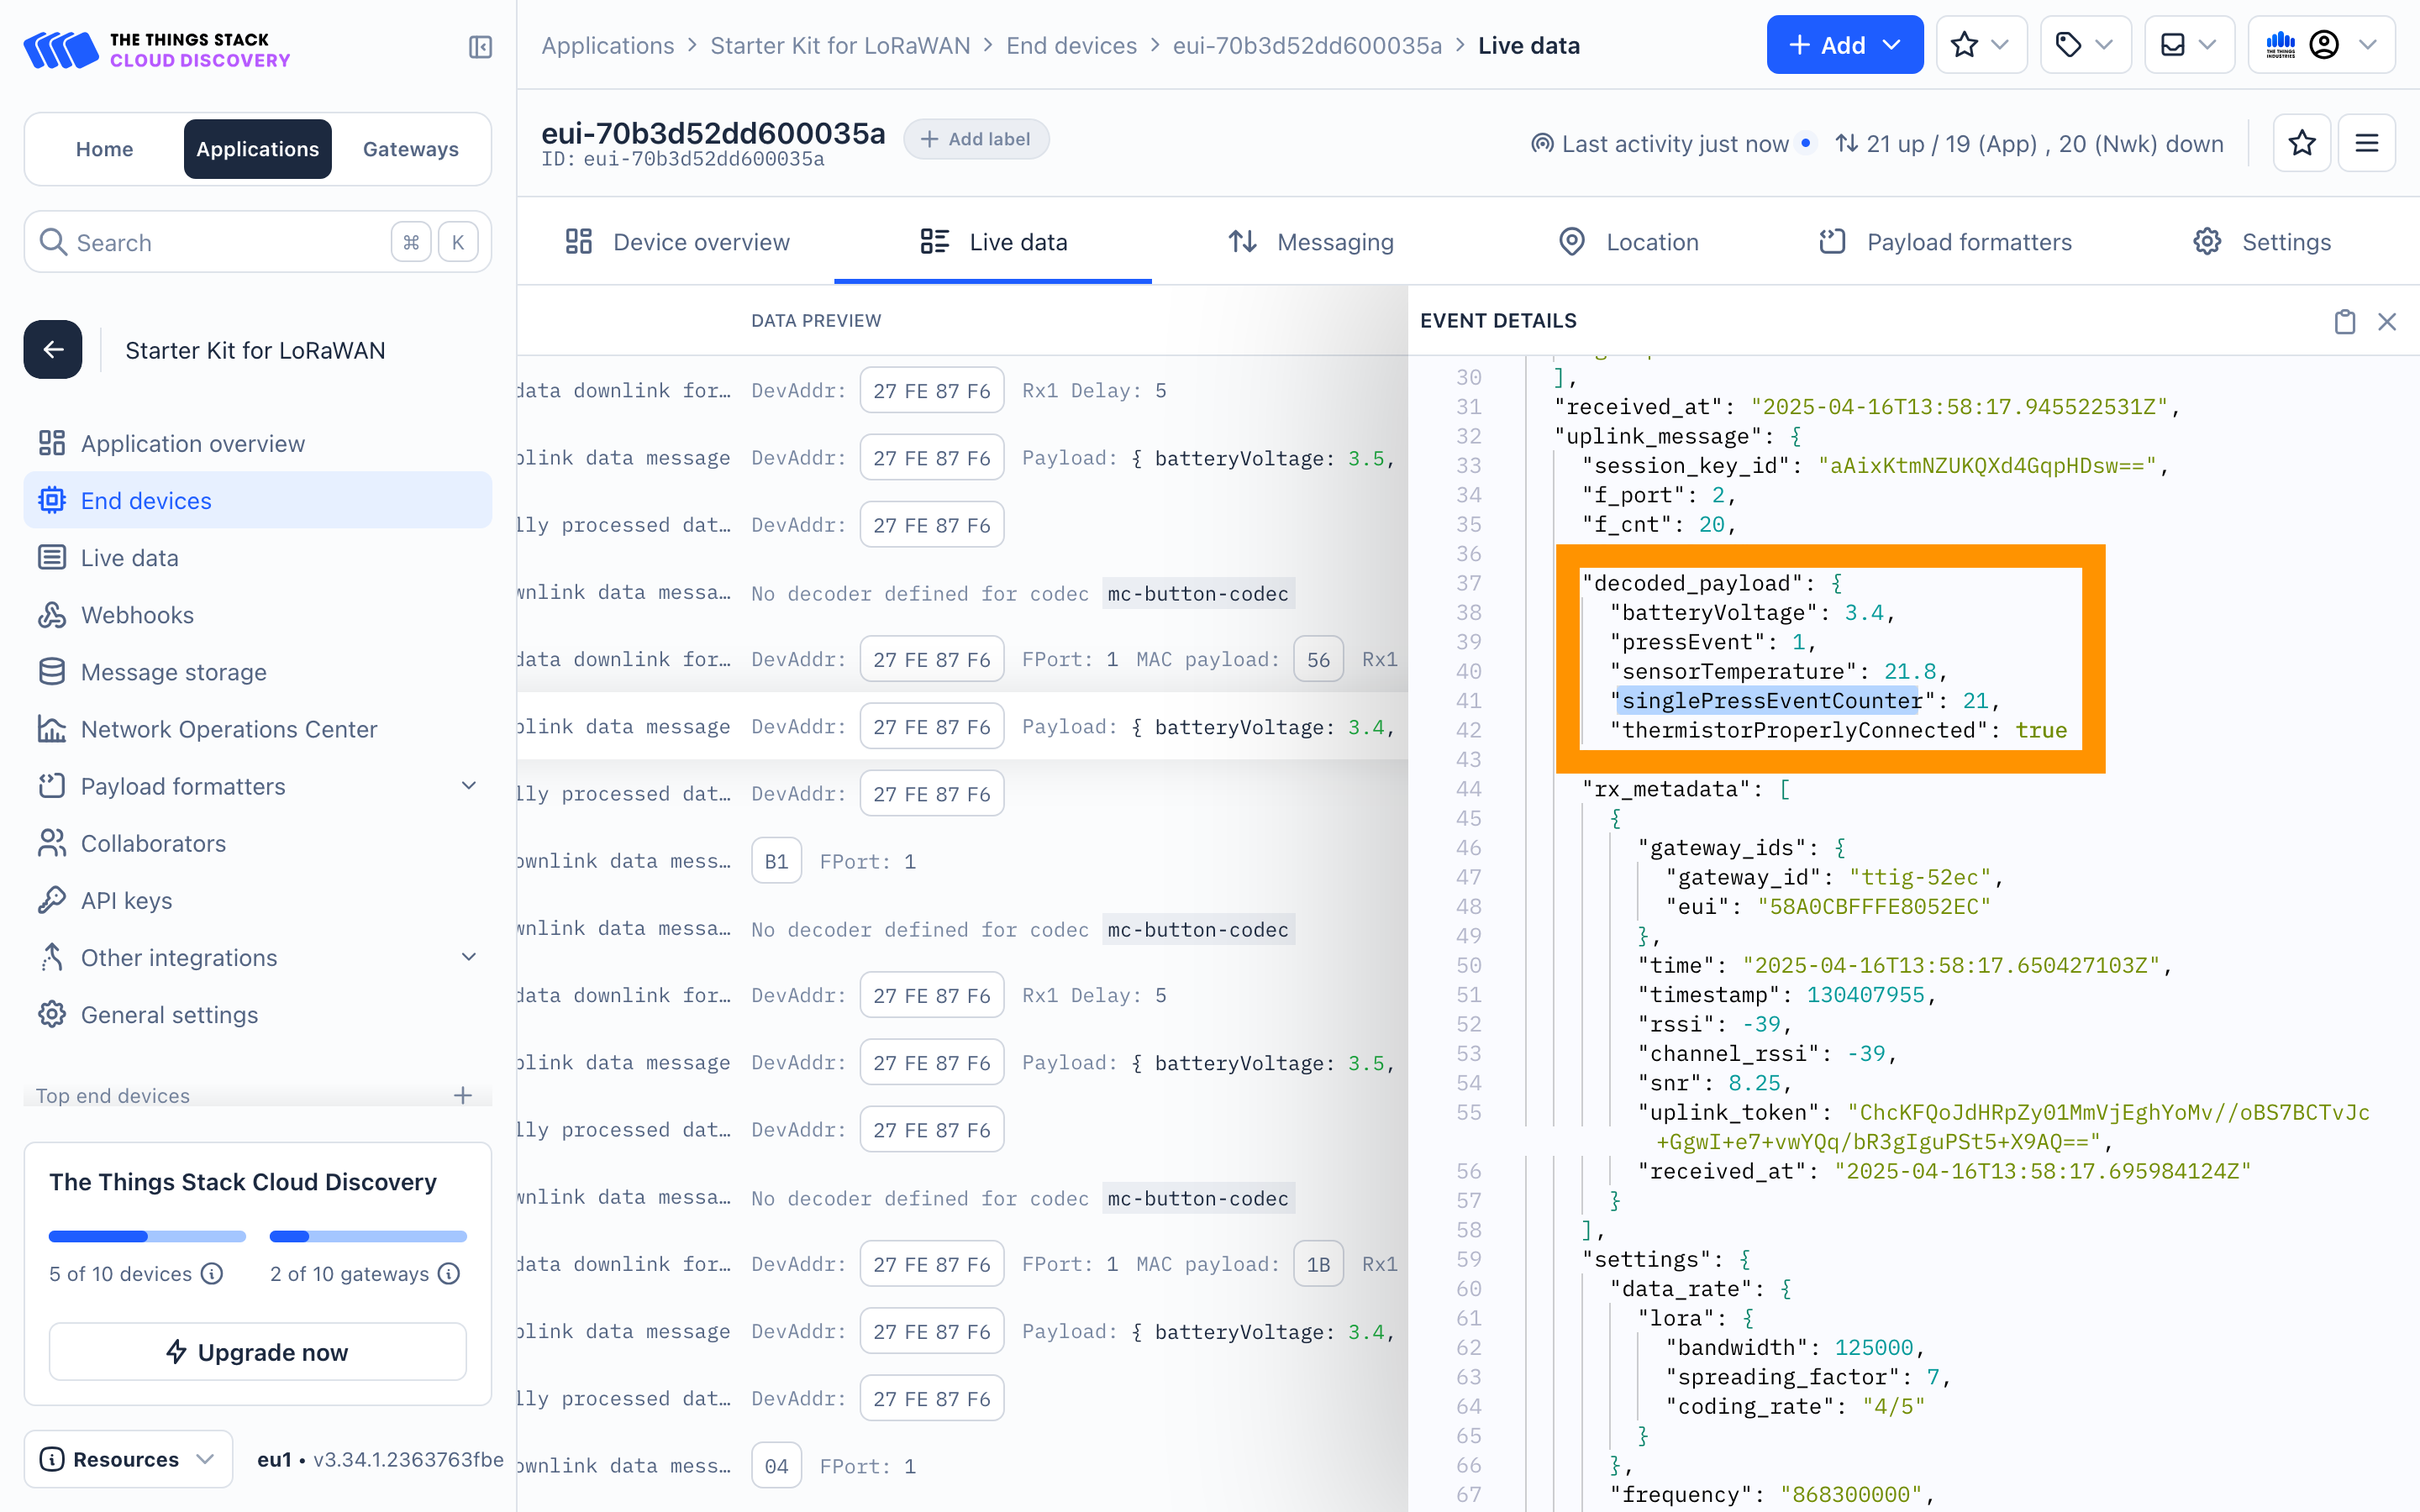
Fetch Stored Button Press Counters
The mClimate Multipurpose button for LoRaWAN stores button press event counters; i.e., how many times the button was single pressed, double pressed and triple pressed.
| Payload value | Counter type |
|---|---|
| 0xB1 | Single press counter |
| 0xB2 | Double press counter |
| 0xB3 | Triple press counter |
- Let’s first fetch the single press counter. Enter the value
b1in the Payload field and press Schedule Downlink. - Press the button. The device will send an uplink and receive the downlink command.
- The device will now send another uplink with the counter value in the payload. You can see the counter value in the decoded payload.
You can explore this further by double pressing and triple pressing the button and fetching the corresponding counter.
Now that you’re familiar with LoRaWAN and have seen it in action, check out what the next steps are.